
Workflows
Transform manual processes into intelligent automation. Komo Workflows let you create event-driven sequences that respond to user behavior, manage contacts automatically, and deliver personalized experiences at scale. Why use workflows? Turn every user interaction into an opportunity for automated engagement, contact management, and conversion optimization.Creating Your First Workflow
Step 1: Navigate to Workflows
Go to Automations → Workflows in your workspace sidebar.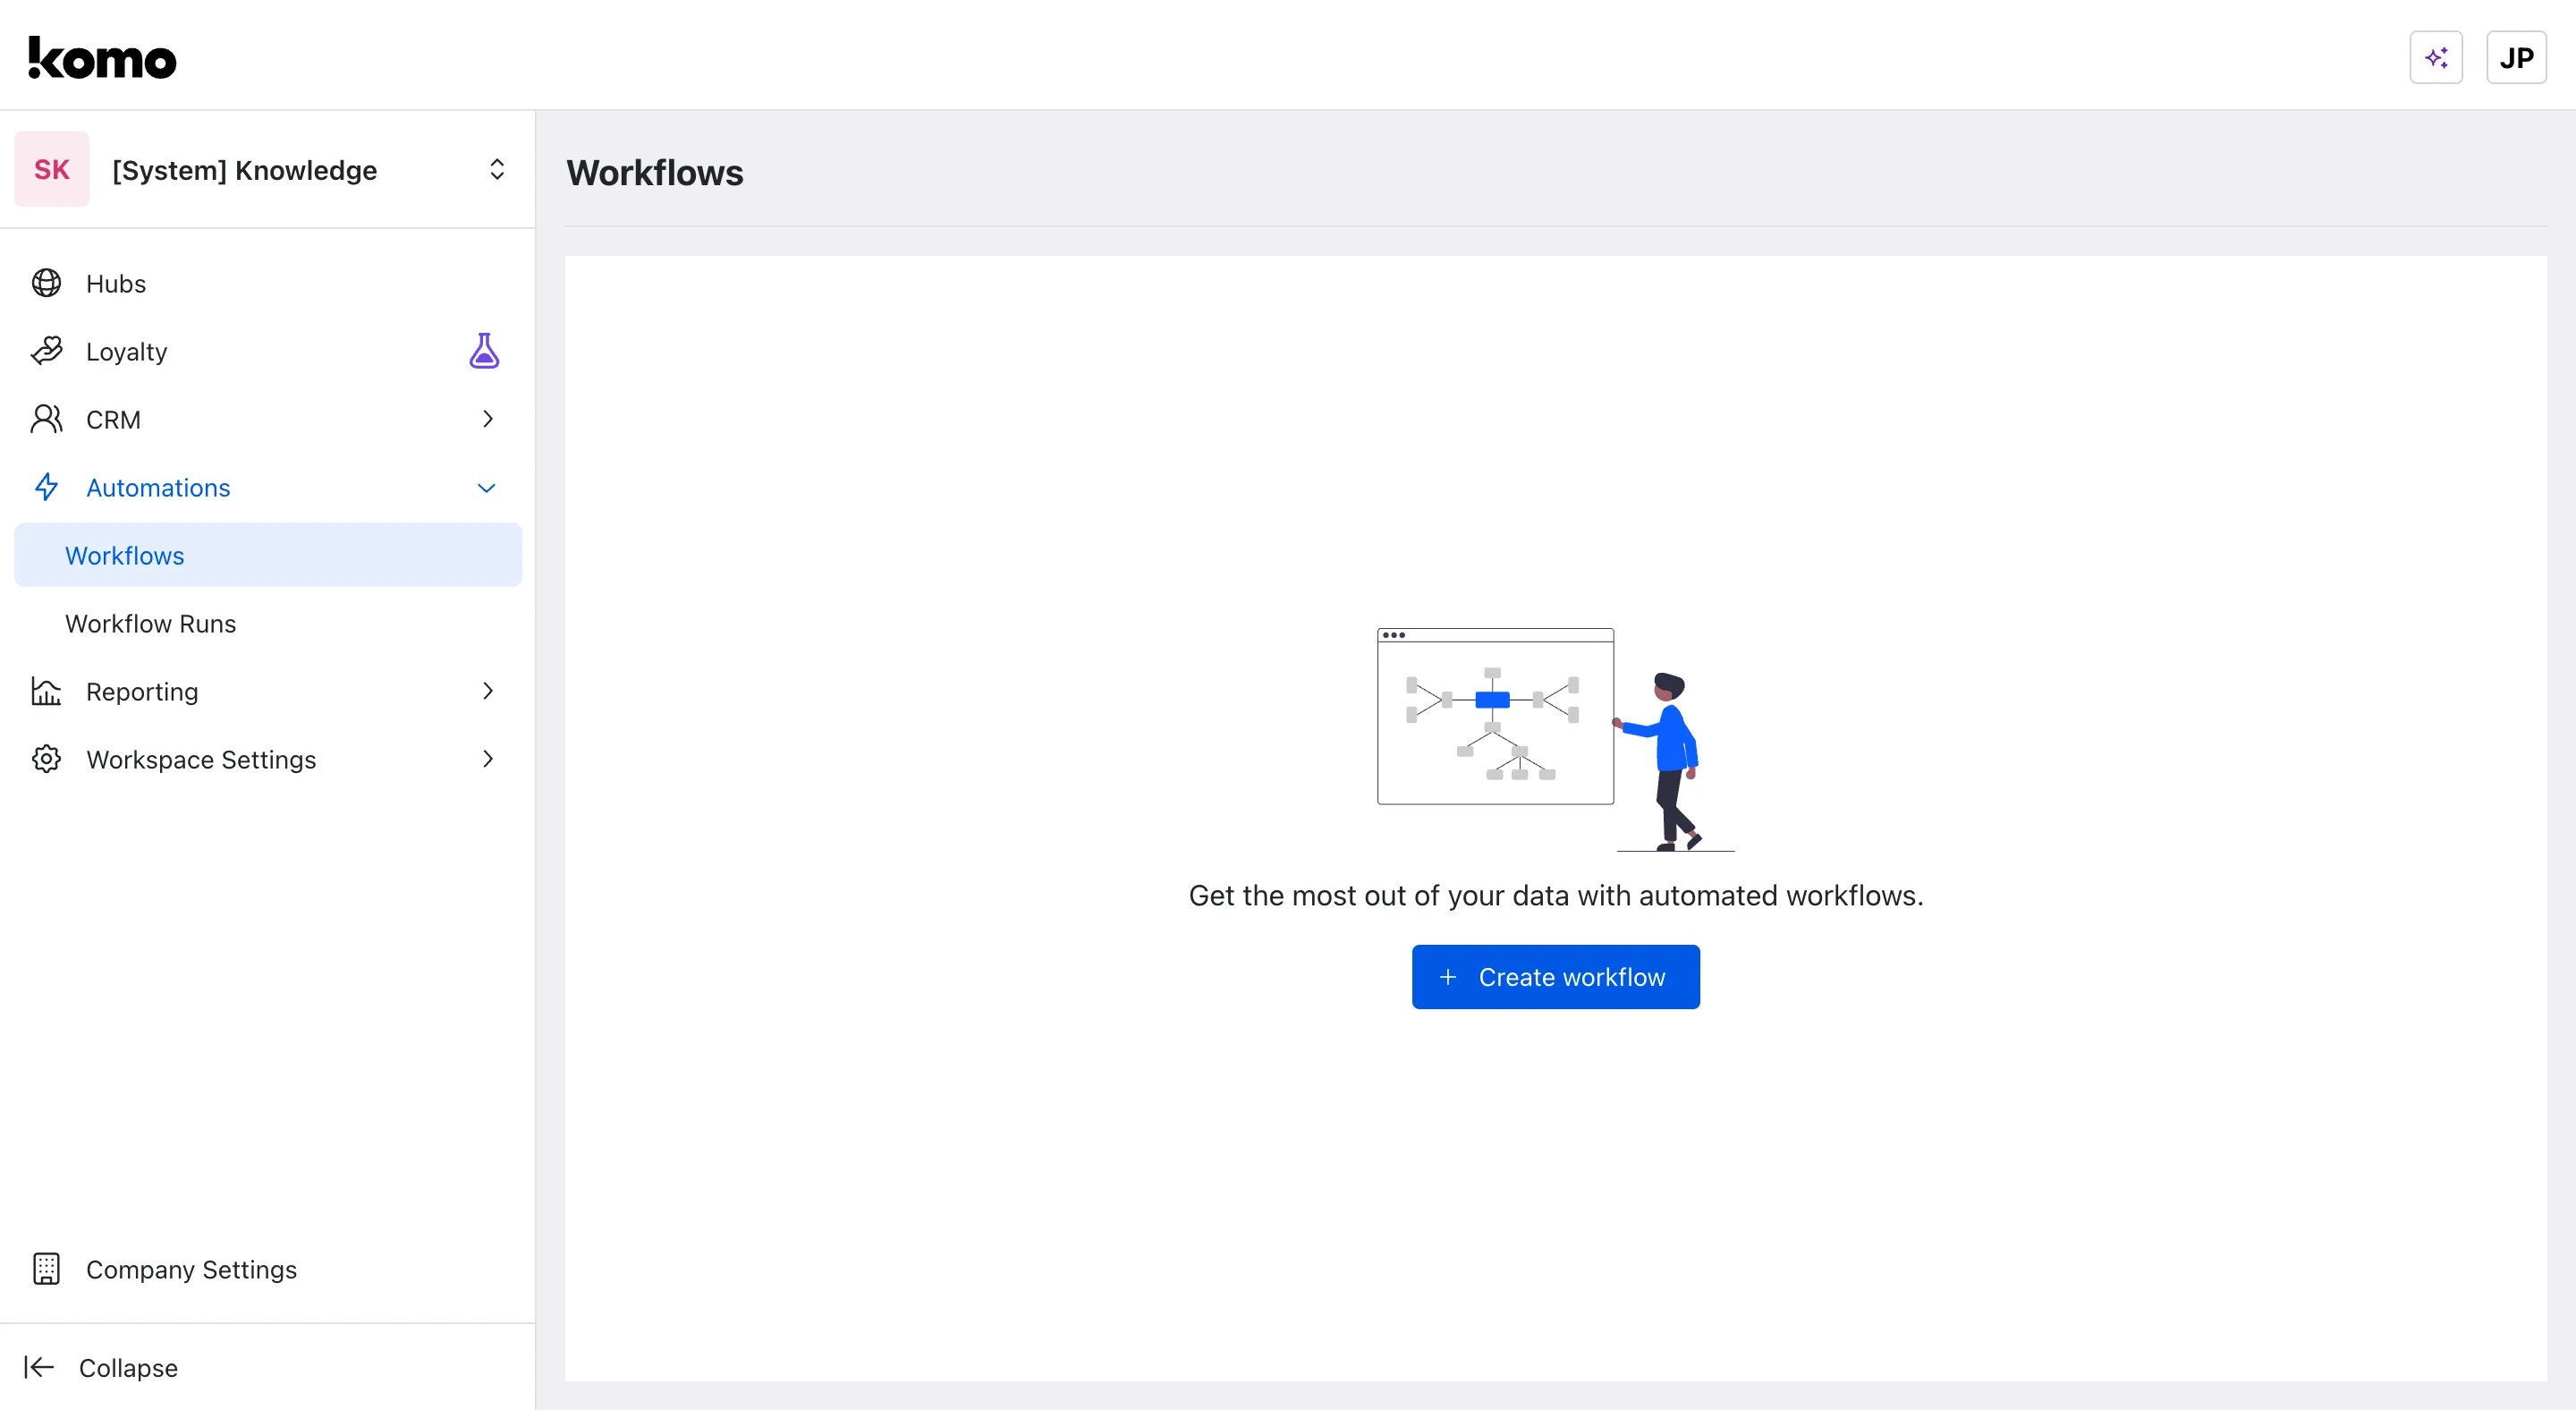
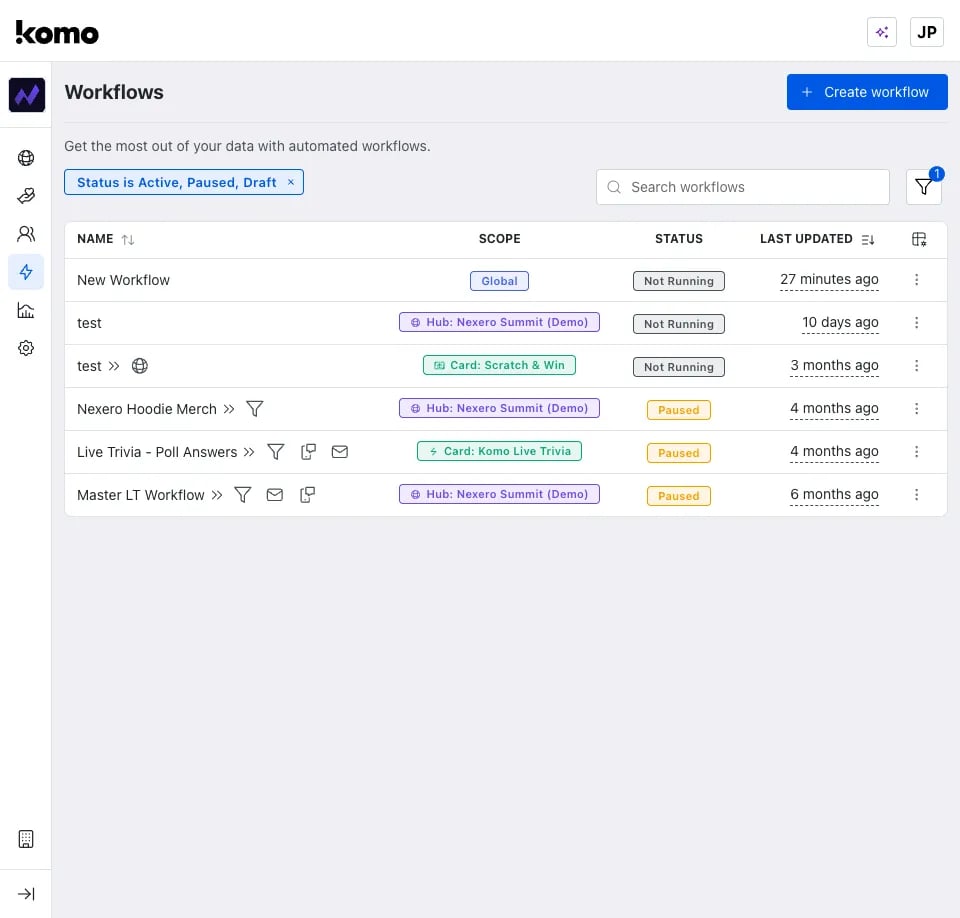
- Active workflows with status indicators and scope information
- Quick actions via three-dot menus for editing, cloning, and management
- Performance metrics at a glance
Step 2: Choose Your Scope
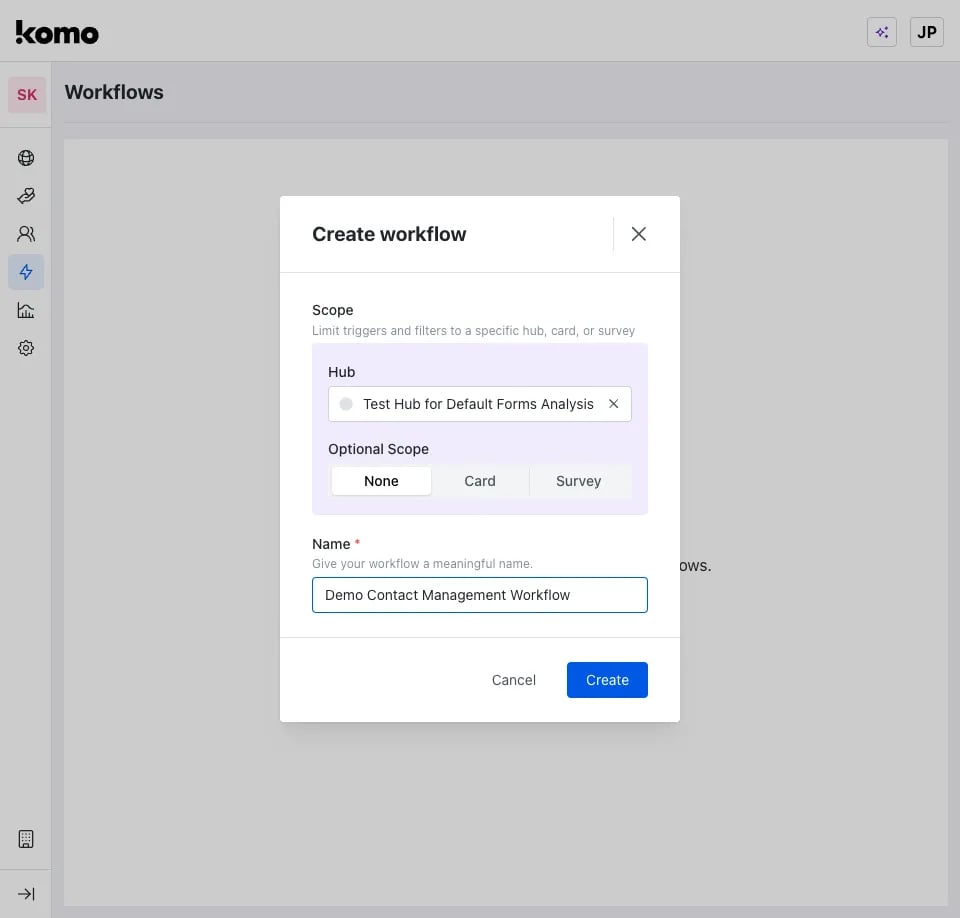
Click + Create Workflow and select your automation scope: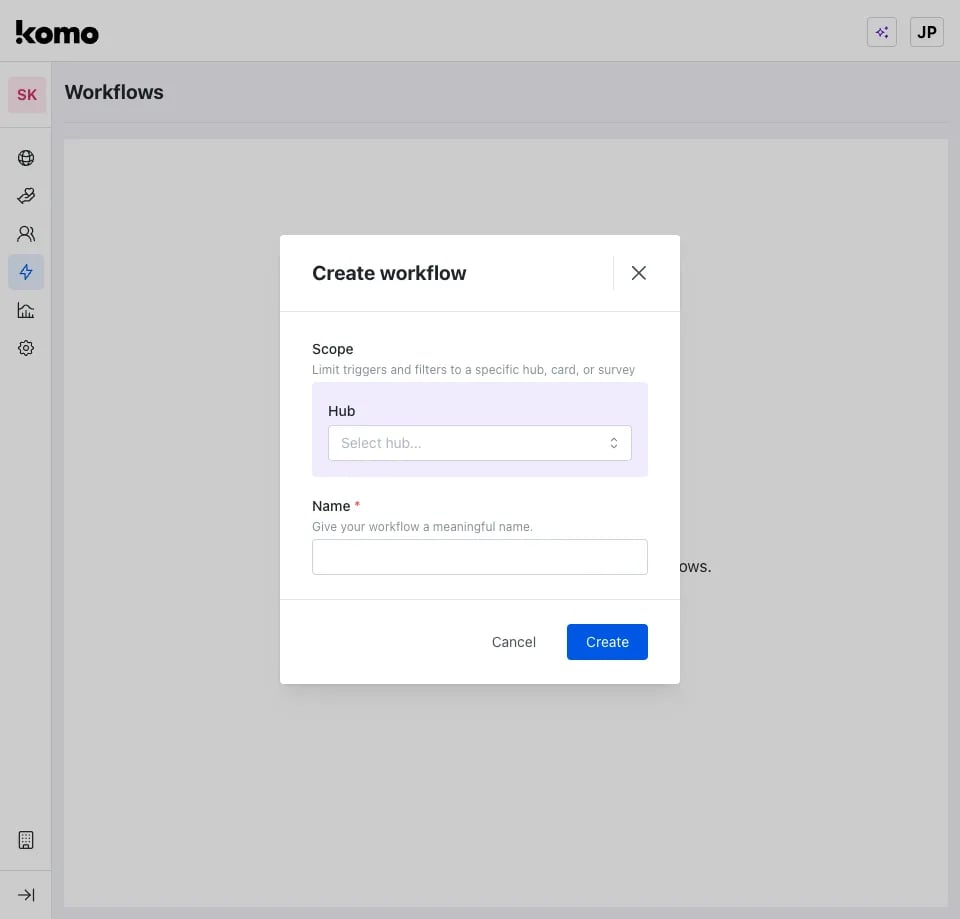
When an event happens on a Card (for example Data captured), every running workflow whose scope covers that Card is triggered: Workspace-level workflows, Hub-level workflows for the Hub the Card is in, and Card-level workflows for that Card. They don’t replace each other; each one runs on its own (subject to its own trigger filters), so a Card-level workflow can sit alongside a Workspace-level one and both will run for that Card’s events — the same contact can be processed by more than one workflow.
Step 3: Select Your Trigger
Choose what event starts your workflow:
See all triggers →
Gameplay ended fires as soon as the player finishes the game. On cards where the entry form appears after gameplay (for example Photo Frame, where the form opens after the photo is created), Gameplay ended can fire before the player submits the form, so the workflow may run without the form details (for example email) or for players who never submit.If the workflow depends on the form details (sending a coupon or email, syncing to a CRM/Braze, adding to a list), use Data captured instead, which fires when the form is submitted.
Step 4: Build Your Flow
Use the visual workflow builder to drag, connect, and configure your automation: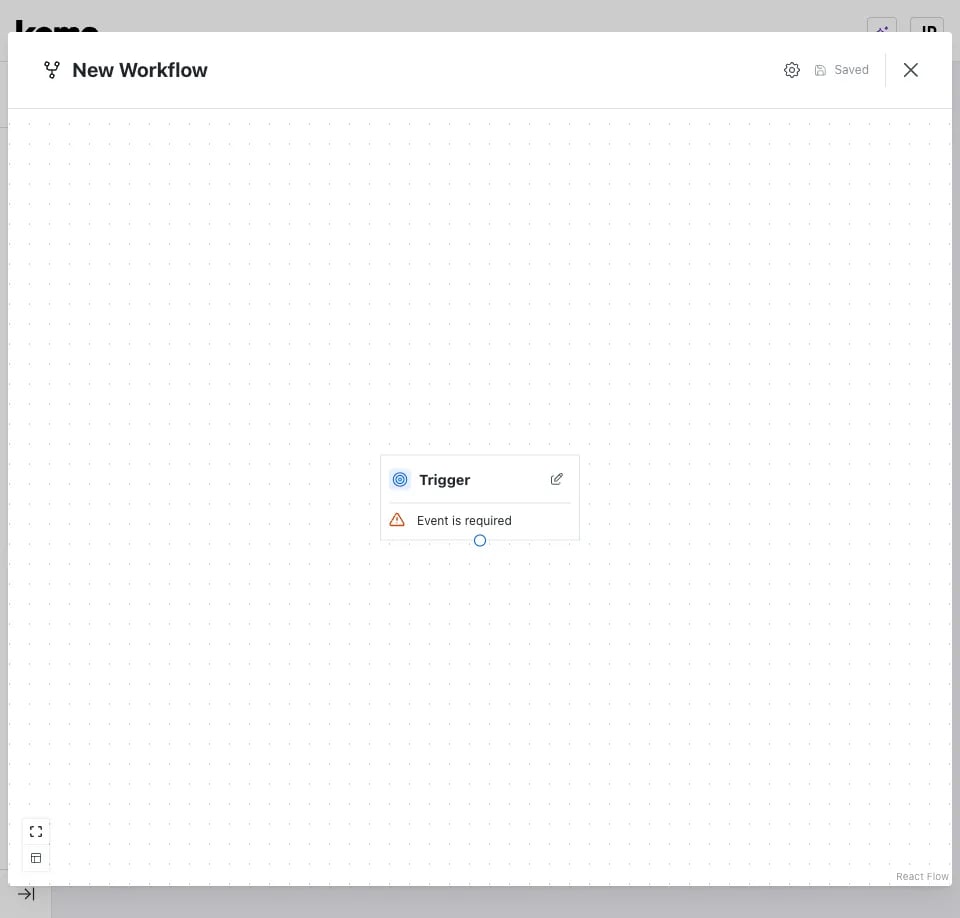
- Canvas area - Arrange and connect modules
- Action library - All available workflow actions organized by category
- Configuration panels - Set up each module’s specific settings
- Connection paths - Define success, failure, and join routes
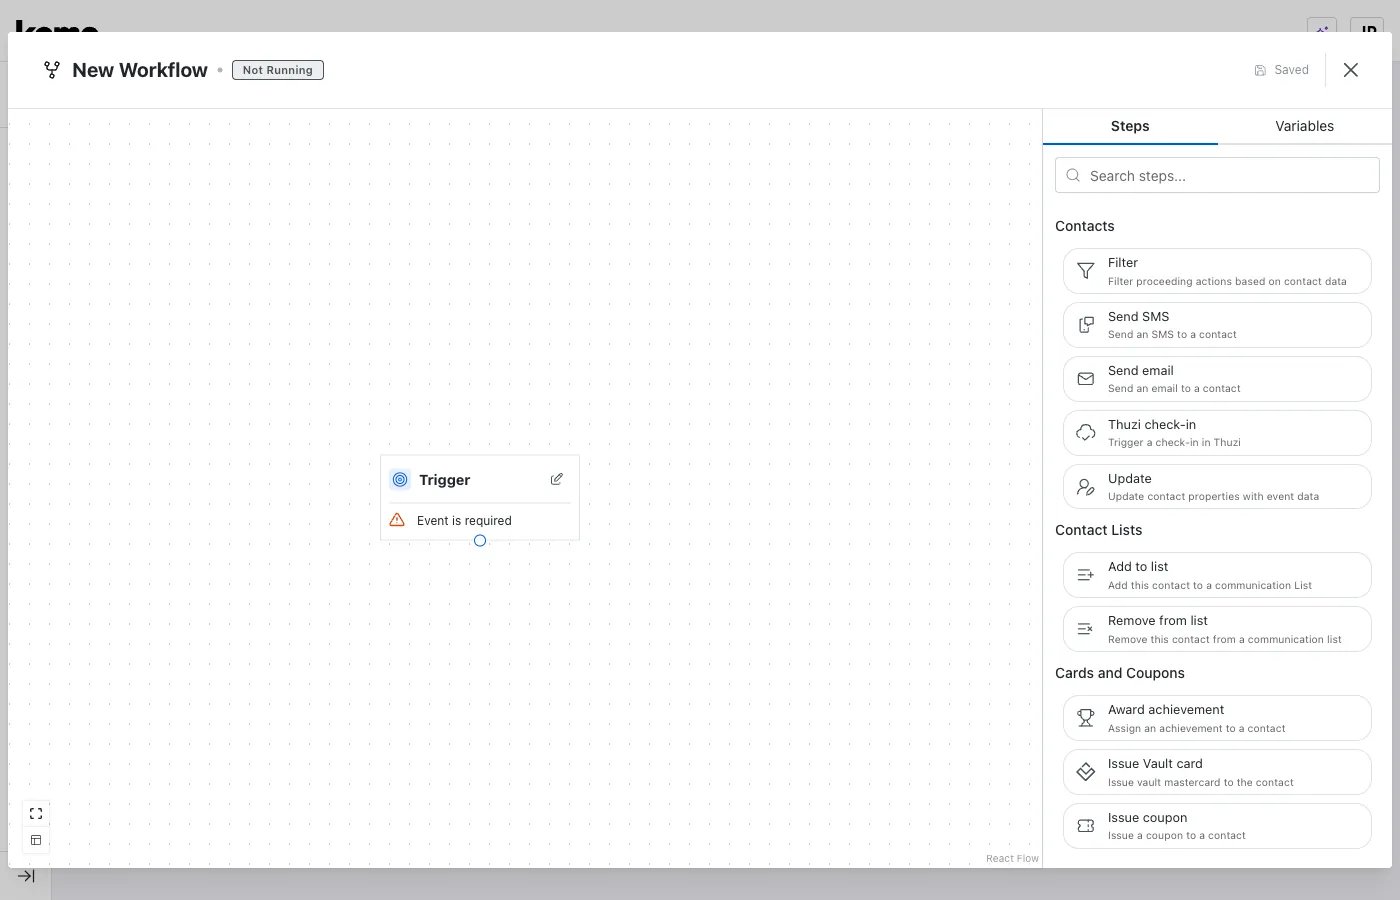
- Contacts - Update, Send email / Send SMS, Filter
- Contact Lists - Add to list, Remove from list
- Loyalty - Award points, manage tiers
- Shared - Split (decision), Split (%), Custom code, Send HTTP request
- Salesforce - Create object and related Salesforce steps
- Competition Entries - Add entry and related entry steps
- Gameplay - Gameplay filter and score steps
Join (converge) paths
After you branch with Split (decision) or Split (%), paths can converge into a shared later step. This lets each branch run its own actions, then continue through the same follow-up steps (for example, award a badge on one path only, then Award points for every path).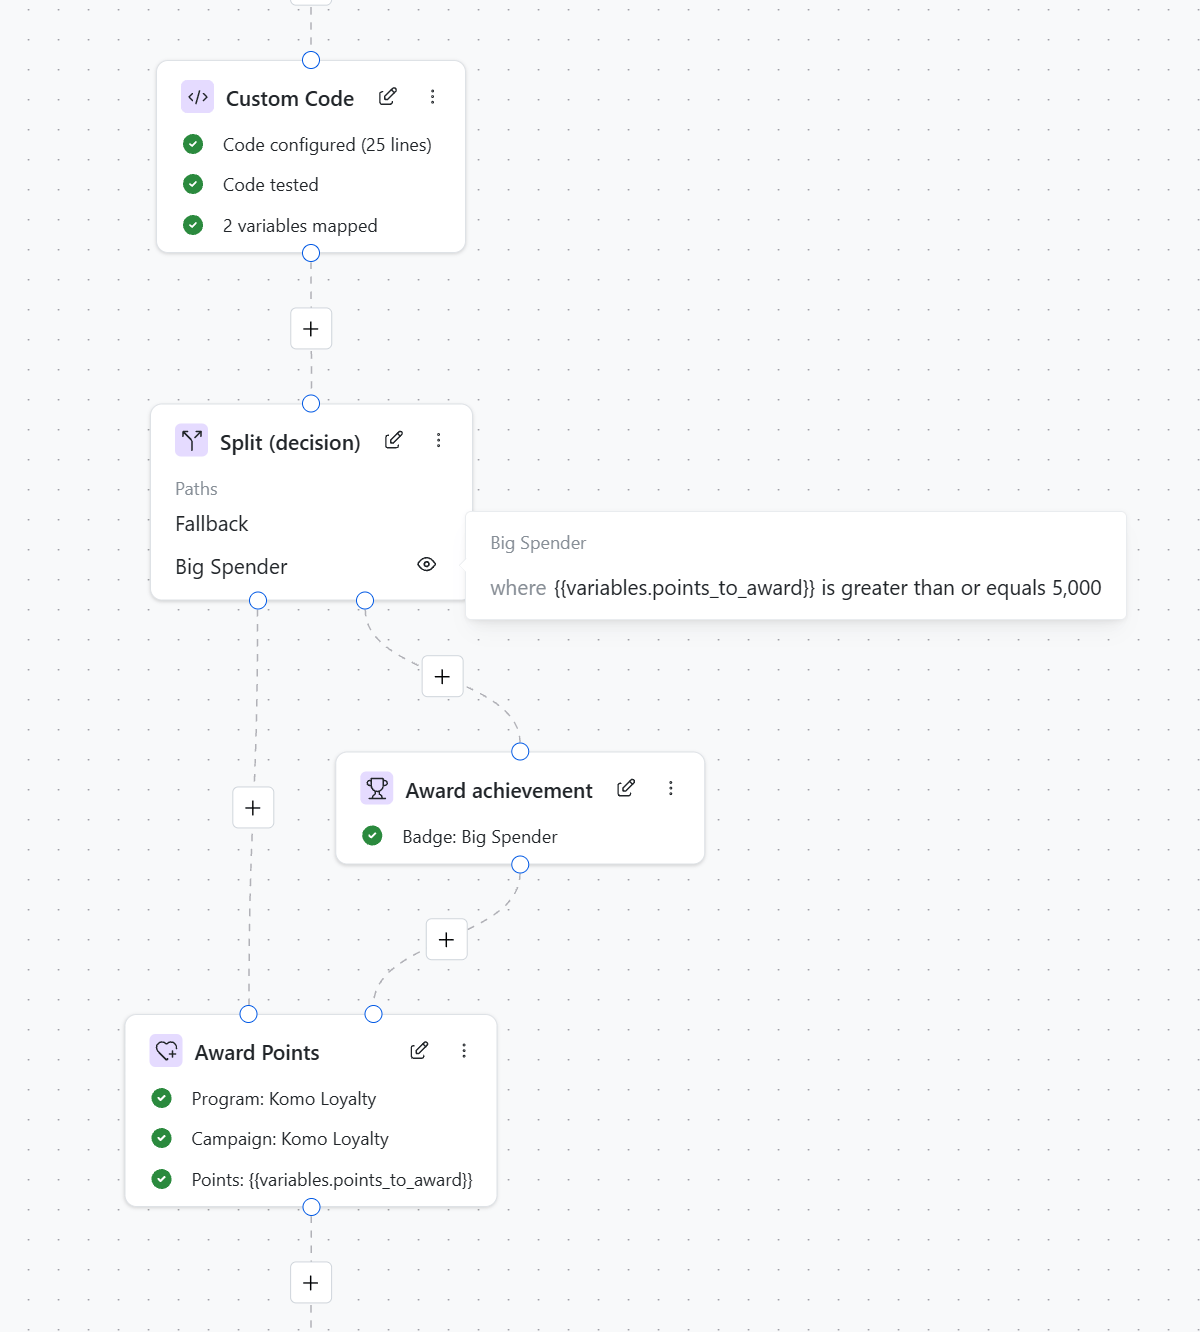
- Drag a connection from a step onto another step that already has an incoming connection.
- While you drag, an extra input handle appears on the target step so you can complete the join. Existing input handles stay in place during the drag.
- After you connect, the target step shows one input handle for each incoming path.
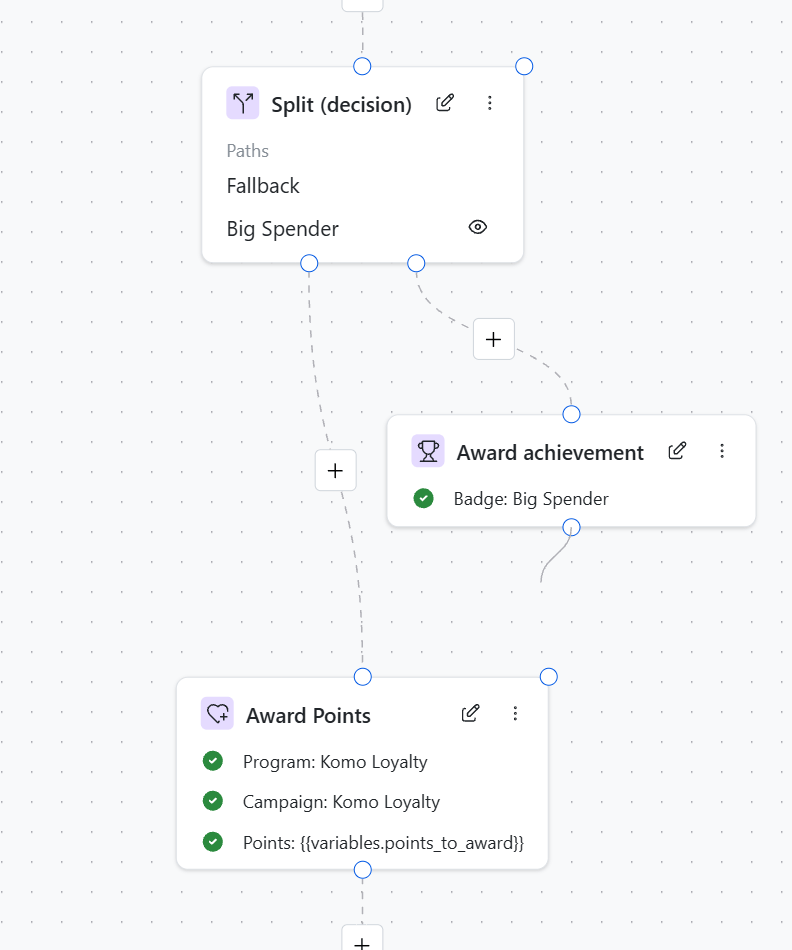
- Delete an extra incoming connection to remove that join input from the target step. The step’s original input remains.
- Read-only viewing does not show the extra drag handle — it only appears while editing.
- Use the + controls on connectors to insert steps on a path without breaking the join.
Loops are not allowed
Workflows cannot contain loops. The editor blocks them when you connect steps, and save refuses graphs that contain a loop:Auto layout for branched graphs
When the editor auto-lays out a branched workflow, it places sibling columns from source-handle order, spaces them using each column’s node width plus a small gap, and orders join input handles left-to-right by source position so converging edges cross less often.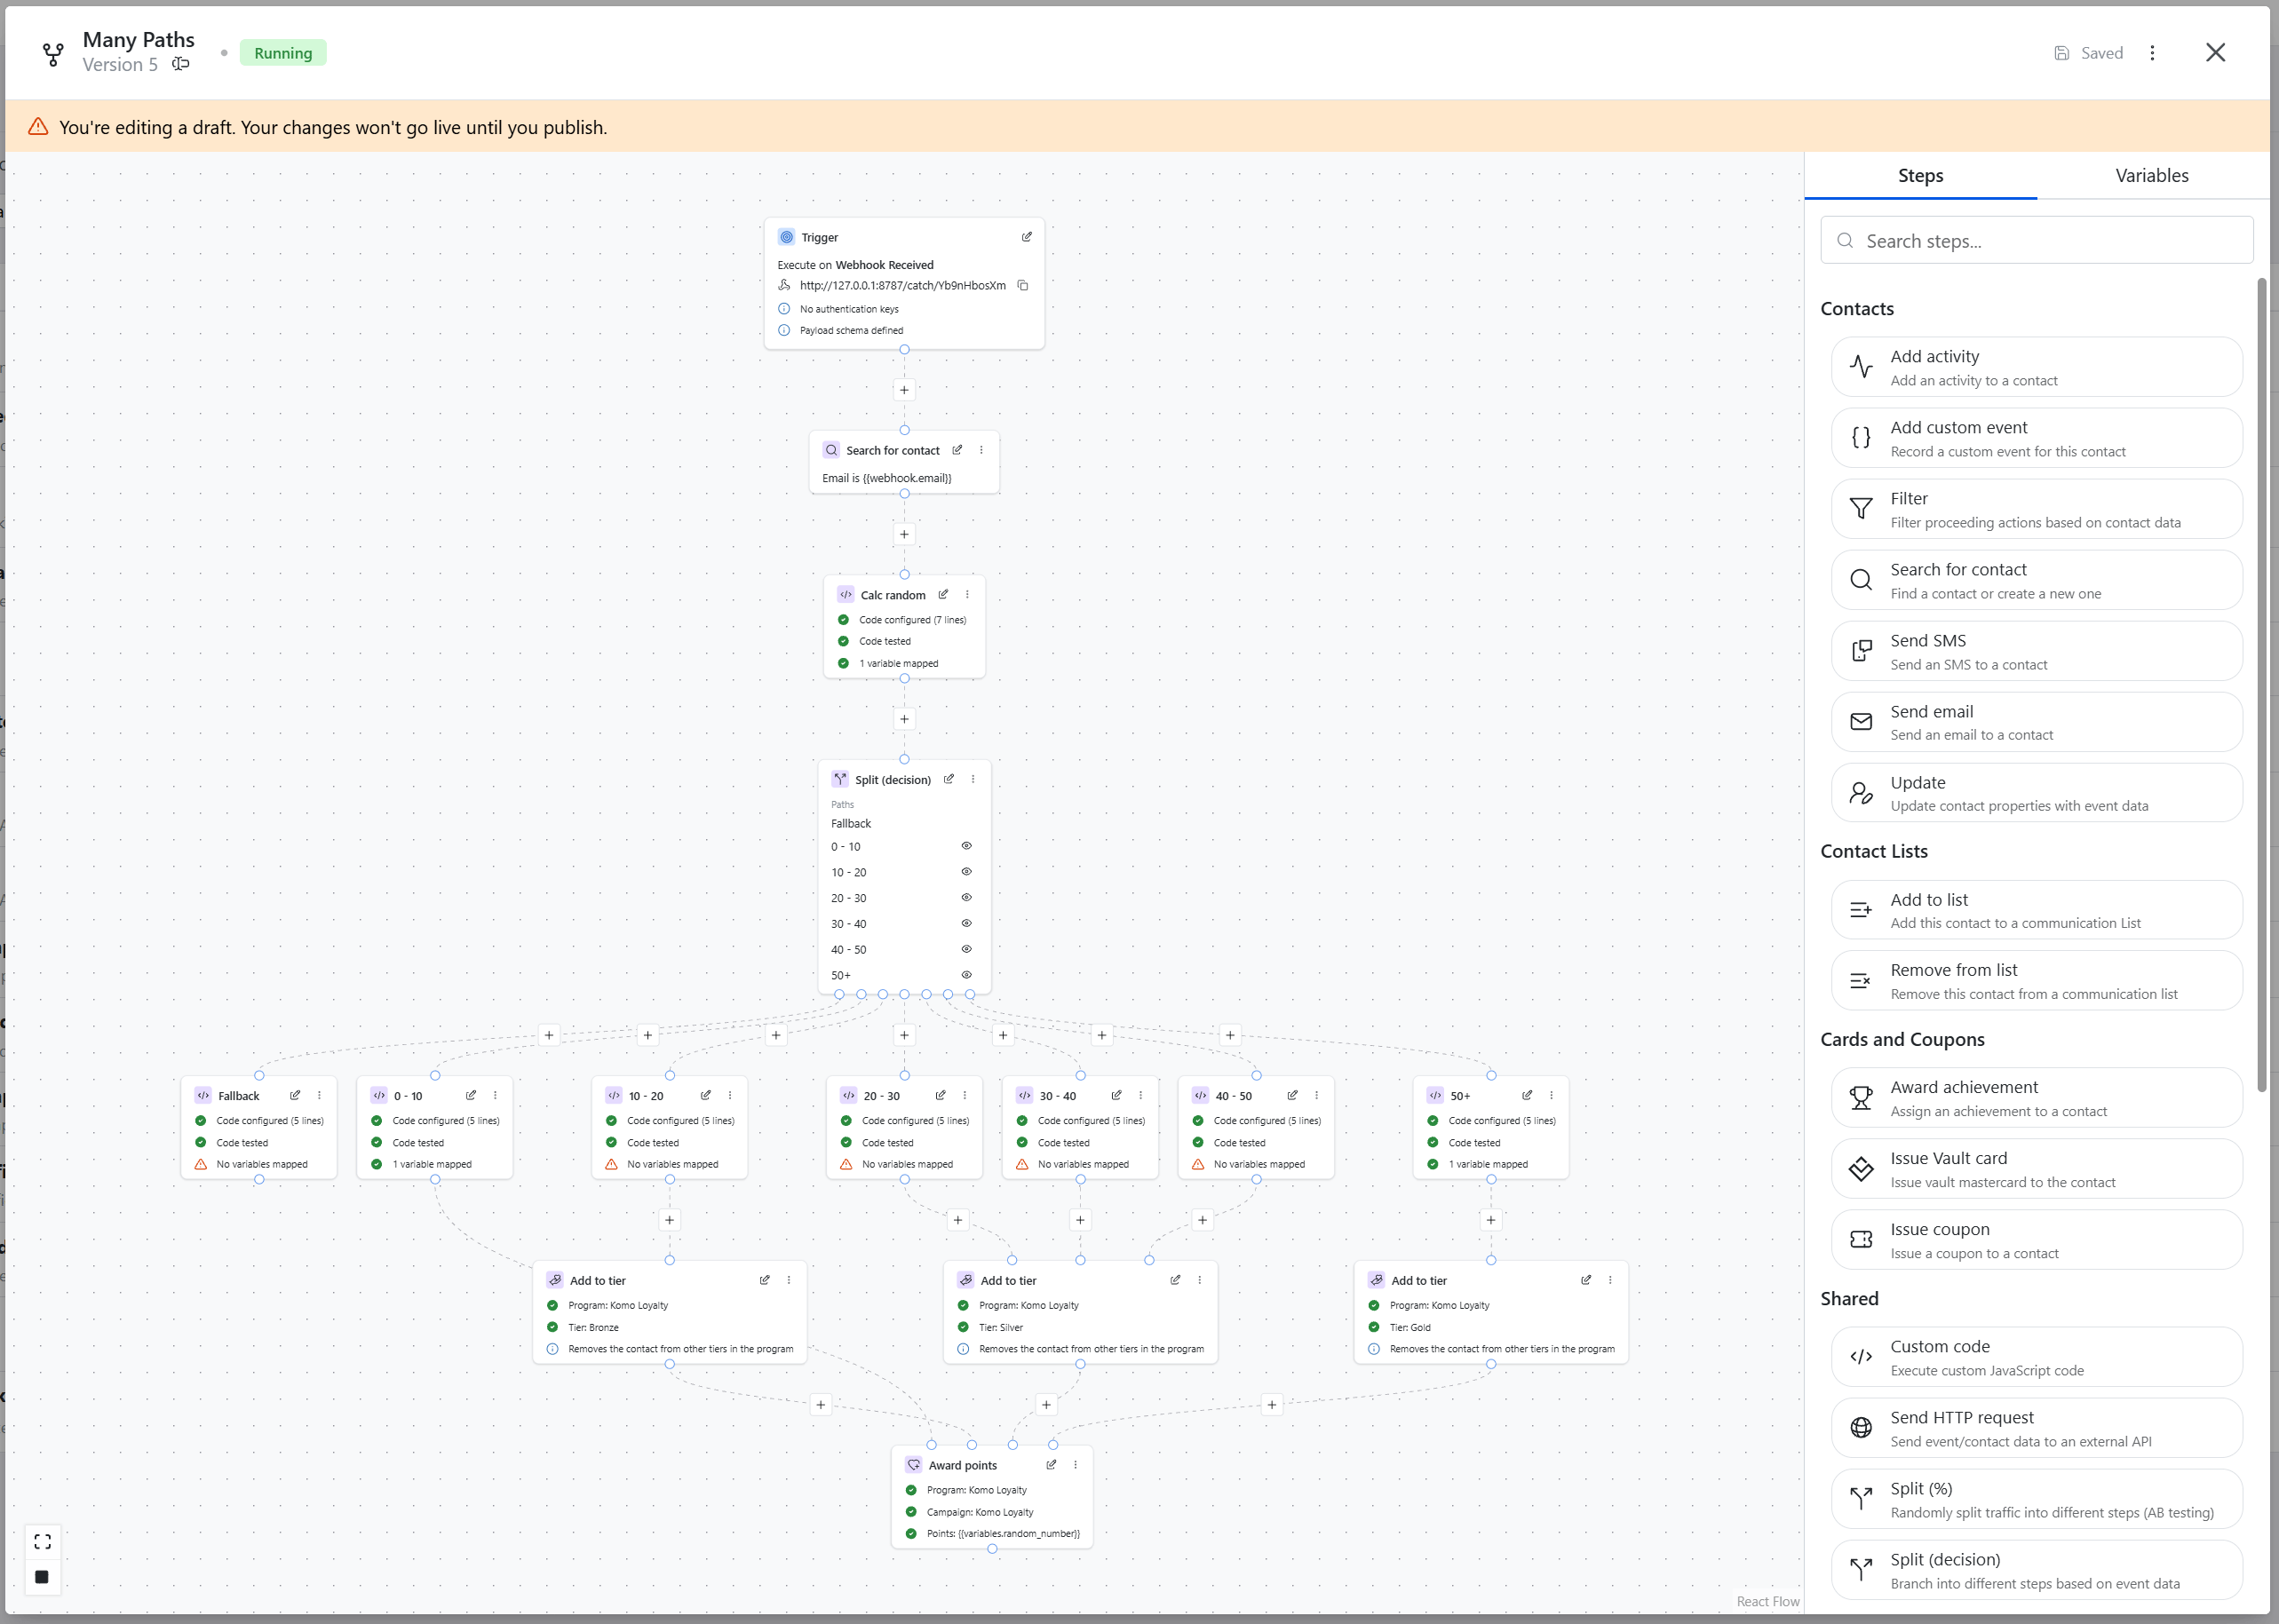
On very complex graphs, some long skip-style connectors may still look imperfect after auto layout. Reposition individual steps if you need a cleaner local arrangement.
Step 5: Test and Launch
- Save your workflow
- Test with sample data to verify each step works correctly
- Run via the three-dot menu (or Start on Overview). For draft-only workflows, a validation modal checks your configuration for errors before publishing and starting. See workflow status management for the full guide.
- Monitor performance in the Workflow Runs dashboard
Monitoring Your Workflows
Track performance and troubleshoot issues in the Workflow Runs dashboard: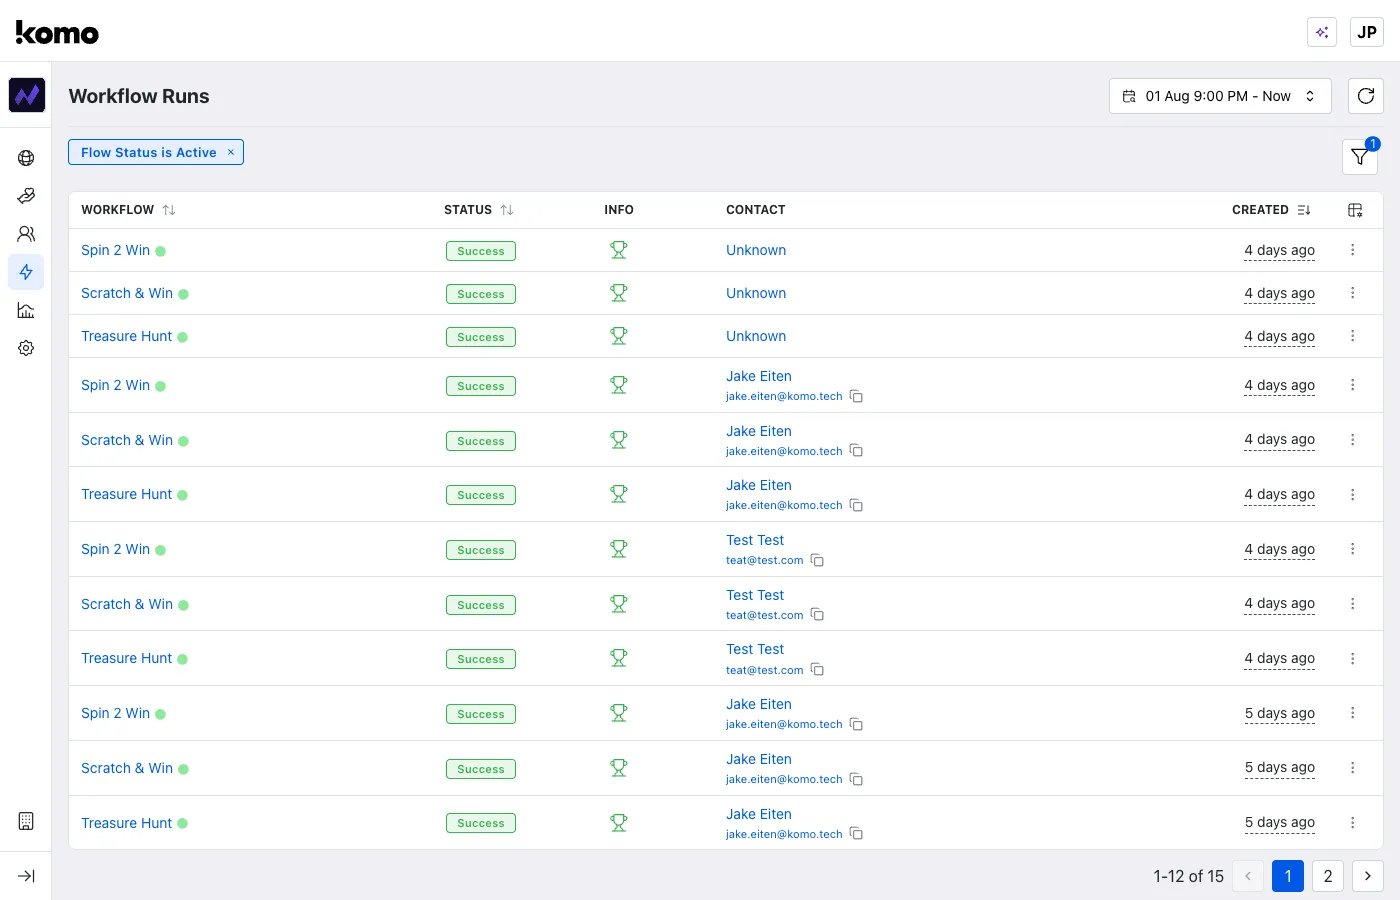
Detailed Execution Views
Click any workflow run to see step-by-step execution details: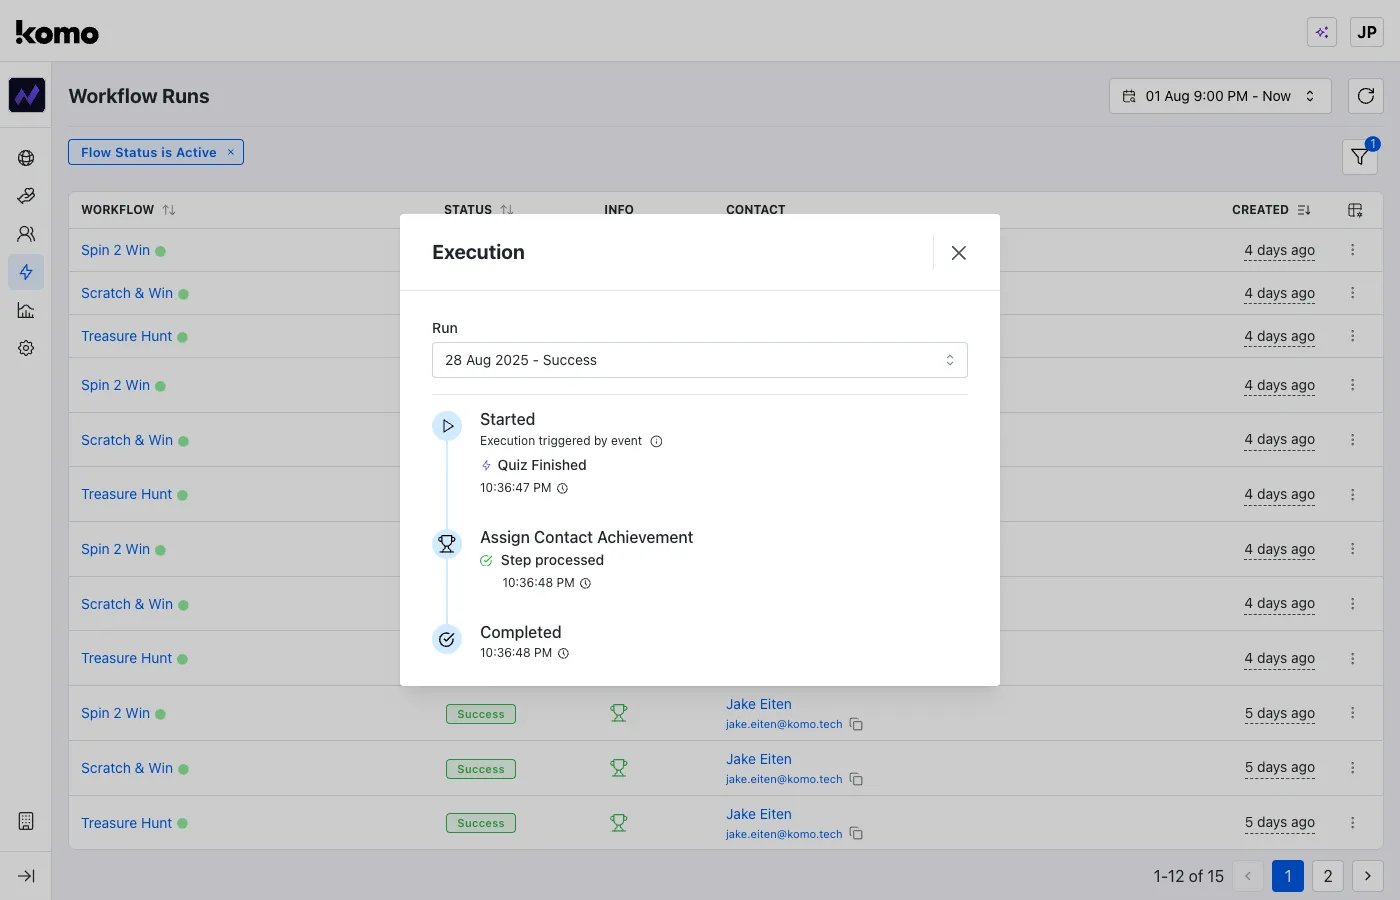
- Trigger event that started the workflow
- Step-by-step timeline with precise timestamps
- Success/failure indicators for each module
- Data context about the contact and triggering event
What’s Next?
Ready to build advanced workflows?- View all triggers → - Complete trigger reference with use cases
- Browse all actions → - Full action library with examples
- Workflow status management → - Control workflow execution and lifecycle
- Monitoring guide → - Deep dive into performance tracking
- Try the Contact List Workflows tutorial
- Contact support at [email protected]