
What is it?
Whether you need navigable pages for FAQs and T&Cs, or independent campaign and sub-brand sites, Multi-page Hubs empowers you to scale Hubs to suit your specific requirements, with the ability to fully customize each page as needed.How do I build one?
Step 1: Create your Hub
- Navigate to Hubs.
- Once there, click + Create hub.
- Input an Internal name for the hub and click Create.
- You will then see that your new hub has been created.
Step 2: Add additional pages
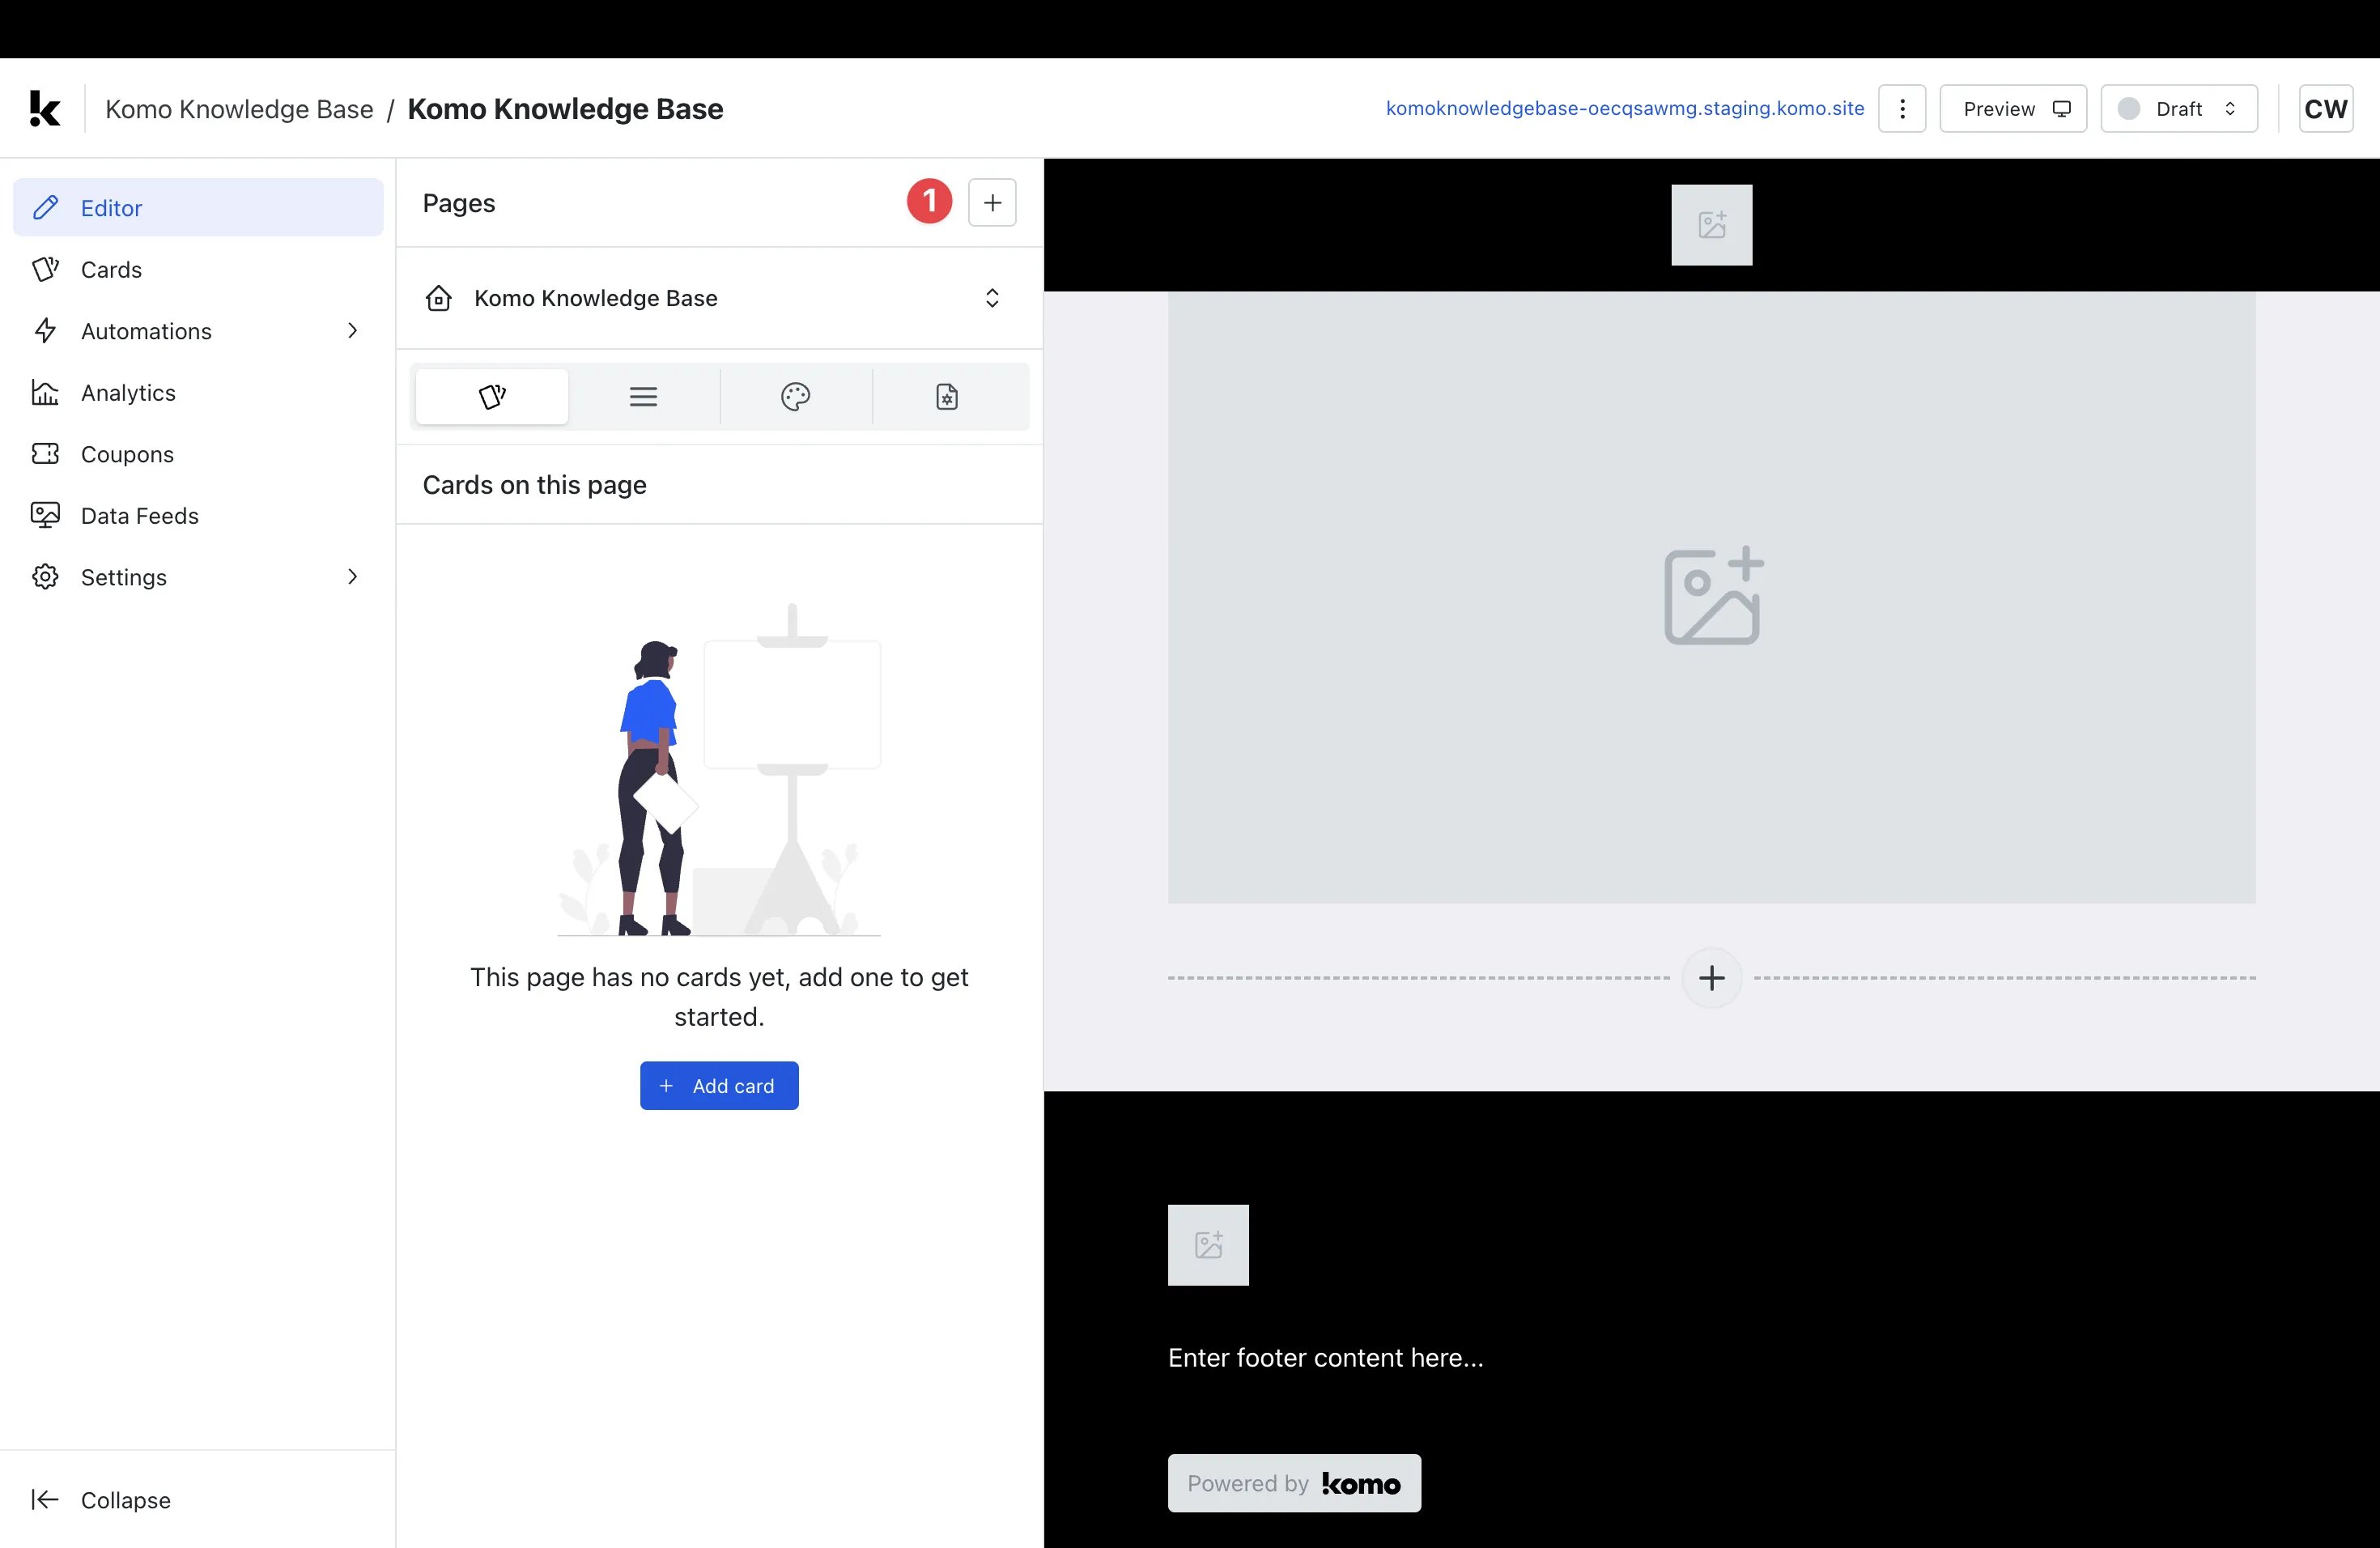
- (1) Click + (Create page).
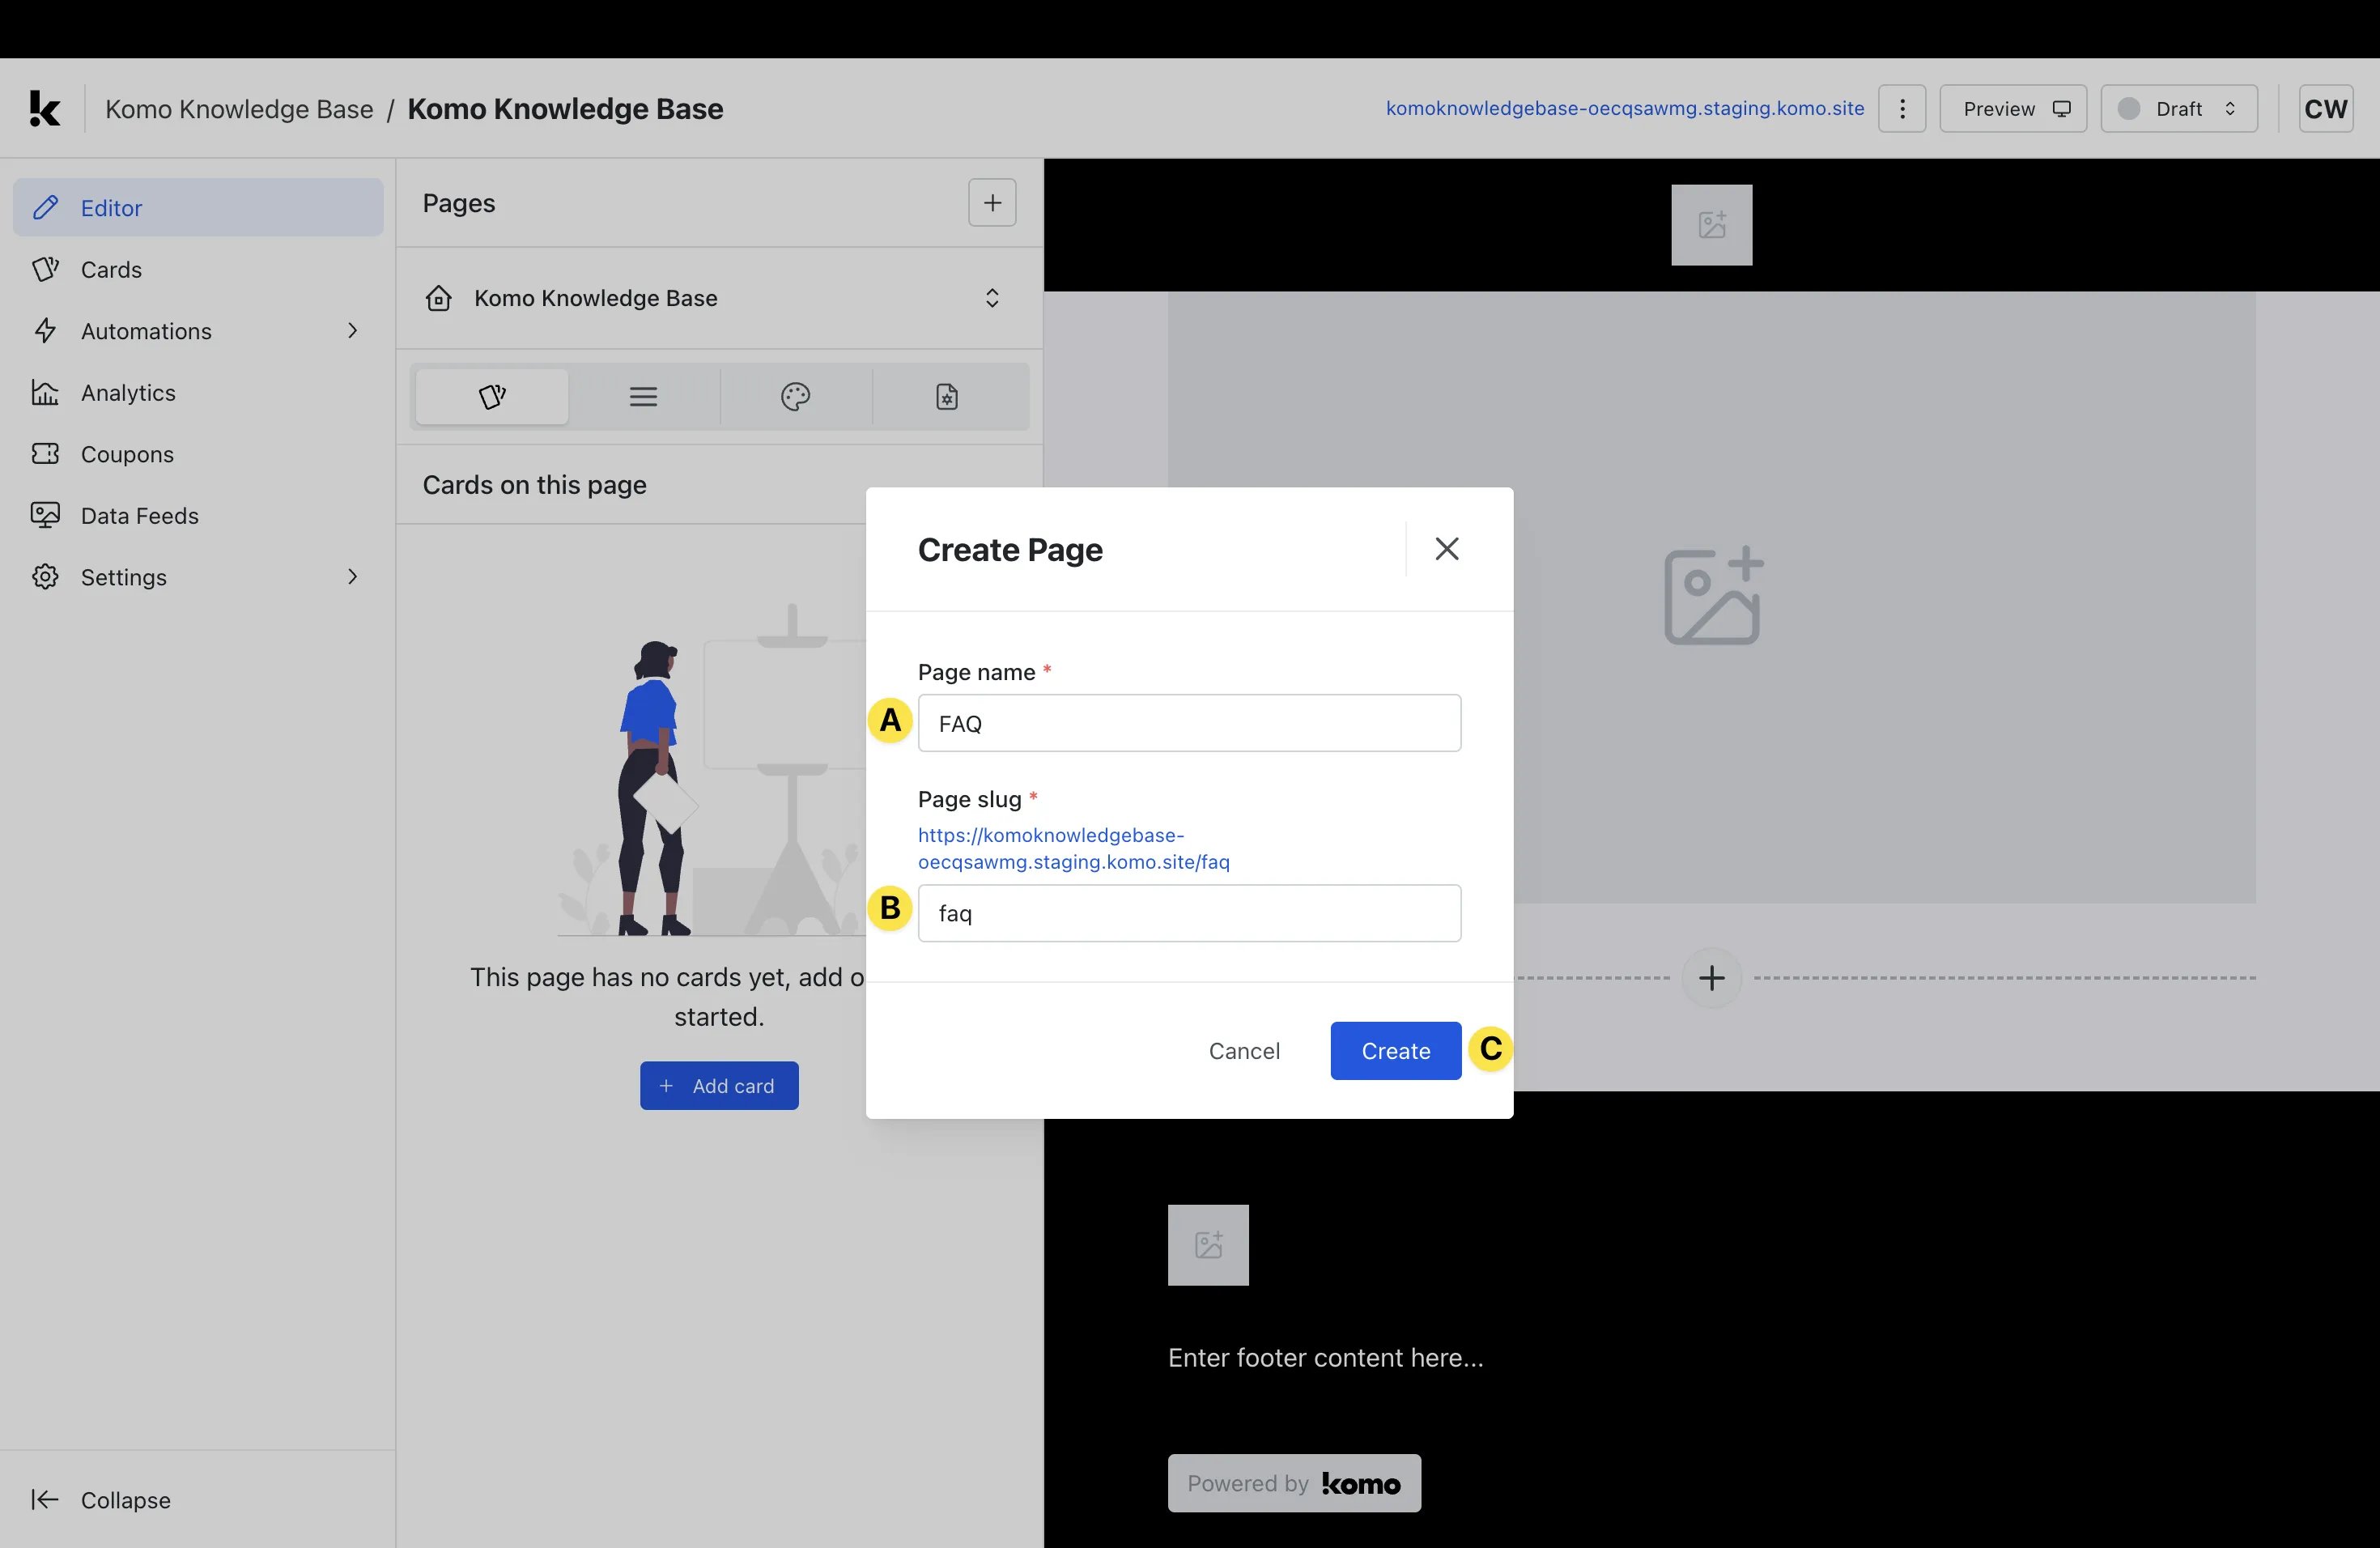
- (A) Give your page an appropriate Page name.
- (B) Give your page an appropriate Page slug.
- (C) Click Create.
- You will then see that your additional page has been created. Notes: Please remember that your Page name and Page slug will be publicly visible, so be sure to use a suitable name.
Step 3: Edit page settings
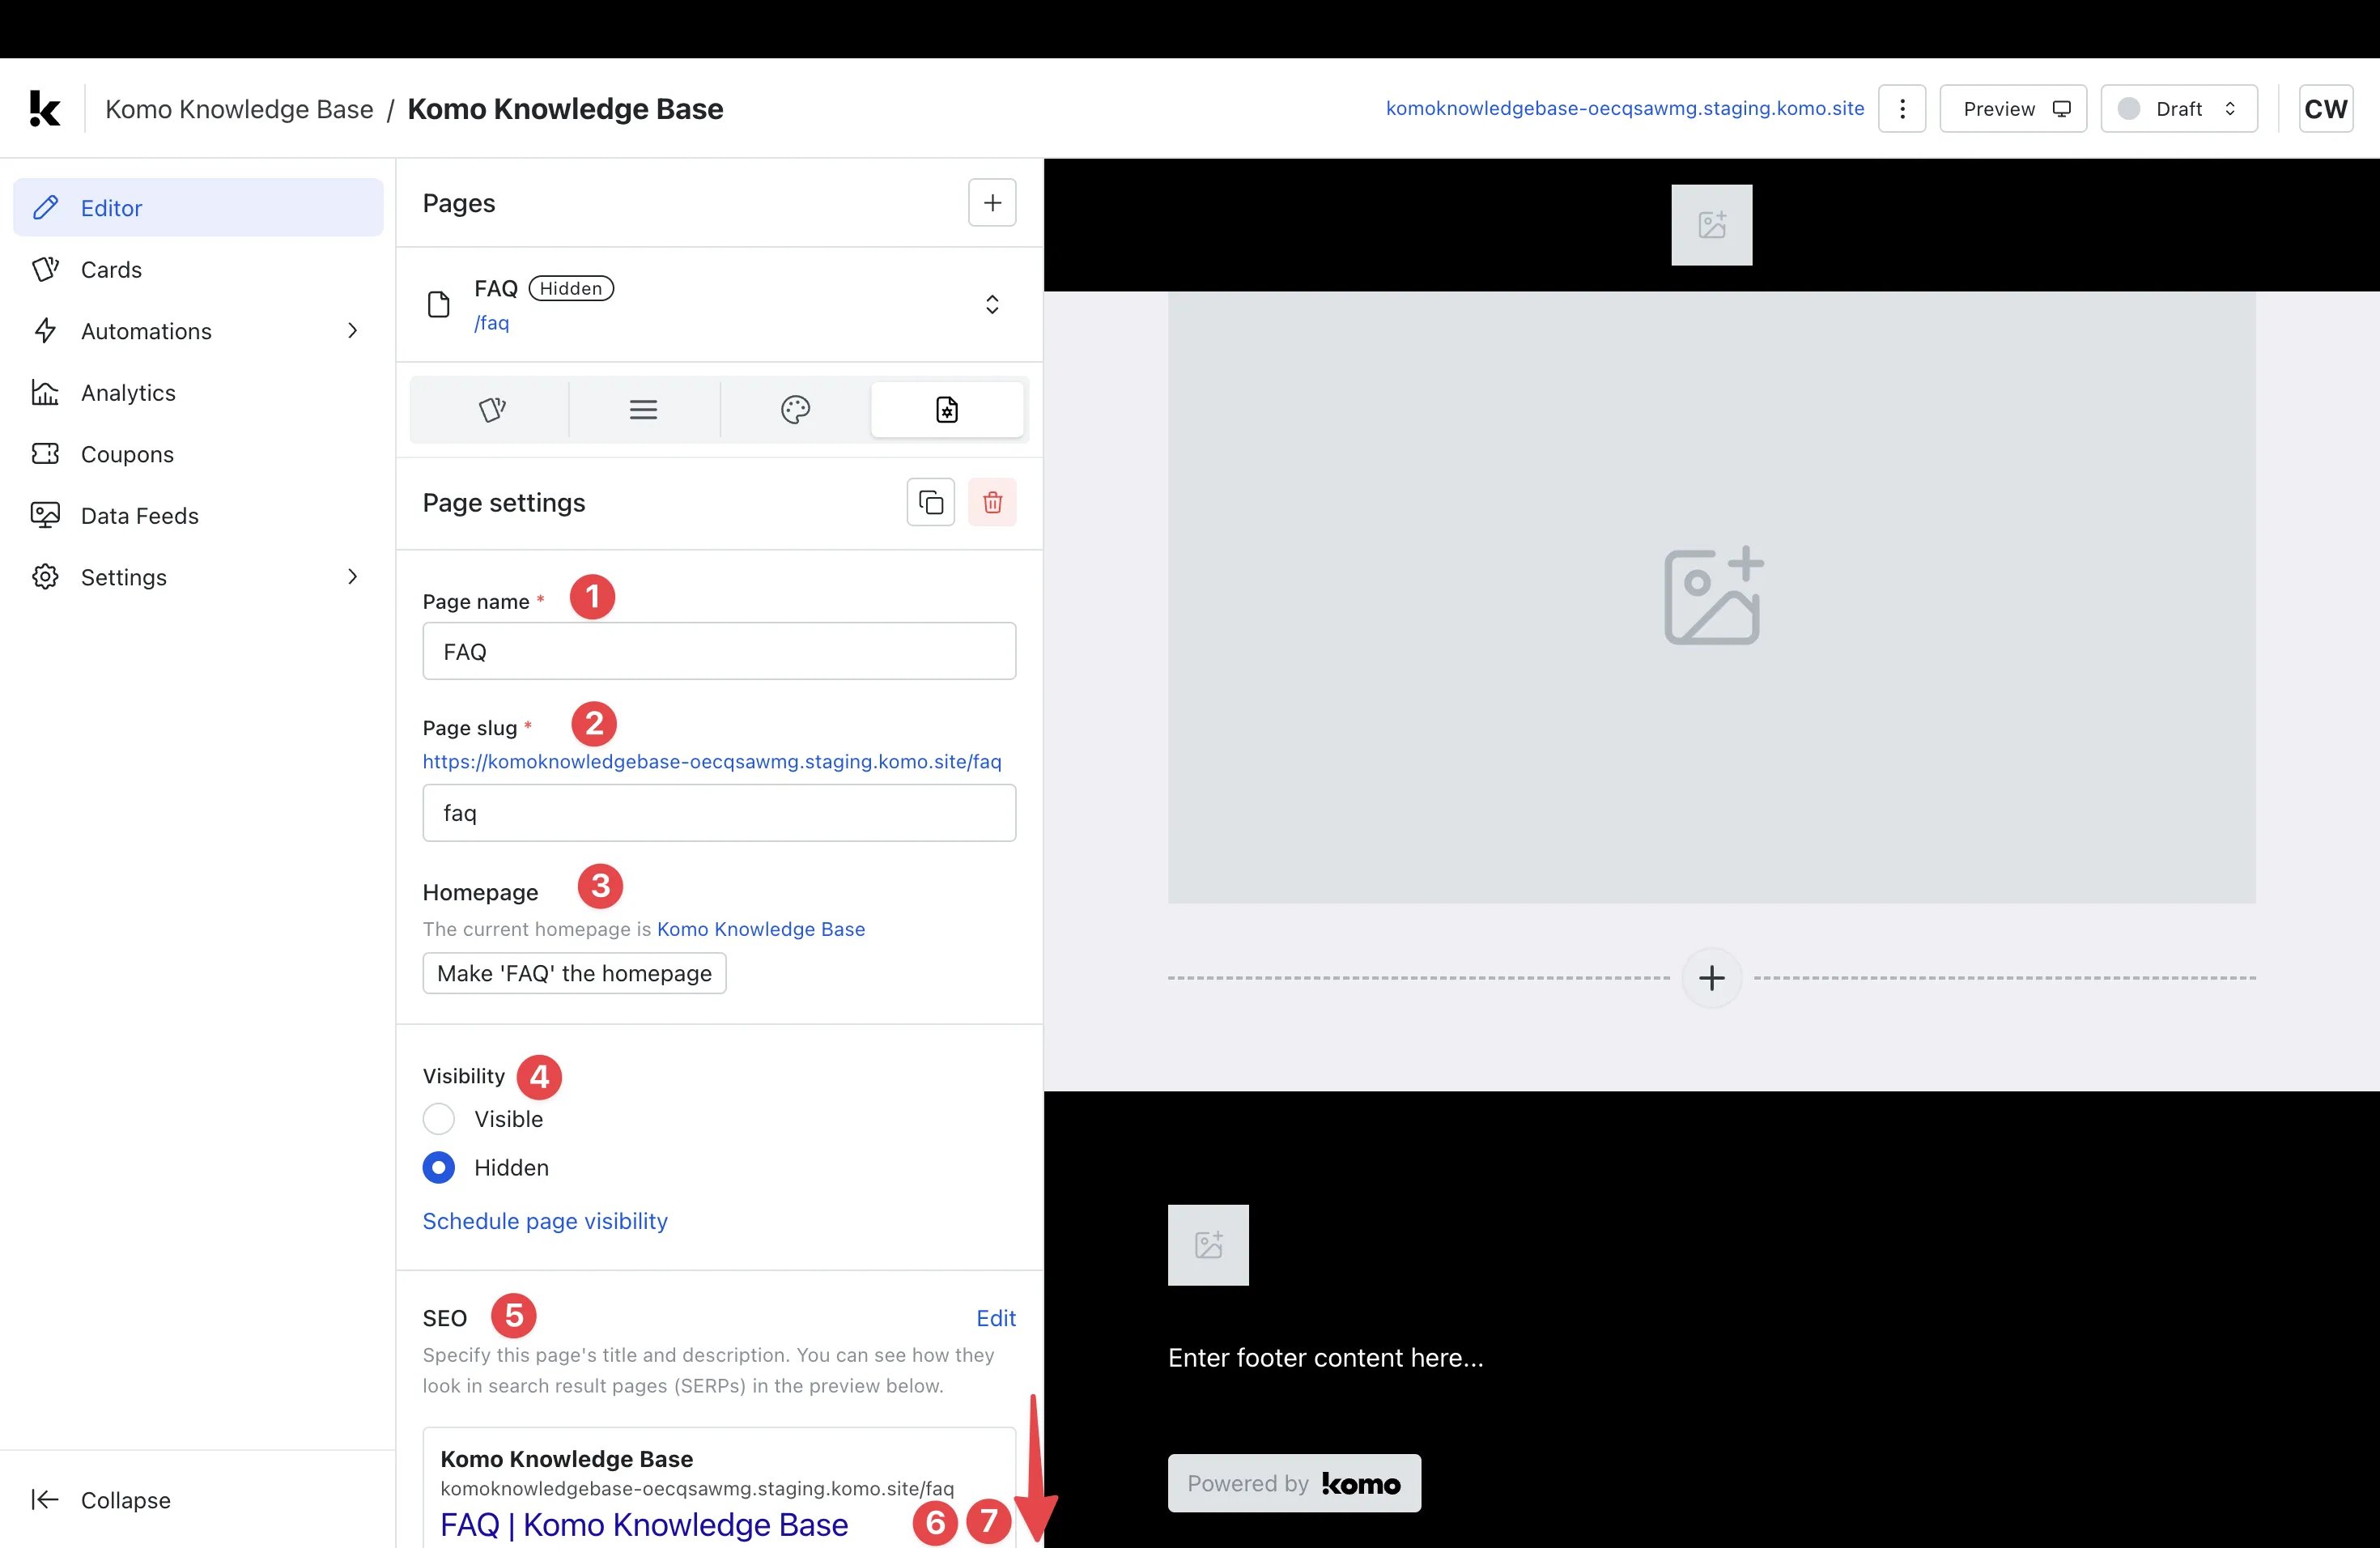
- Navigate to the Page settings tab.
- (1) This is where you can edit your Page Name if desired.
- (2) This is where you can edit your Page slug if desired.
- (3) This allows you to set the page you are currently editing as the Homepage if desired.
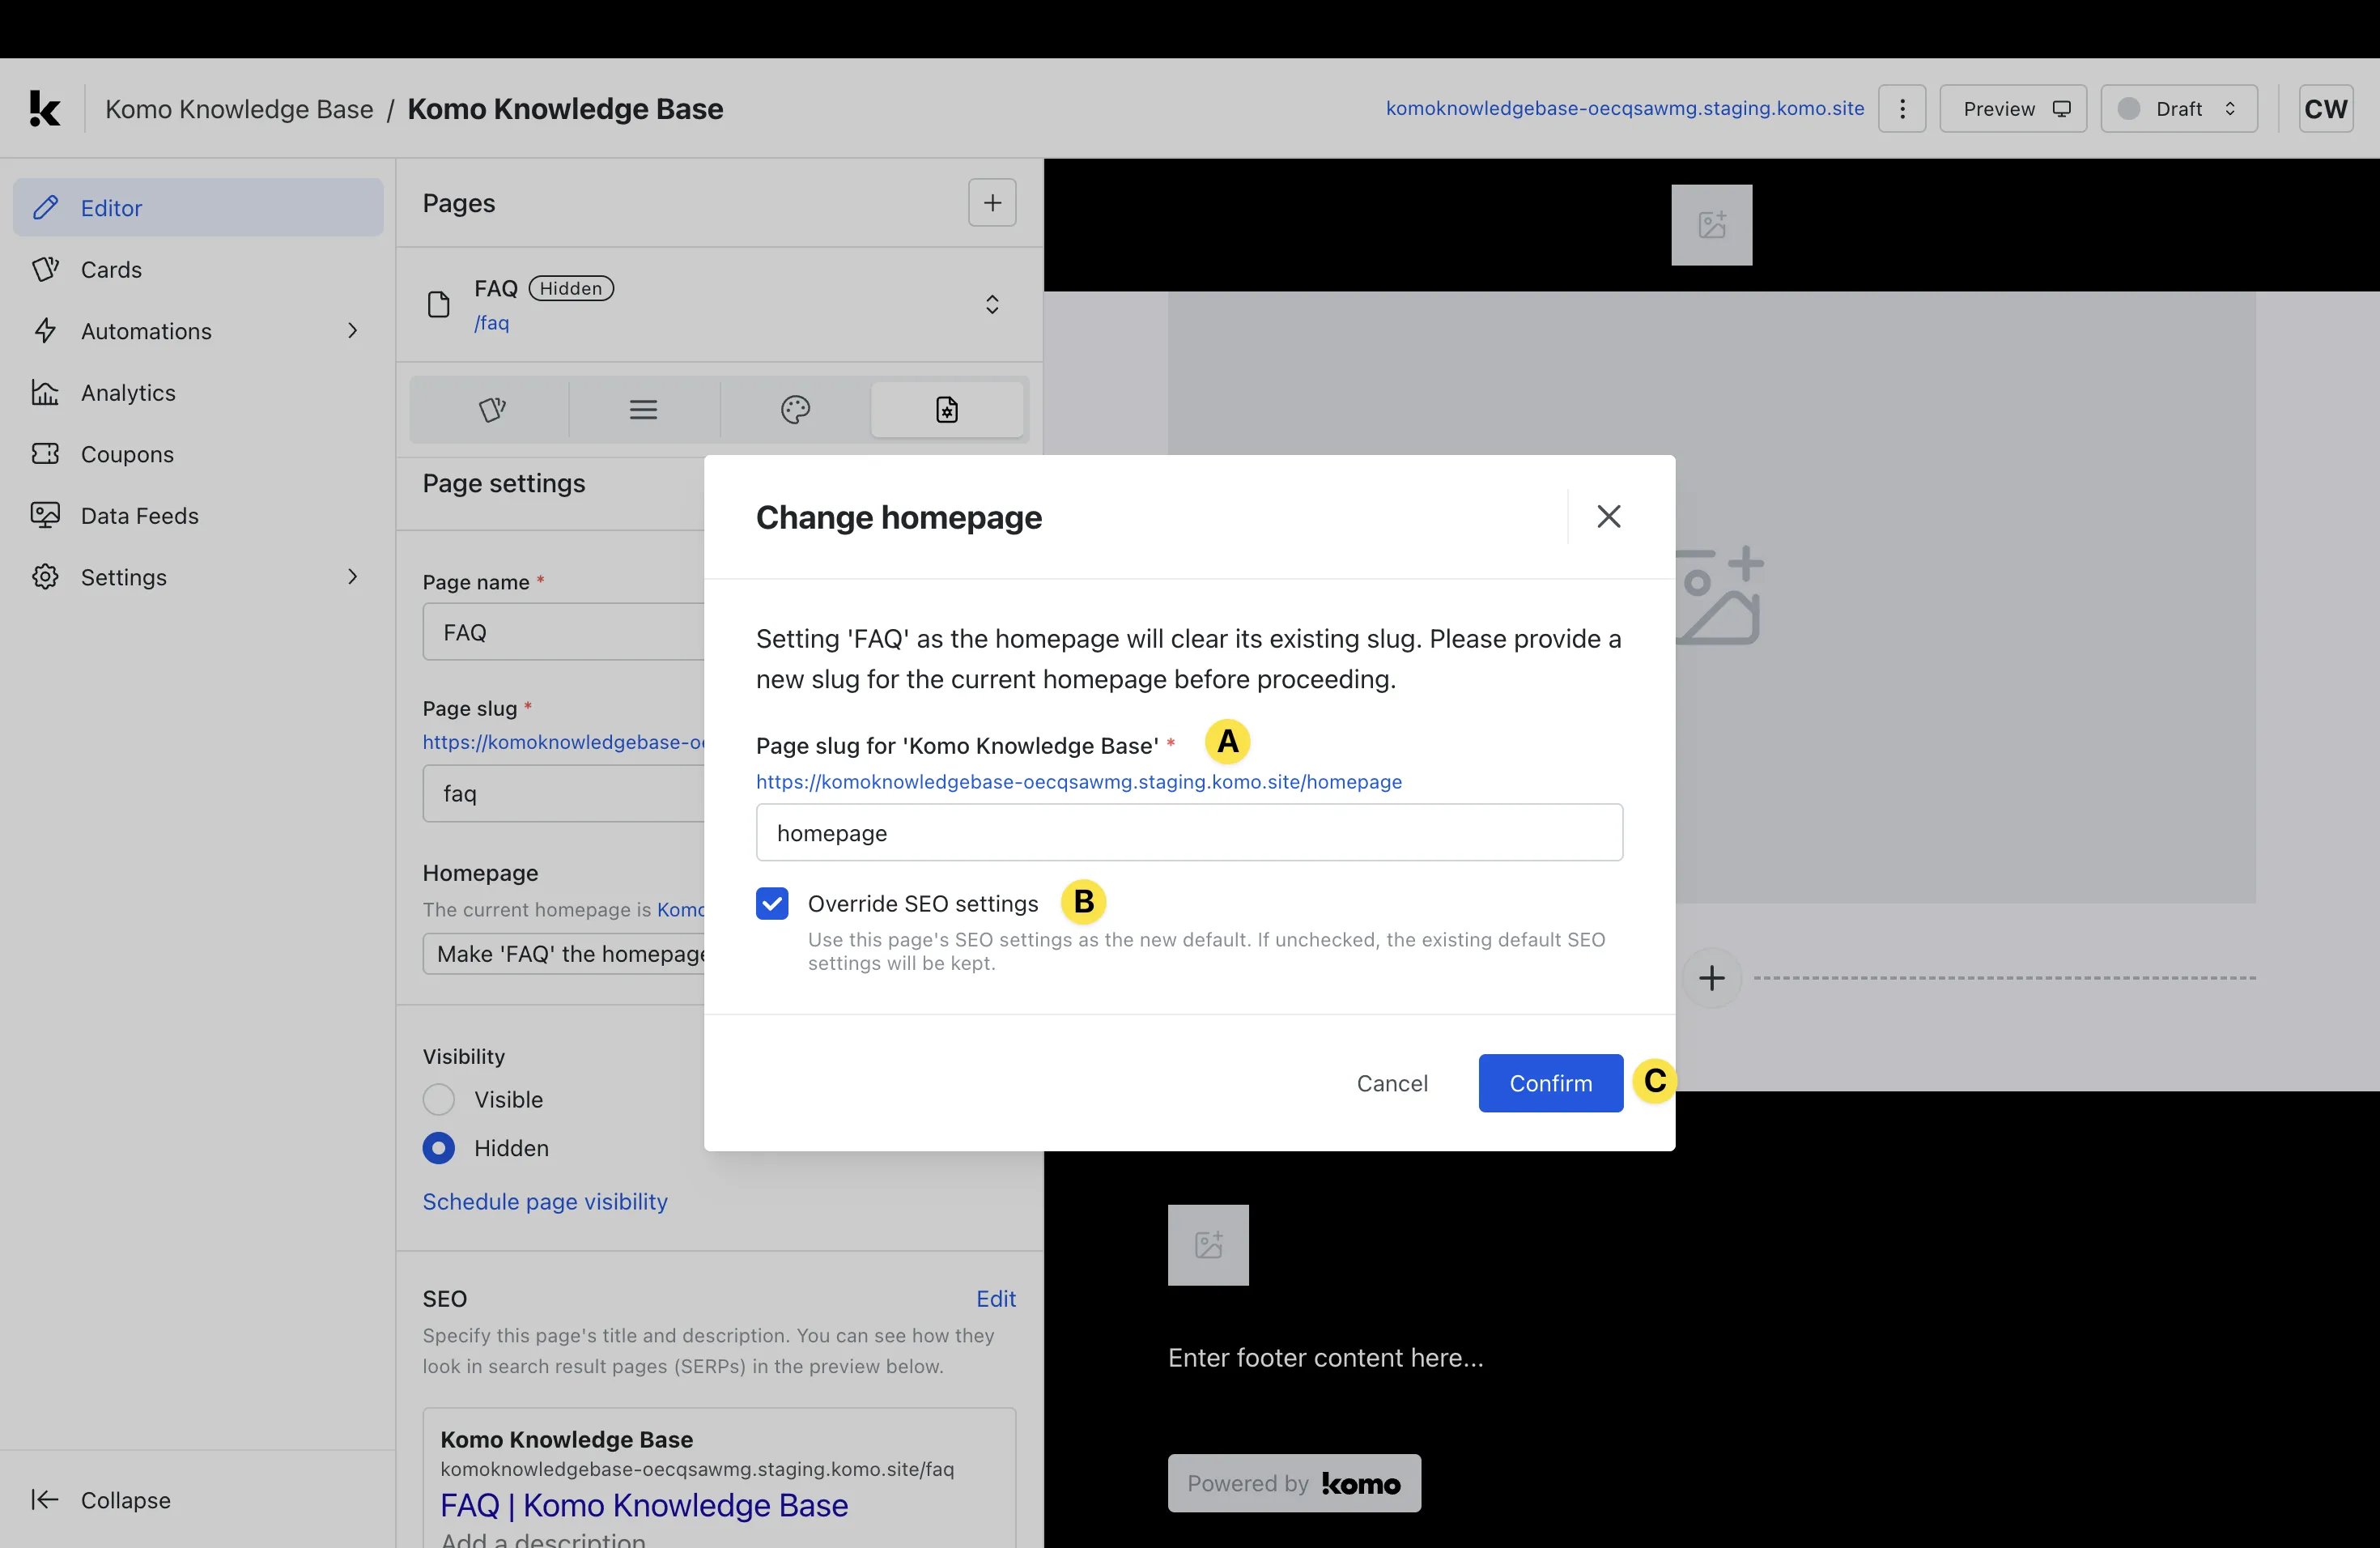
- (A) This is where you can set a new Page slug for the new homepage.
- (B) Select this box if you would like to use this page’s SEO settings as the default SEO settings across all pages.
- (C) Click Confirm to implement the homepage change. Notes: You should only undertake these steps if you are looking to change which page displays as the homepage.
- (4) Here you can select whether your page is Visible (accessible by URL) or Hidden (only with password).
- (5) Here you can preview the SEO settings for that specific page. Click Edit to change these.
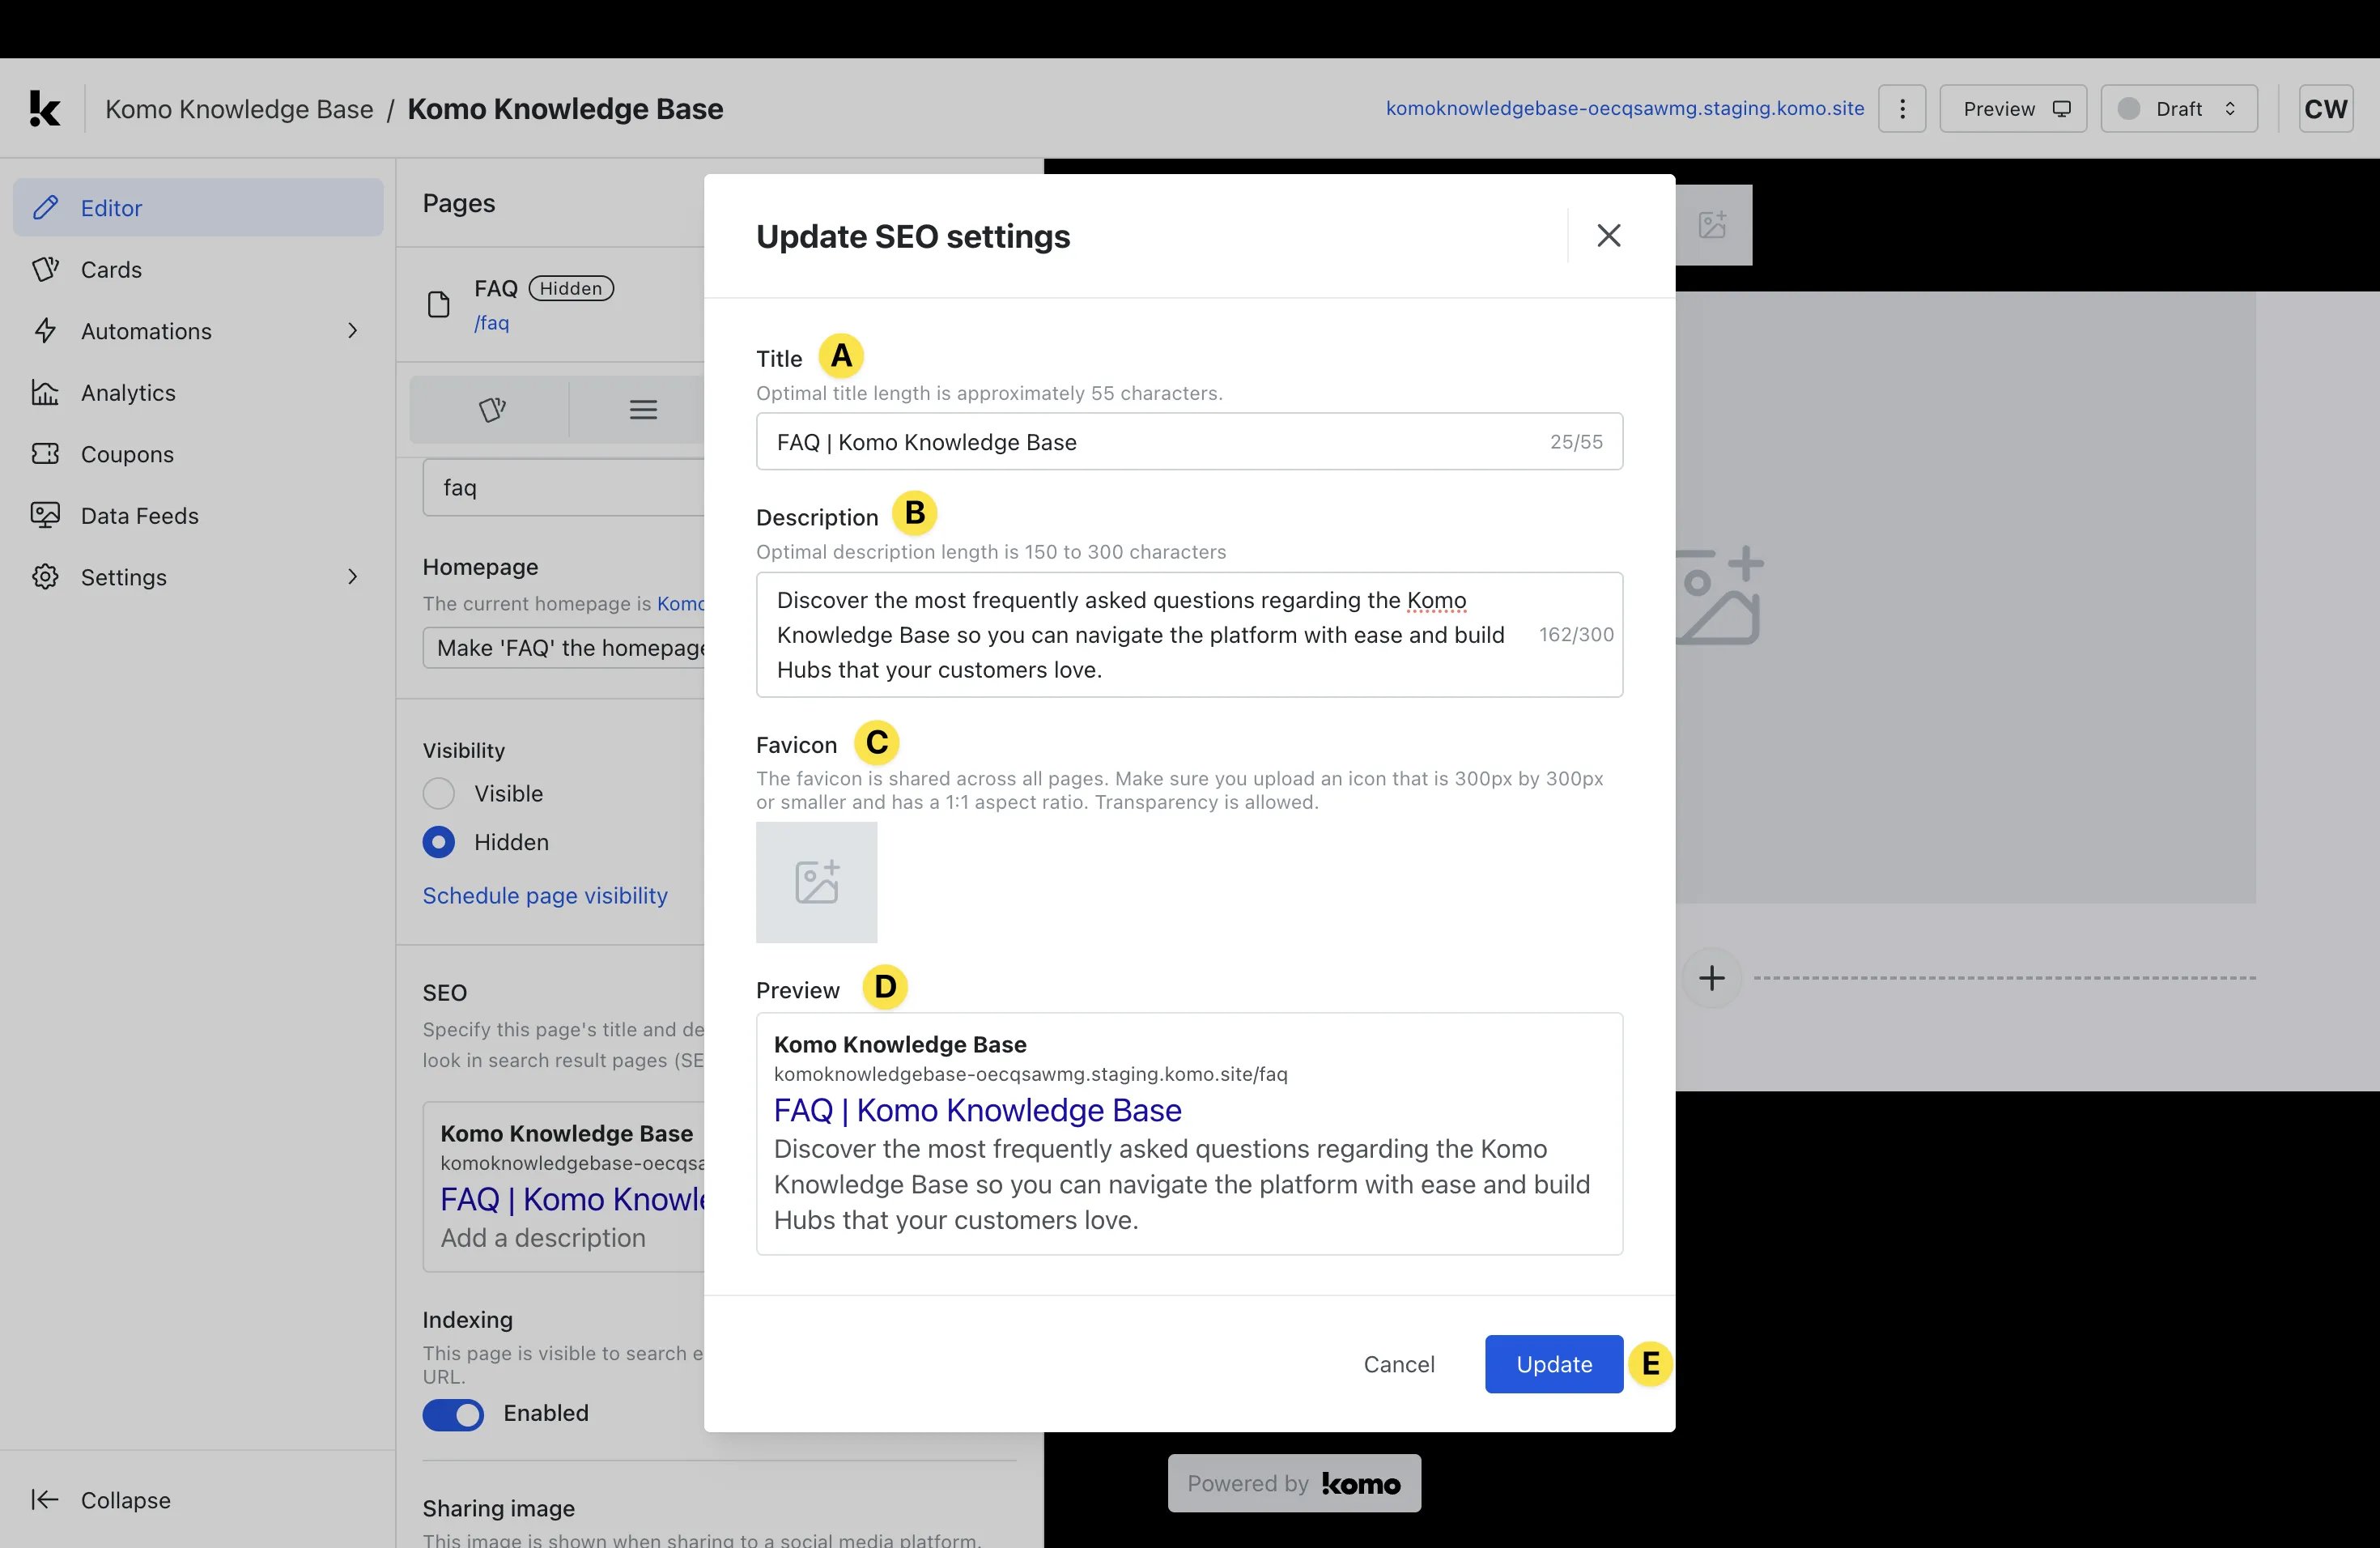
- (A) Here you can edit your Title so that it is an optimal length for SEO purposes.
- (B) Edit the page Description to provide a brief outline of the page for viewing in search engines.
- (C) Upload a Favicon that will be displayed alongside the page listing in search engines. This is usually your brand logo or icon.
- (D) Be sure to Preview your SEO settings to ensure you’re satisfied with how they will appear publically.
- (E) Click Update to confirm the settings.
- (6) Scrolling down you can select whether you would like Indexing enabled or not. Indexing determines whether the page is visible within search engines.
- (7) Scrolling down you can upload a Sharing Image which is the image that will be displayed when sharing the page on social media platforms.
Step 4: Add a Menu

- (1) Click on the Menu tab.
- (2) Click the + Add menu button.
- (3) Give your menu an appropriate Name.
- (4) Click Create.
- You will now be shown a modal that gives you the ability to add clickable links to your menu.
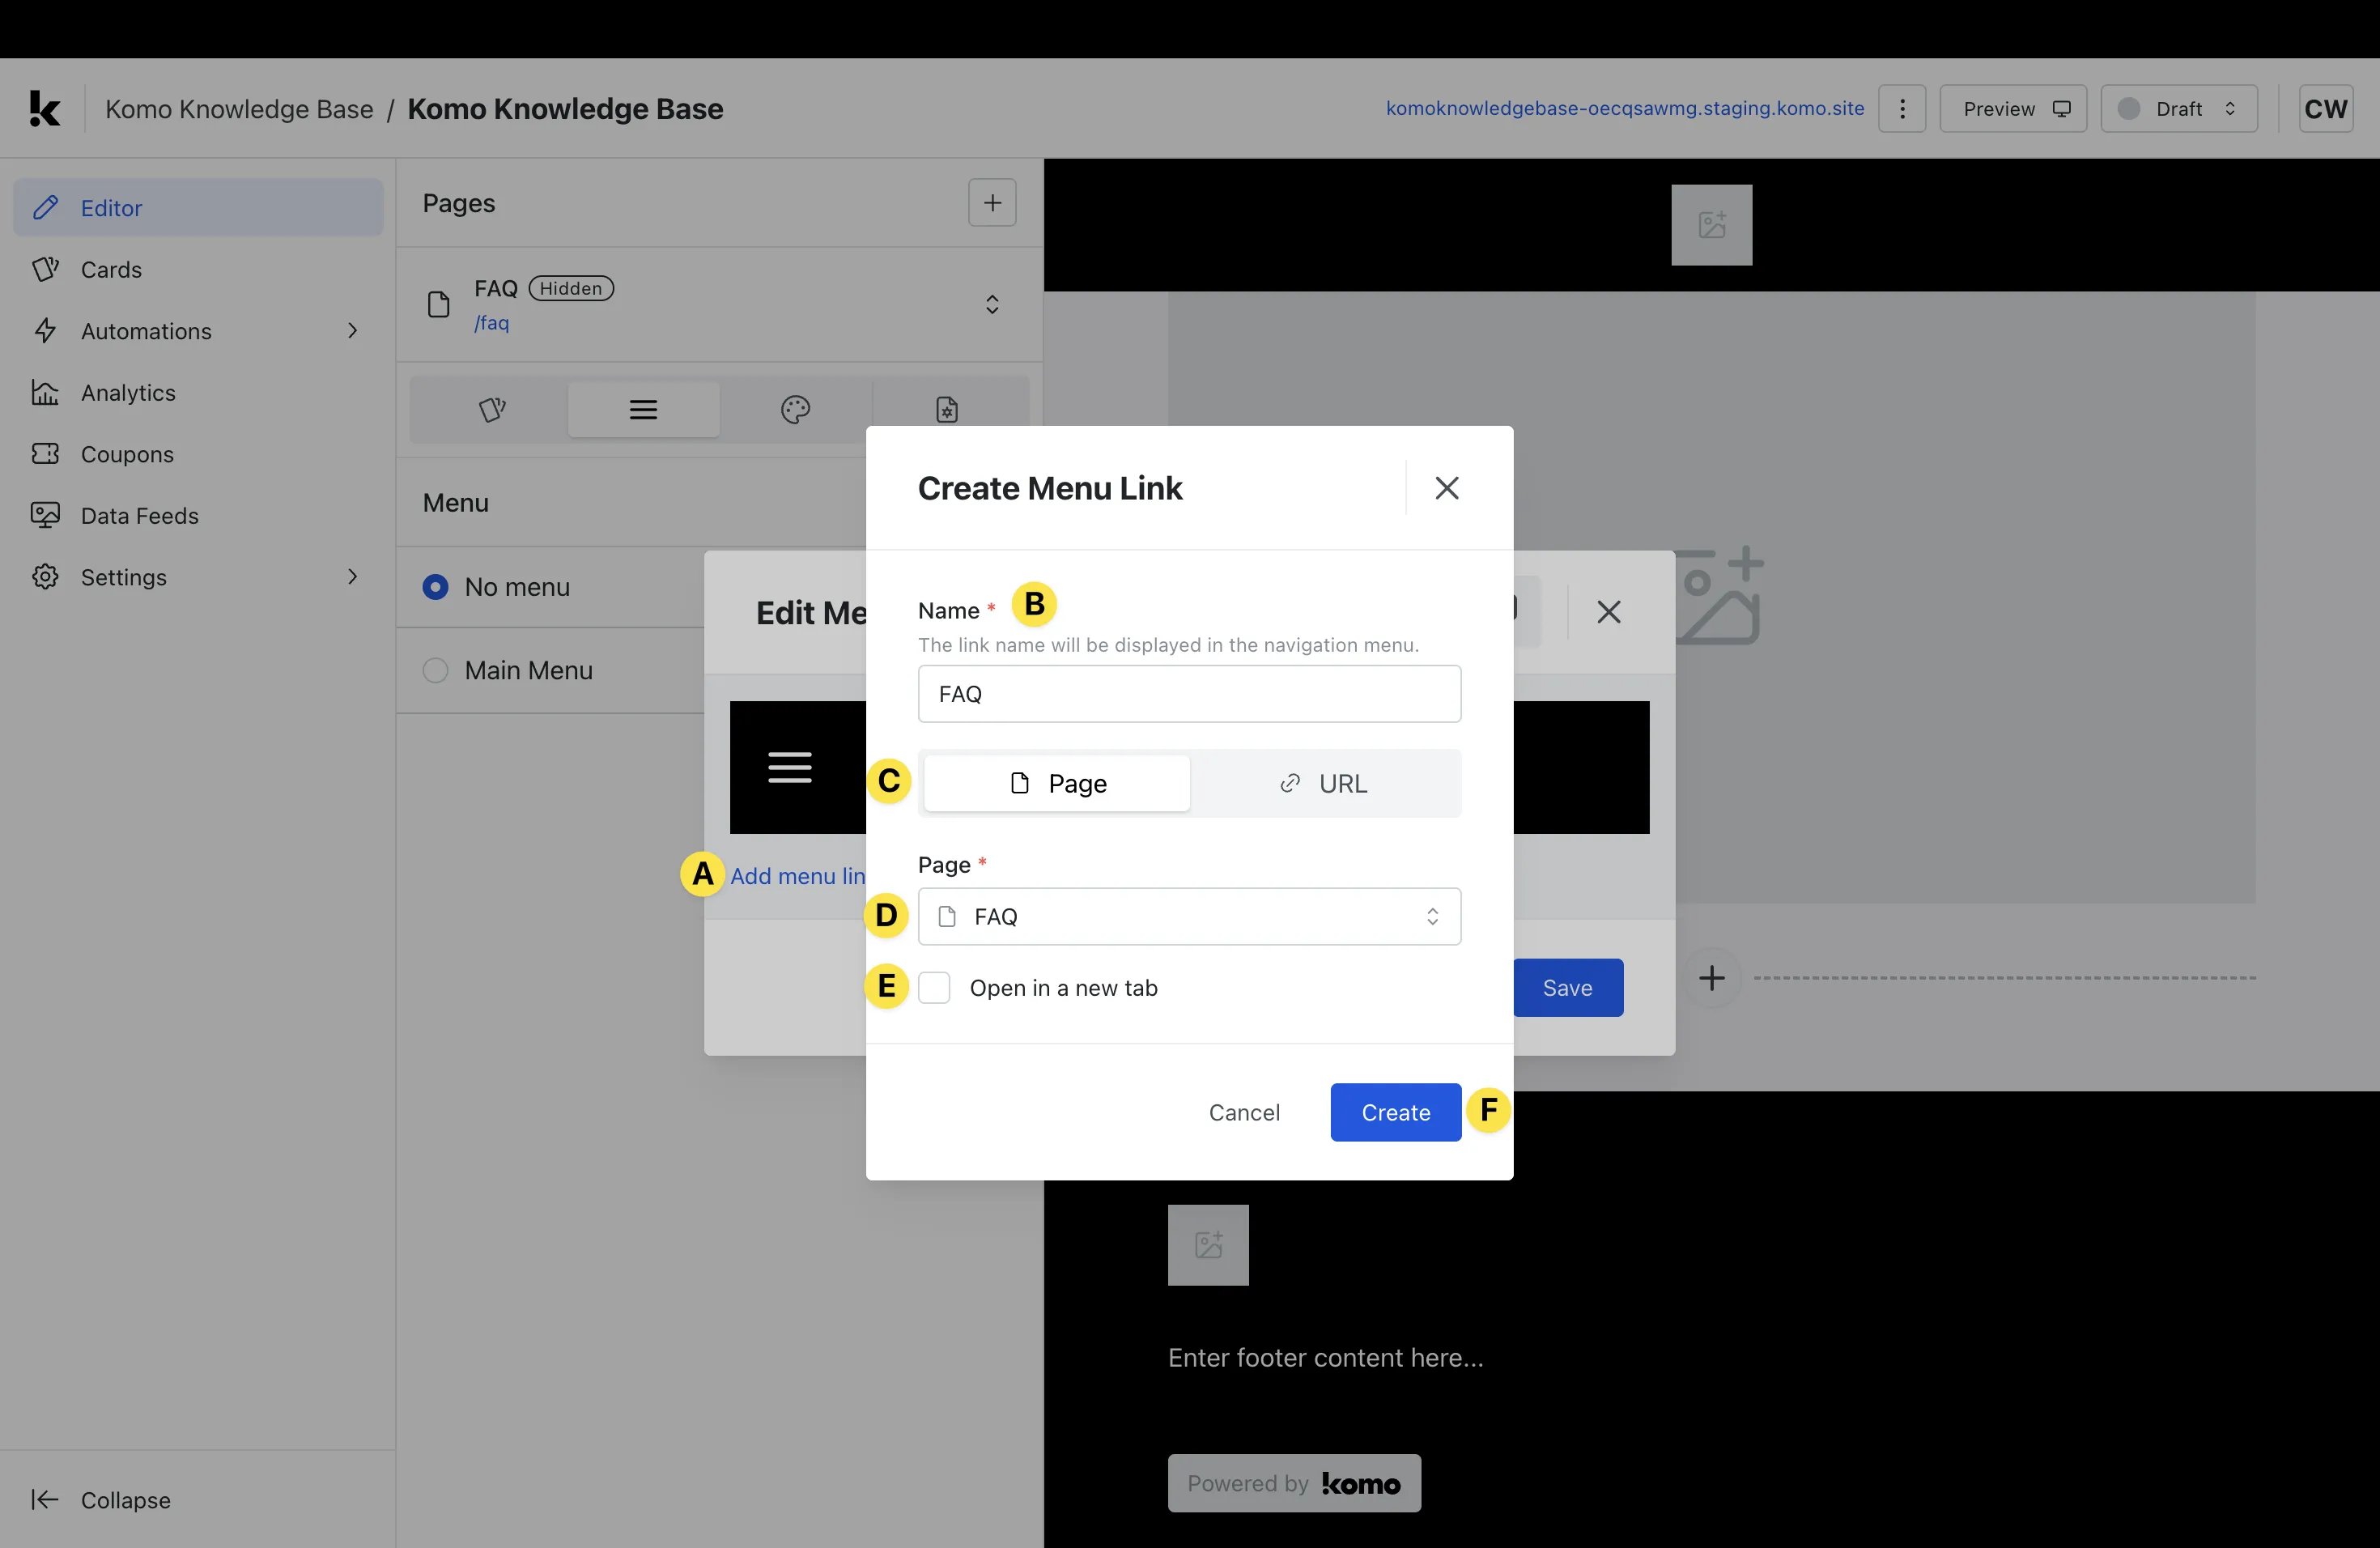
- (A) Click Add menu link.
- (B) Give your link an appropriate Name (this will be visible to the public within the menu).
- (C) Here you can select whether you want to link to an internal Page or external URL.
- (D) Select your internal page to link to or paste in an external URL.
- (E) Check this box if you would like the link to Open in a new tab.
- (F) Once you have completed all steps, click Create.
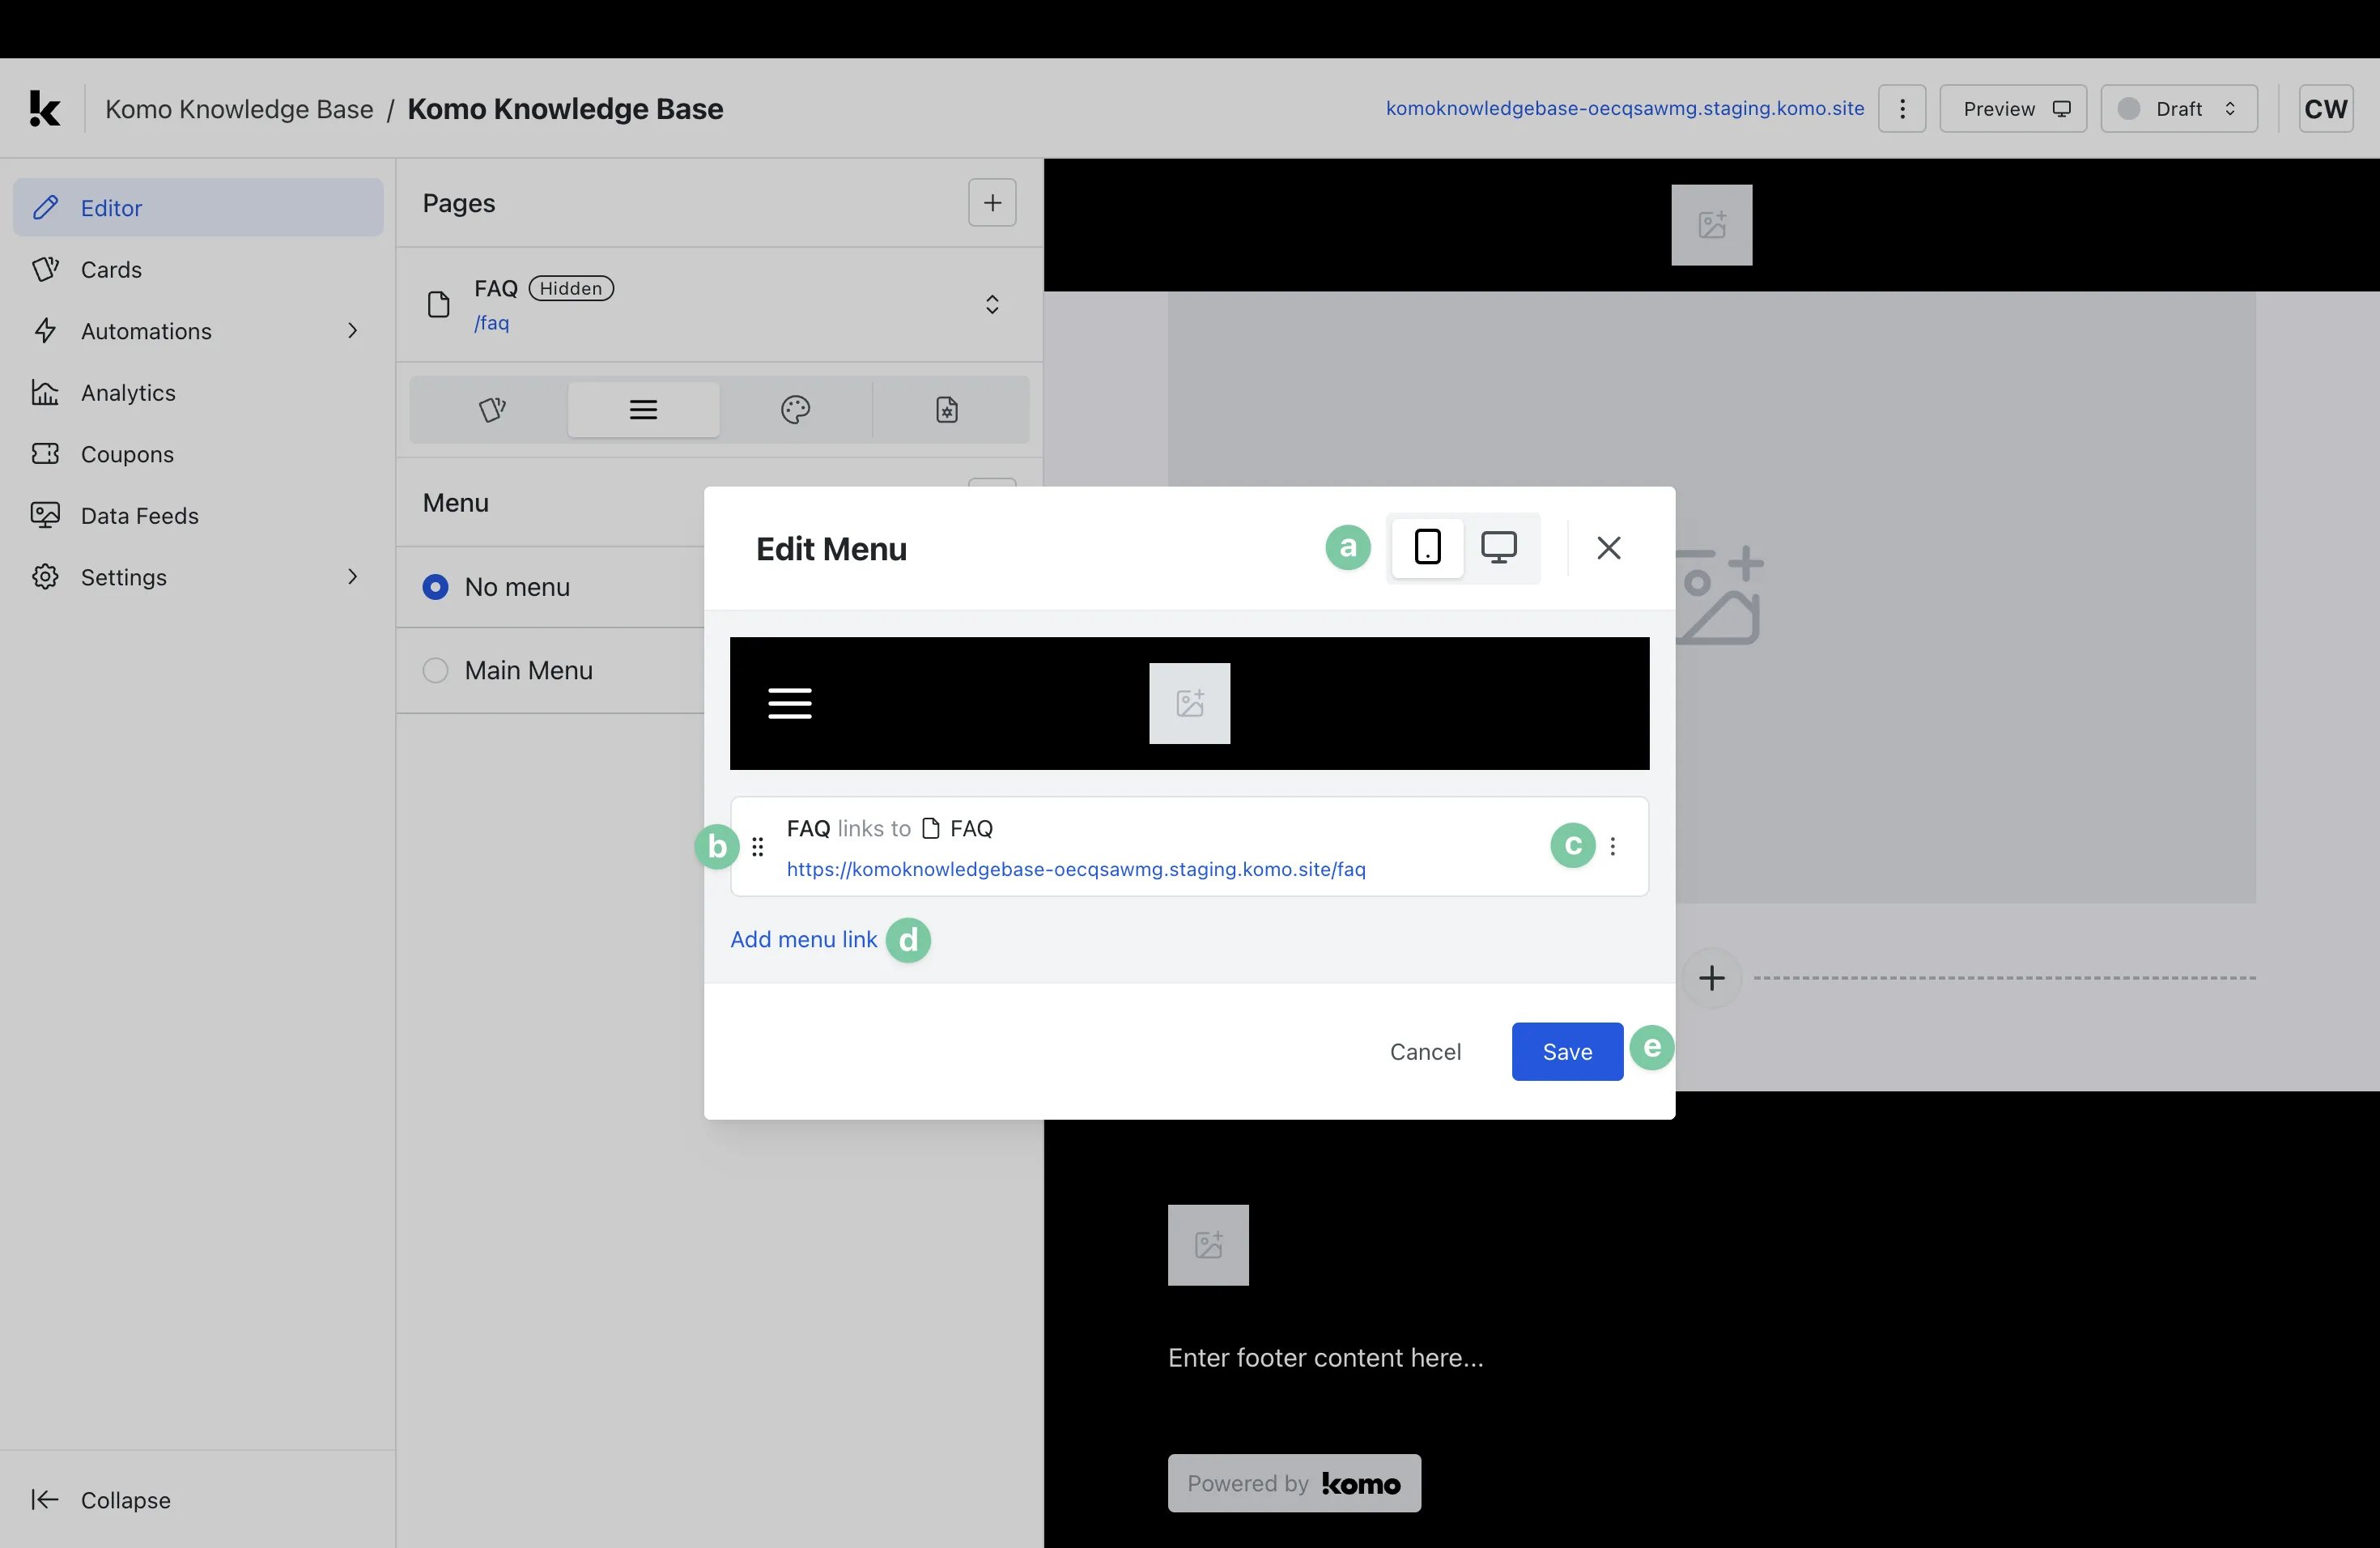
- (a) Here you can preview how your menu will appear on Mobile and Desktop screens.
- (b) Click and drag the 6 dots on the left to reorder the links in your menu.
- (c) Click the 3 dots on the right to Edit, Clone, or Delete your link.
- (d) Click Add menu link to add additional links.
- (e) Select Save to finalize your changes.
Step 5: Apply Menu to page

- (1) Select which menu you would like to be applied to the page.
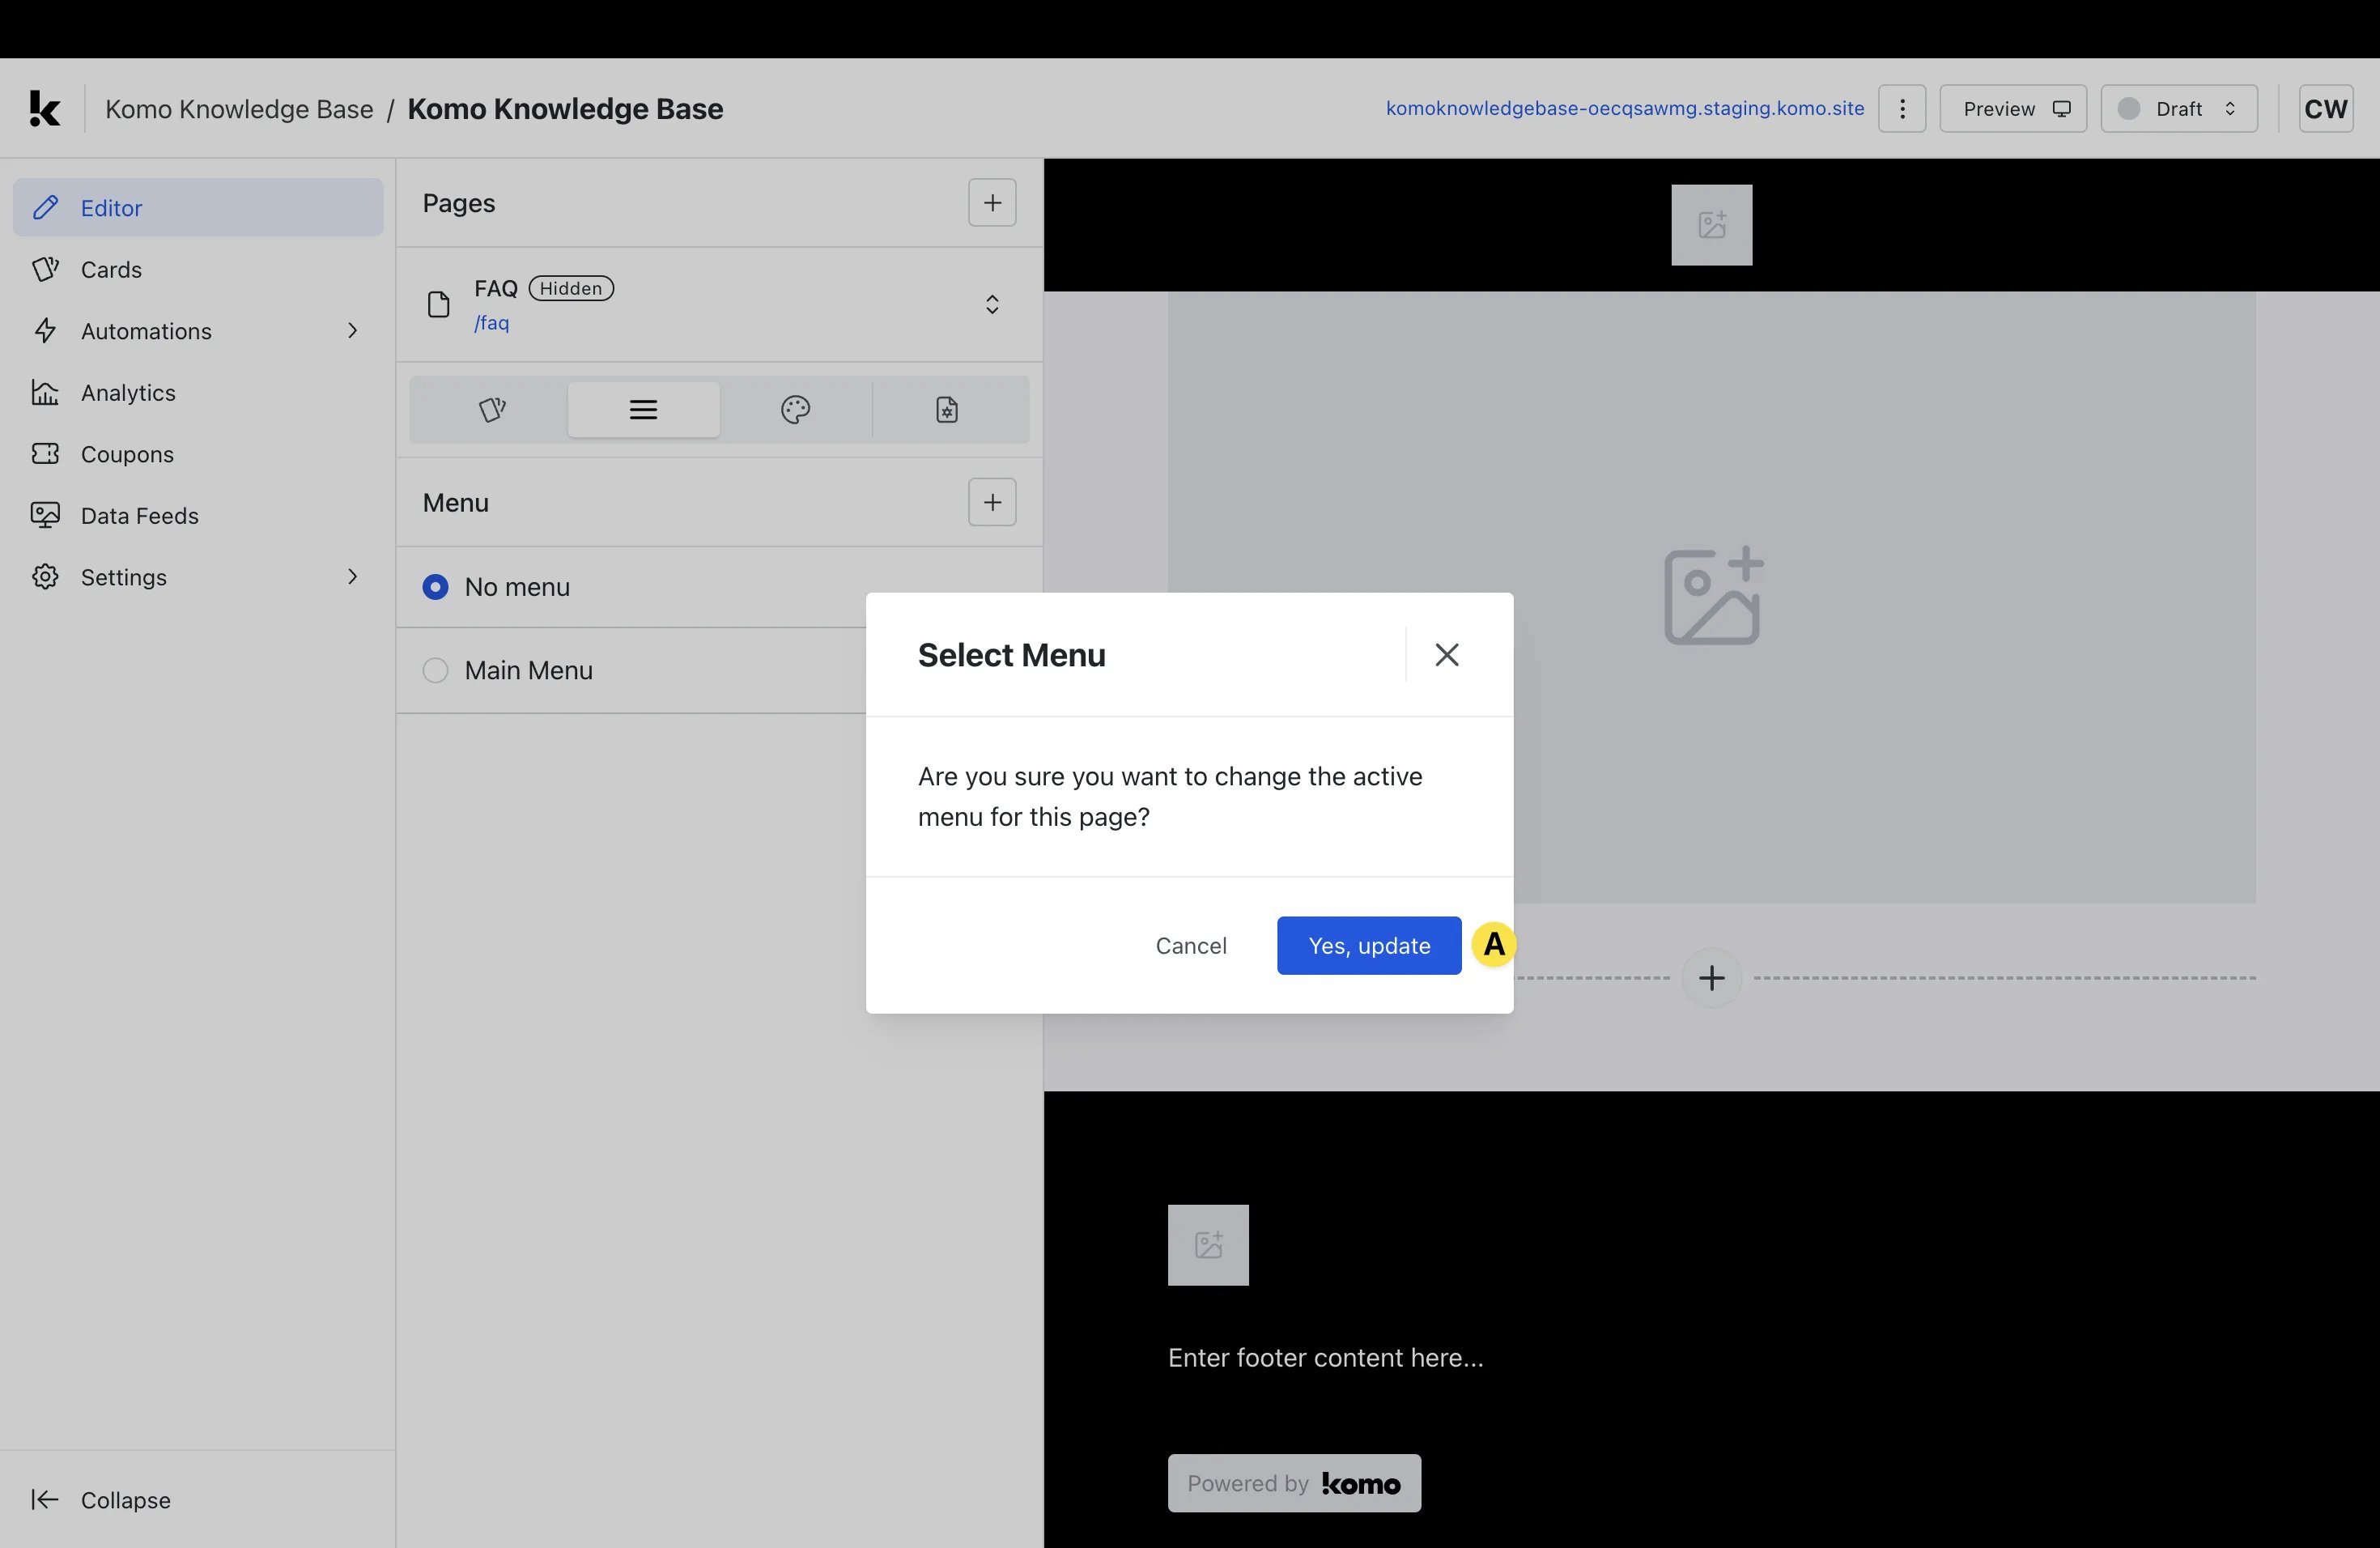
- (A) Select Yes, update.
- (2) Click the 3 dots to Edit, Rename, Clone, or Delete the menu (if required).
Note: If you would like a page to have no menu, you can select No menu.
Step 6: Set active and inactive text colors
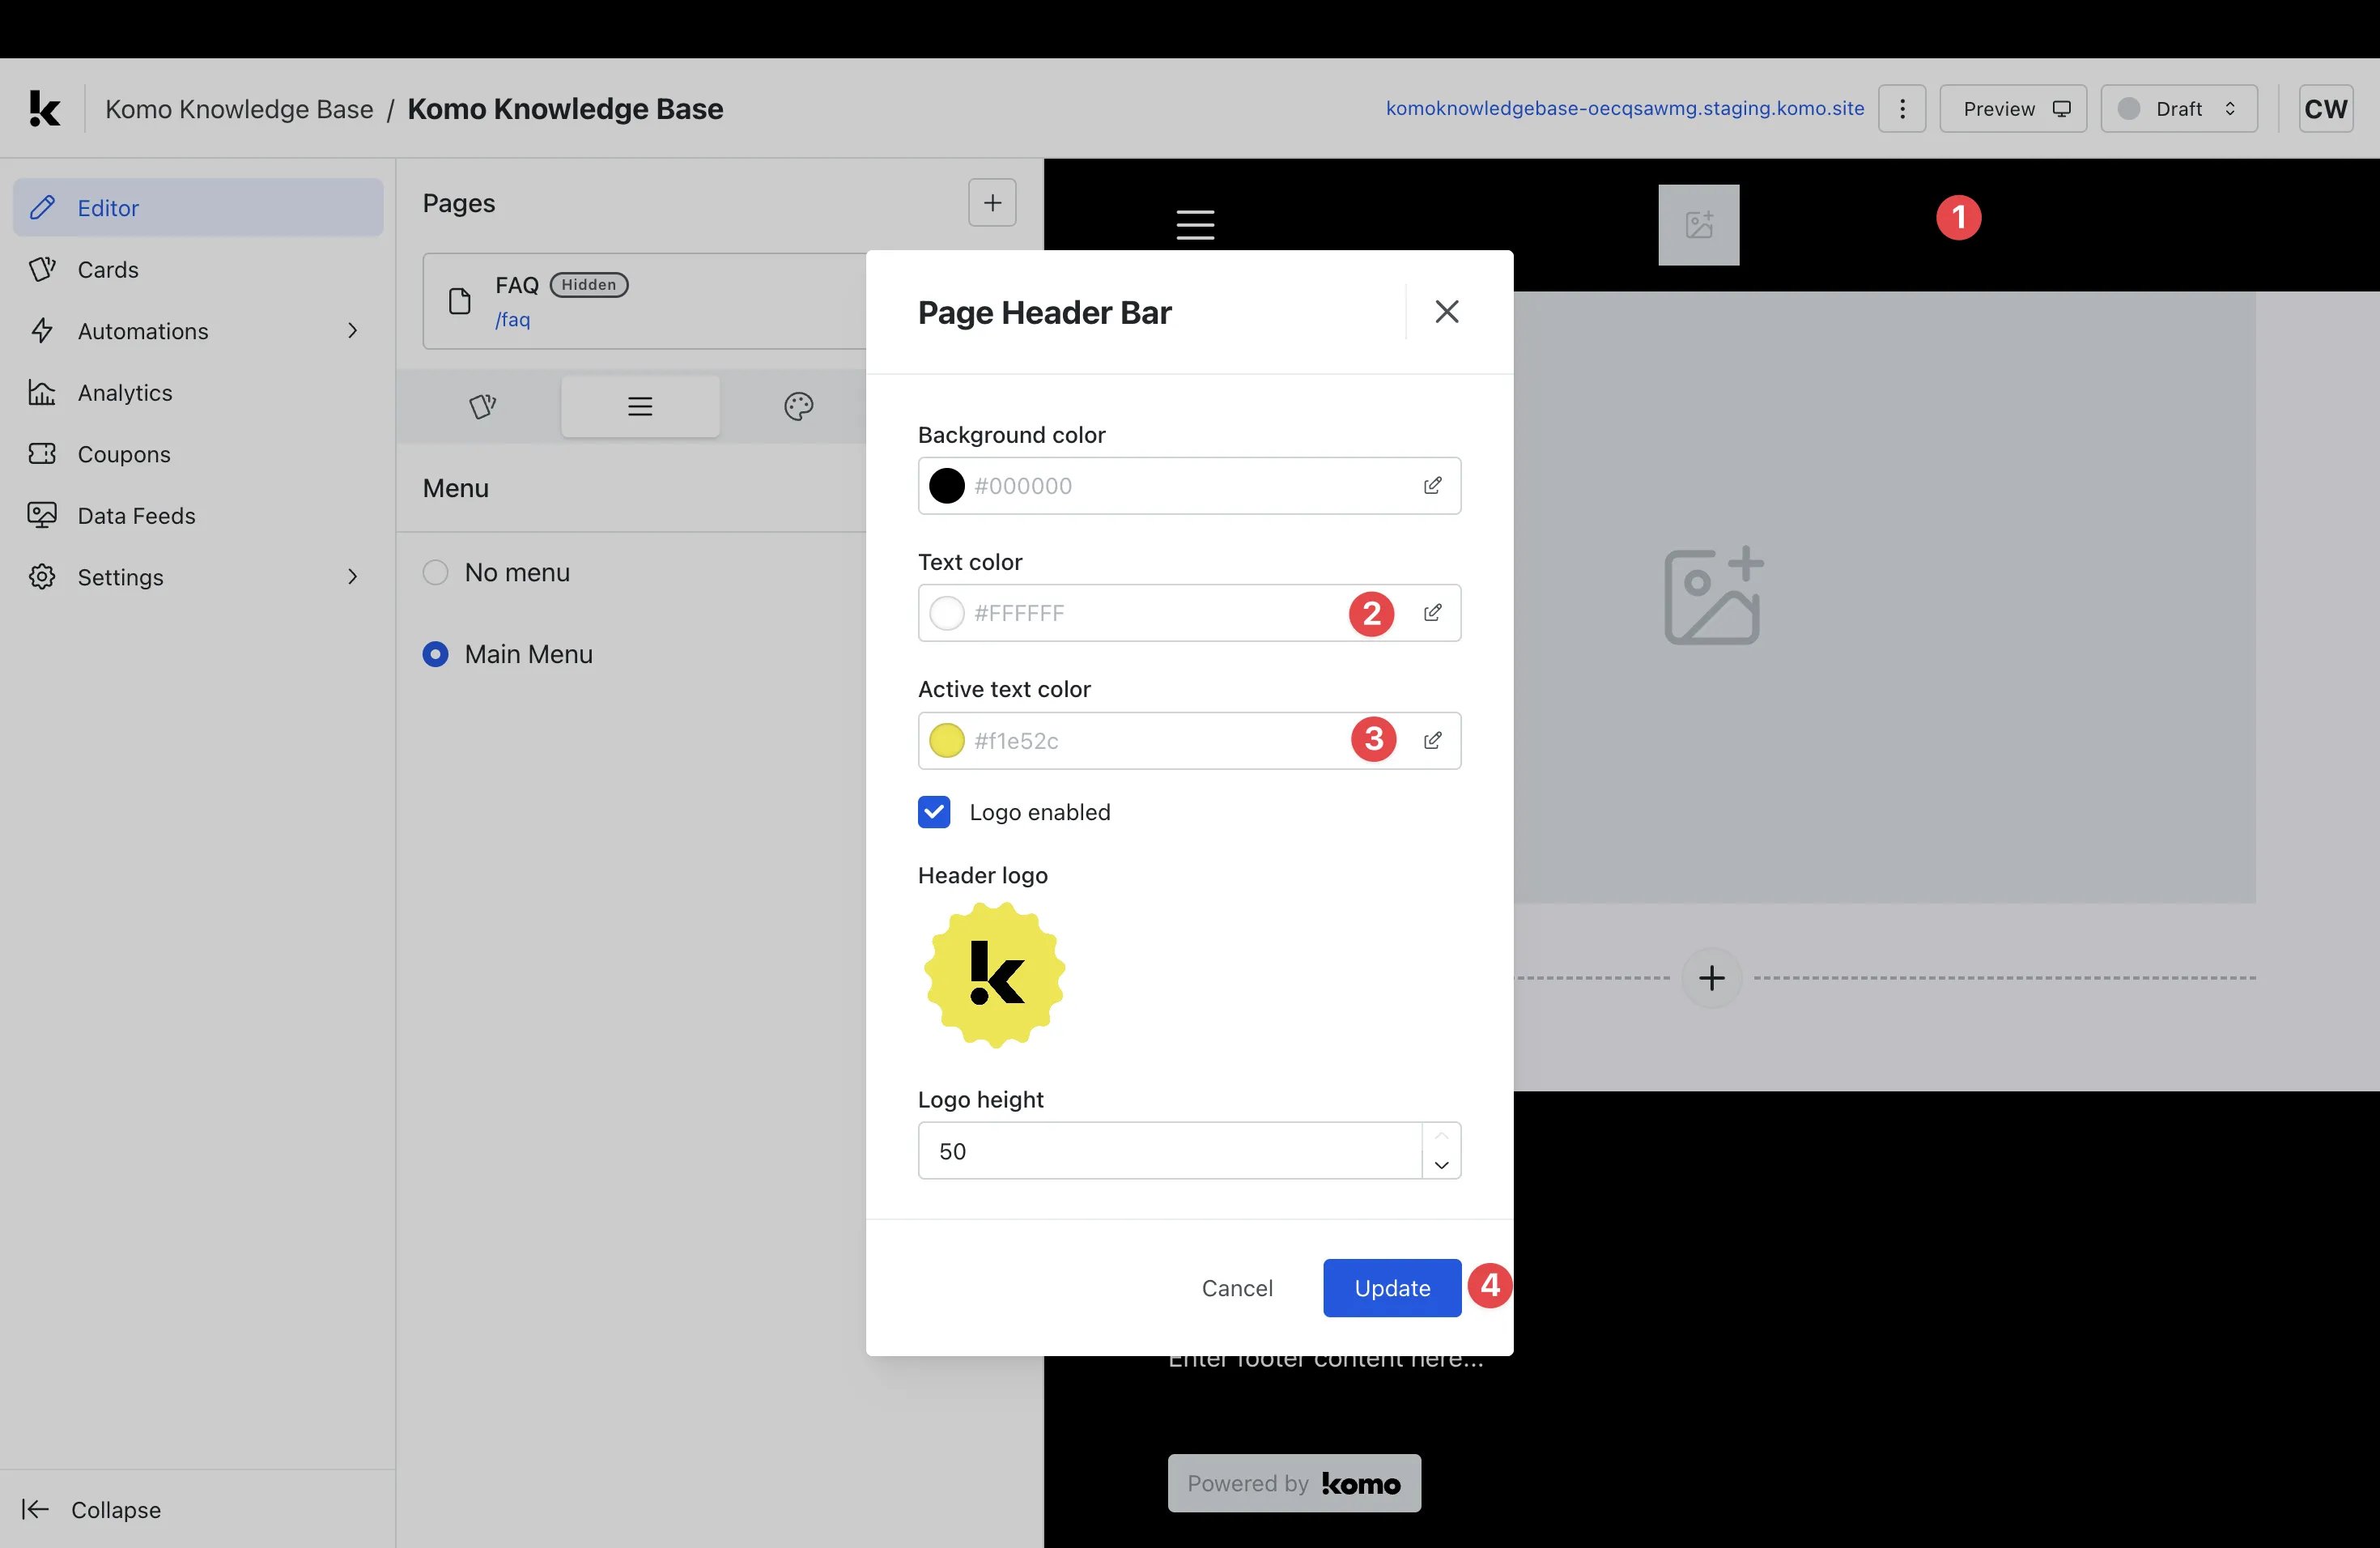
- Once your menu has been applied to the page, you will need to set the active and inactive text colors.
- (1) Click on the header bar located at the top of the page.
- (2) Within the modal, set the text color you would like to apply to inactive menu text.
- (3) Here you can set the text color you would like to apply to active menu text.
- (4) Click Update to save your settings.
Step 7: Edit page design
- Once you’re ready to edit page design, access this article for detailed instructions on editing page design.
Step 8: Navigate between pages
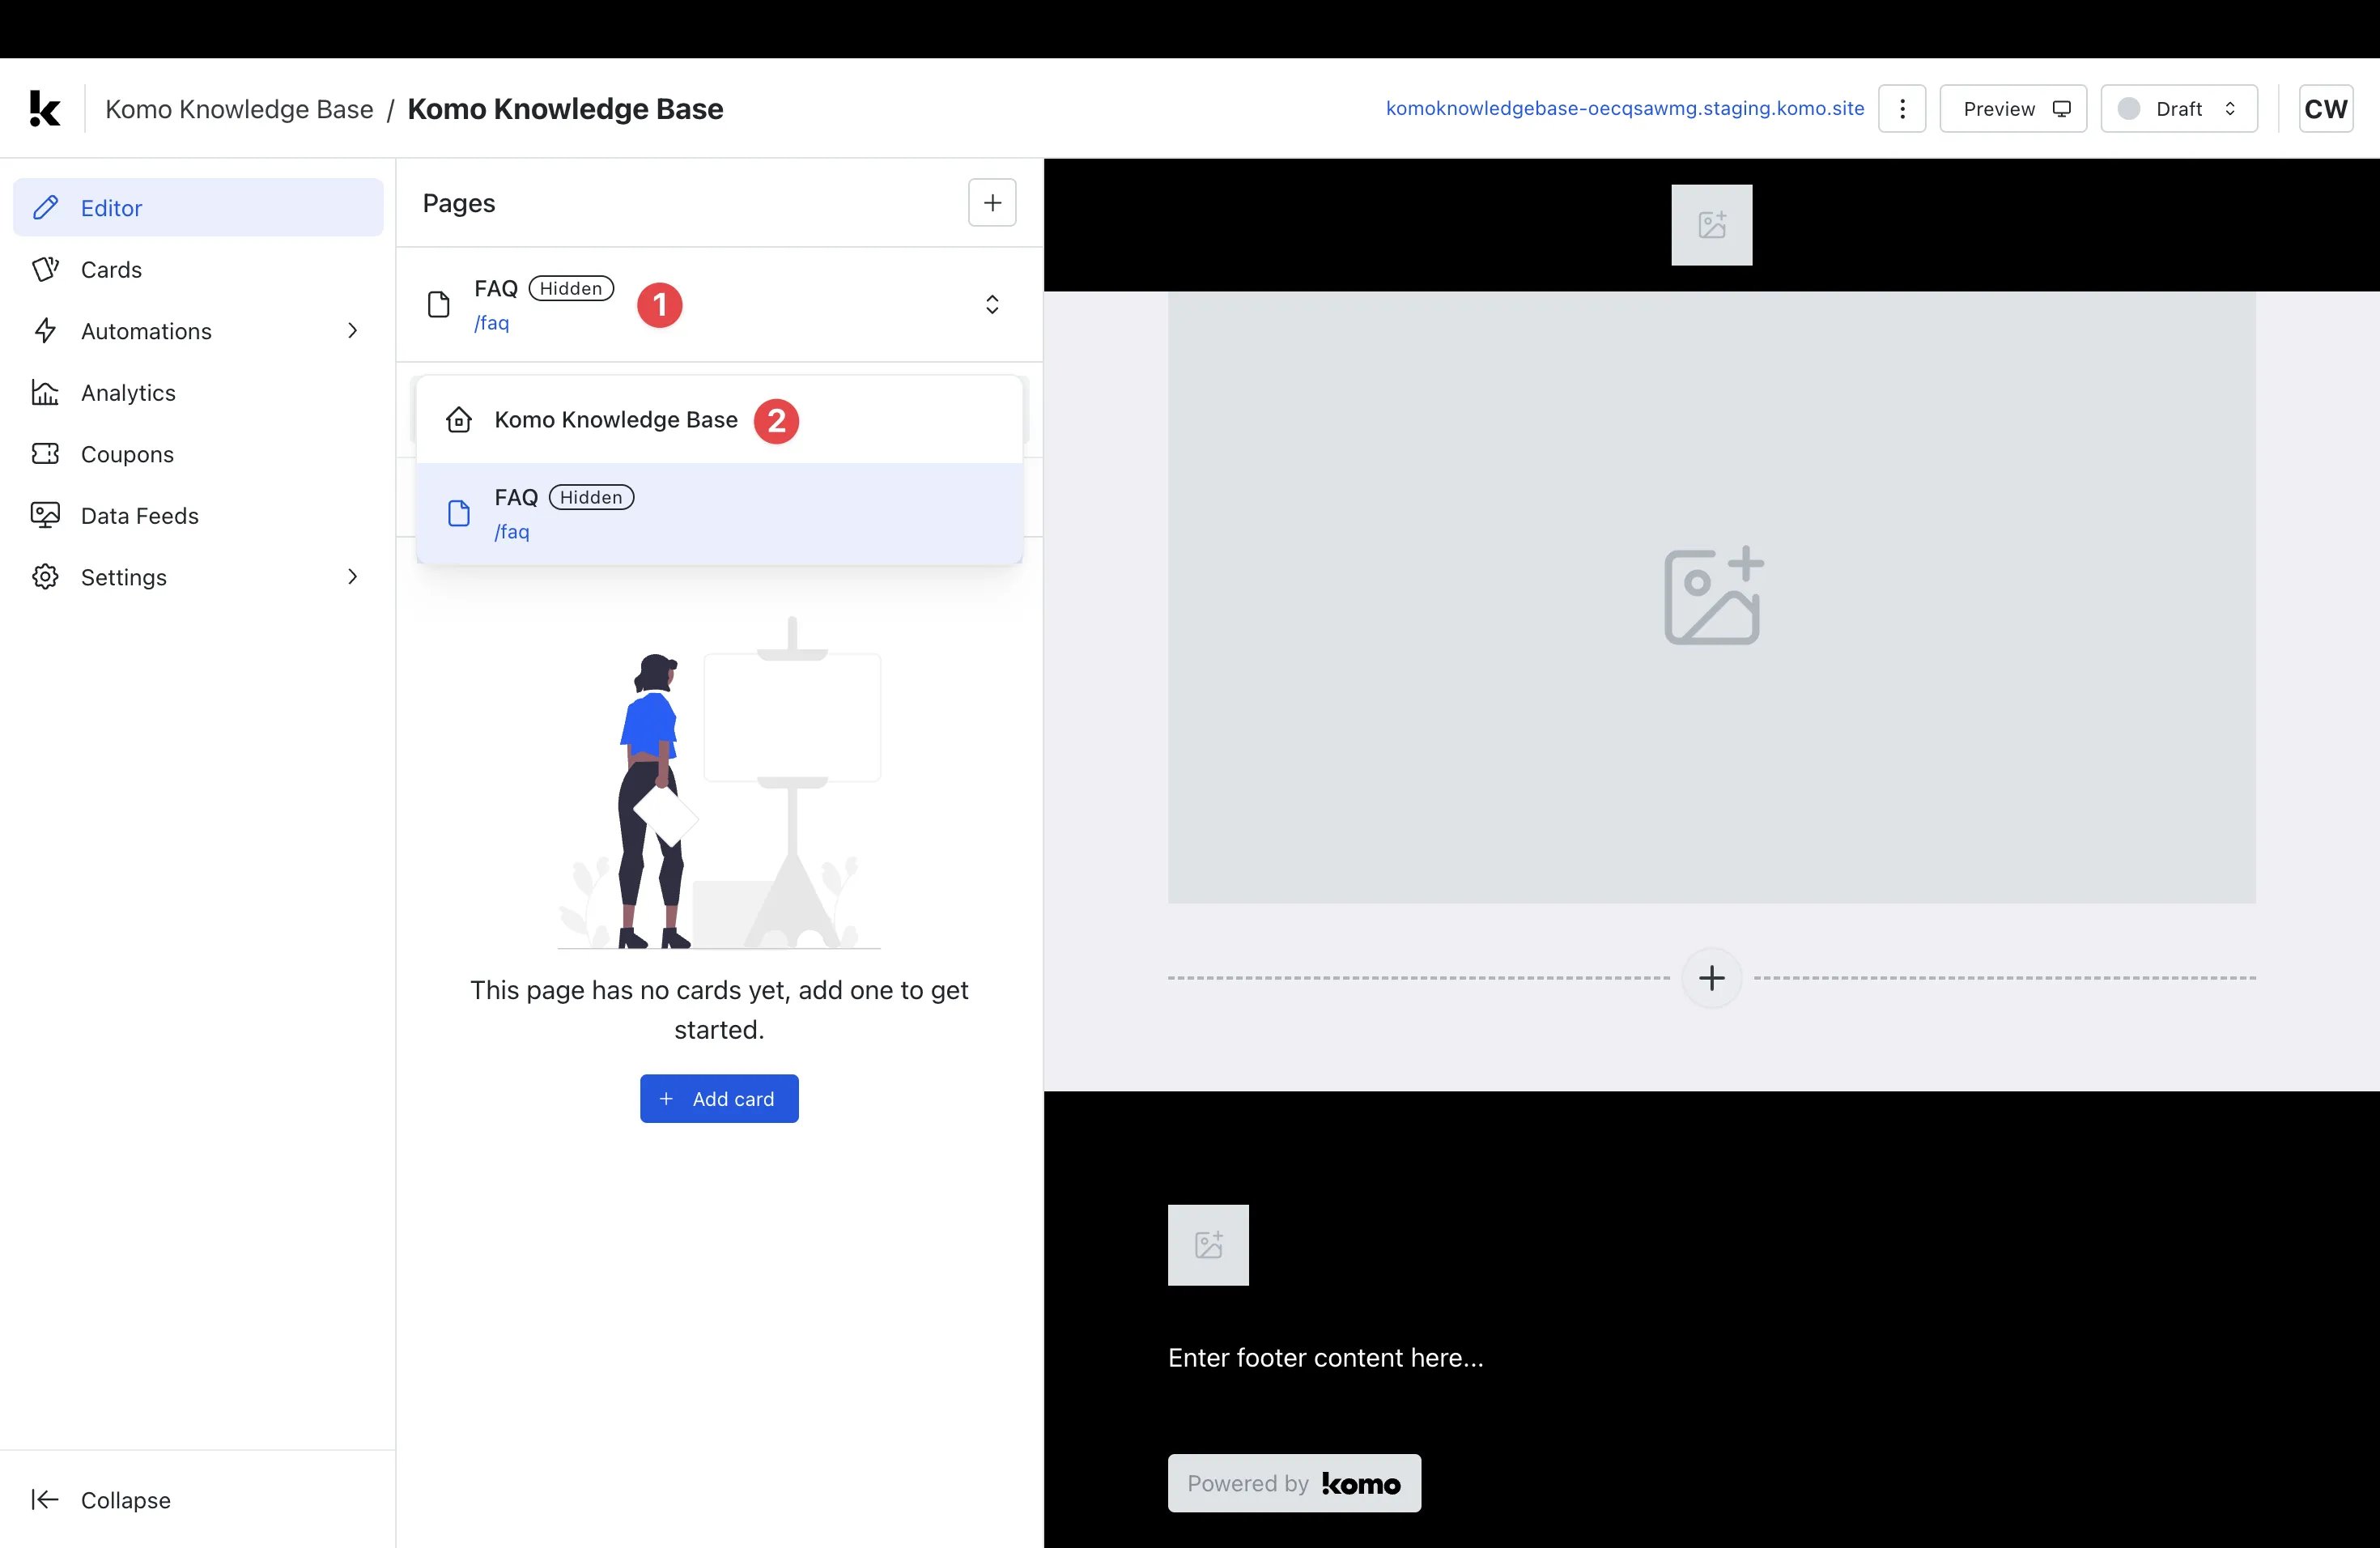
- (1) Click the dropdown next to your page name.
- (2) Select the name of the page you would like to navigate to.
- You will now be redirected to the selected page.