
What is it?
You can now have confidence that the contact data within your Salesforce Marketing Cloud CRM is up-to-date with CRM Contact Sync. Through direct integration with your Salesforce Marketing Cloud instance, the Komo Engagement Engine can now push new contacts and contact updates directly to Salesforce Marketing Cloud, on-demand, so you can eliminate manual and painful contact management processes.If you are using Salesforce (and not Salesforce Marketing Cloud), you’ll want to refer to this article.
How do I set it up?
Step 1: Connect to Marketing Cloud and Create a Data Extension
- Navigate to Account Settings by clicking the Workspace initials in the top right corner and clicking Account Settings.
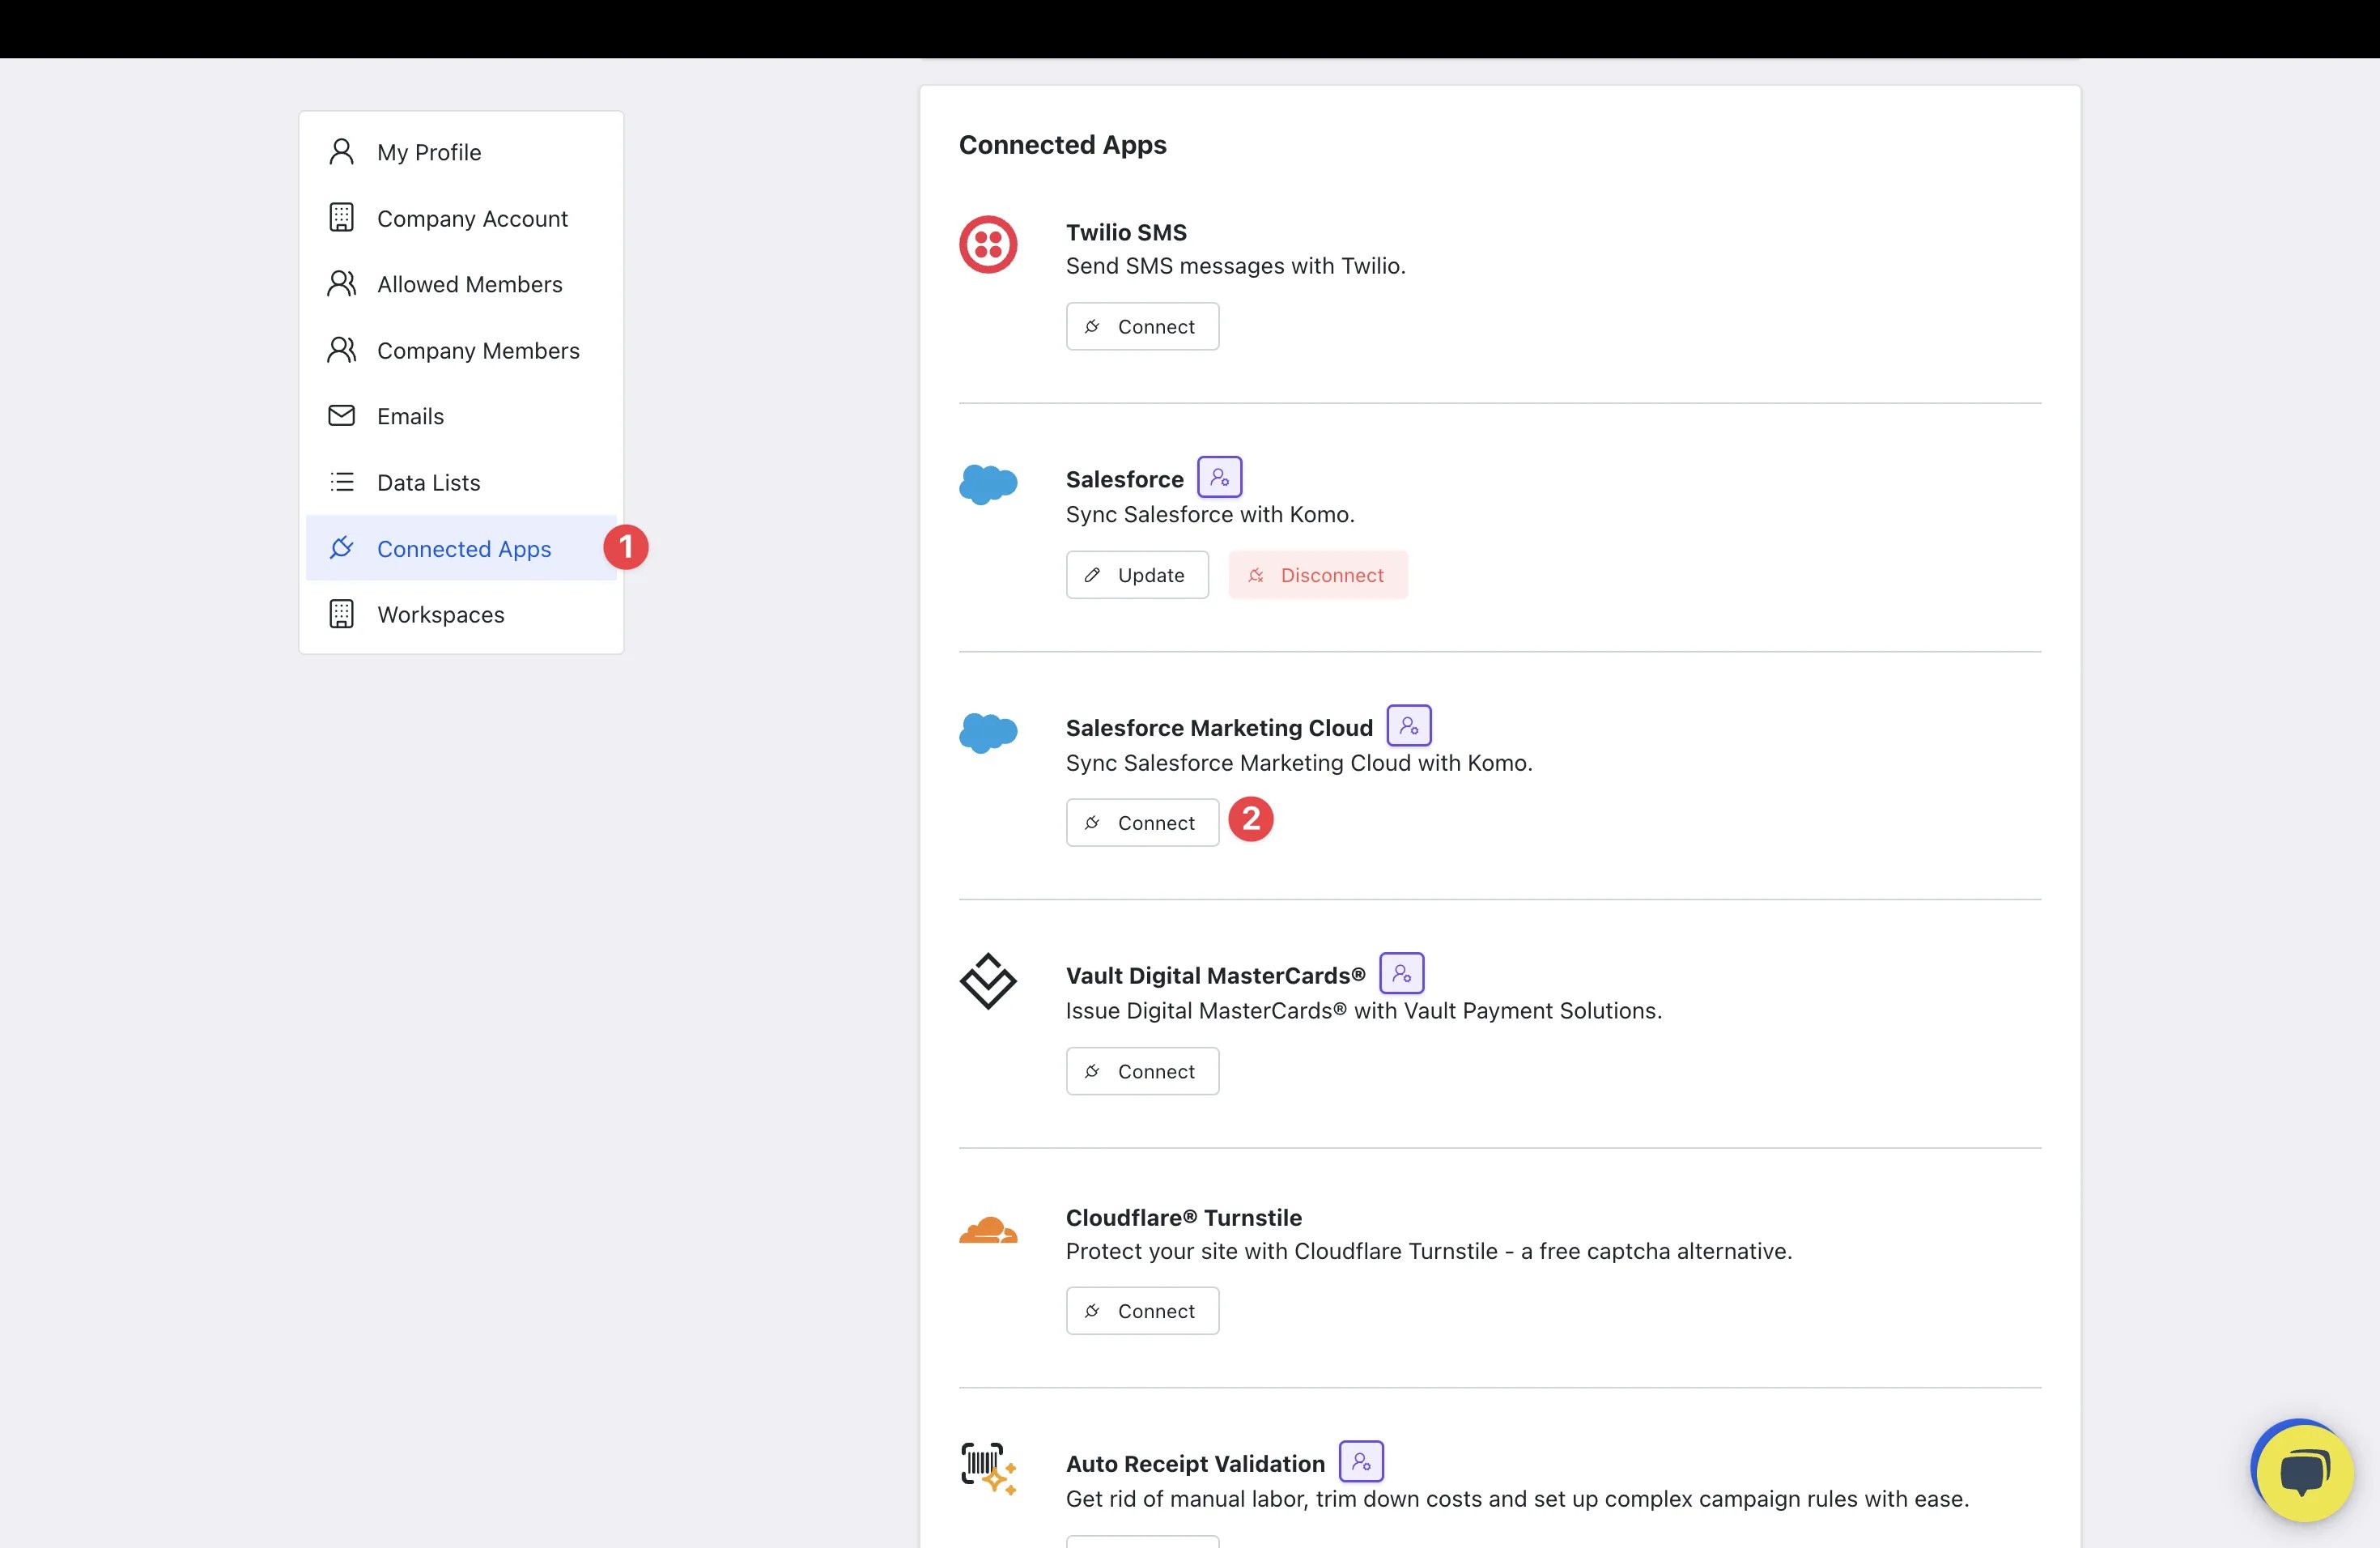
- (1) Click Connected Apps.
- (2) Select Connect next to the Salesforce Marketing Cloud Connected App.
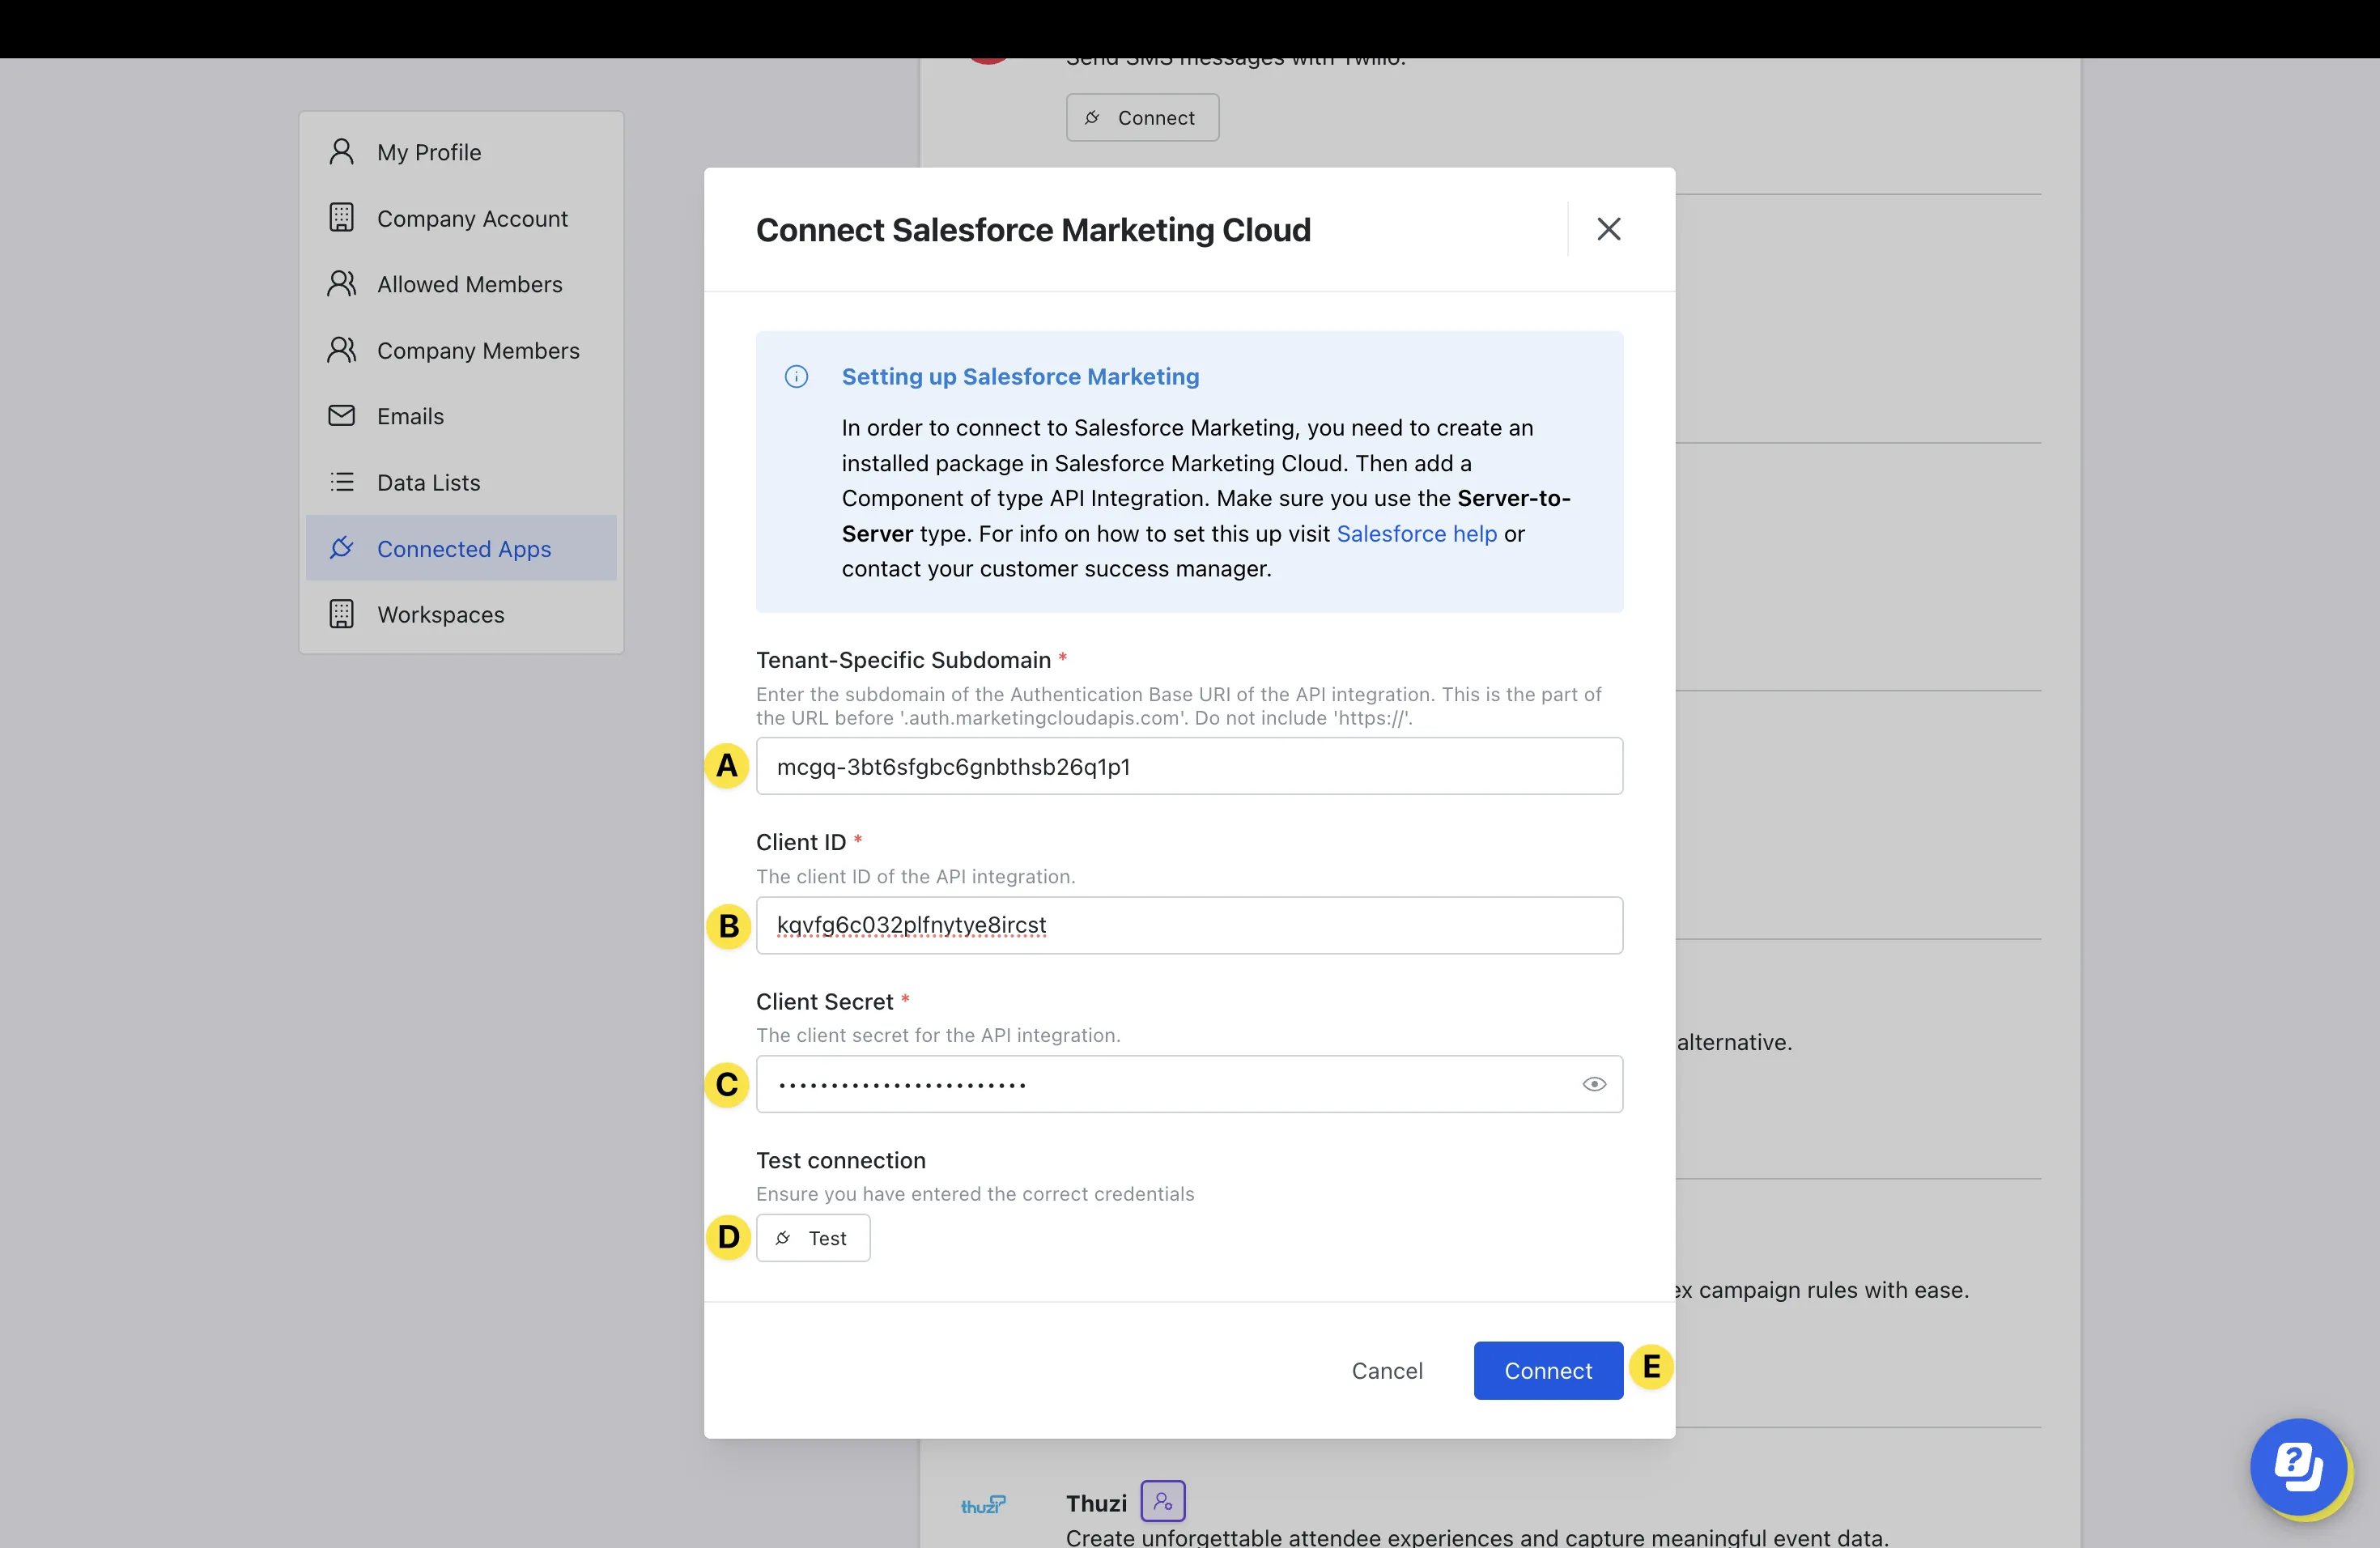
- (A) Here you can insert the CRM Domain Name from your CRM instance.
- (B) Insert the Client ID/consumer key from the connected CRM.
- (C) Here you can paste in the Client Secret of the connected CRM.
- (D) Click Test under Test Connection. If the connection is successful, you will see a green Connection Successful message.
- (E) Click Connect.
In order to connect to Salesforce Marketing, you need to create an Installed Package in Salesforce Marketing Cloud. Then add a Component of type API Integration. Make sure you use the Server-to-Server type. For information on how to set this up visit Salesforce help or contact your Customer Success Manager.
Step 2: Create CRM Sync
- Navigate back to your workspace.
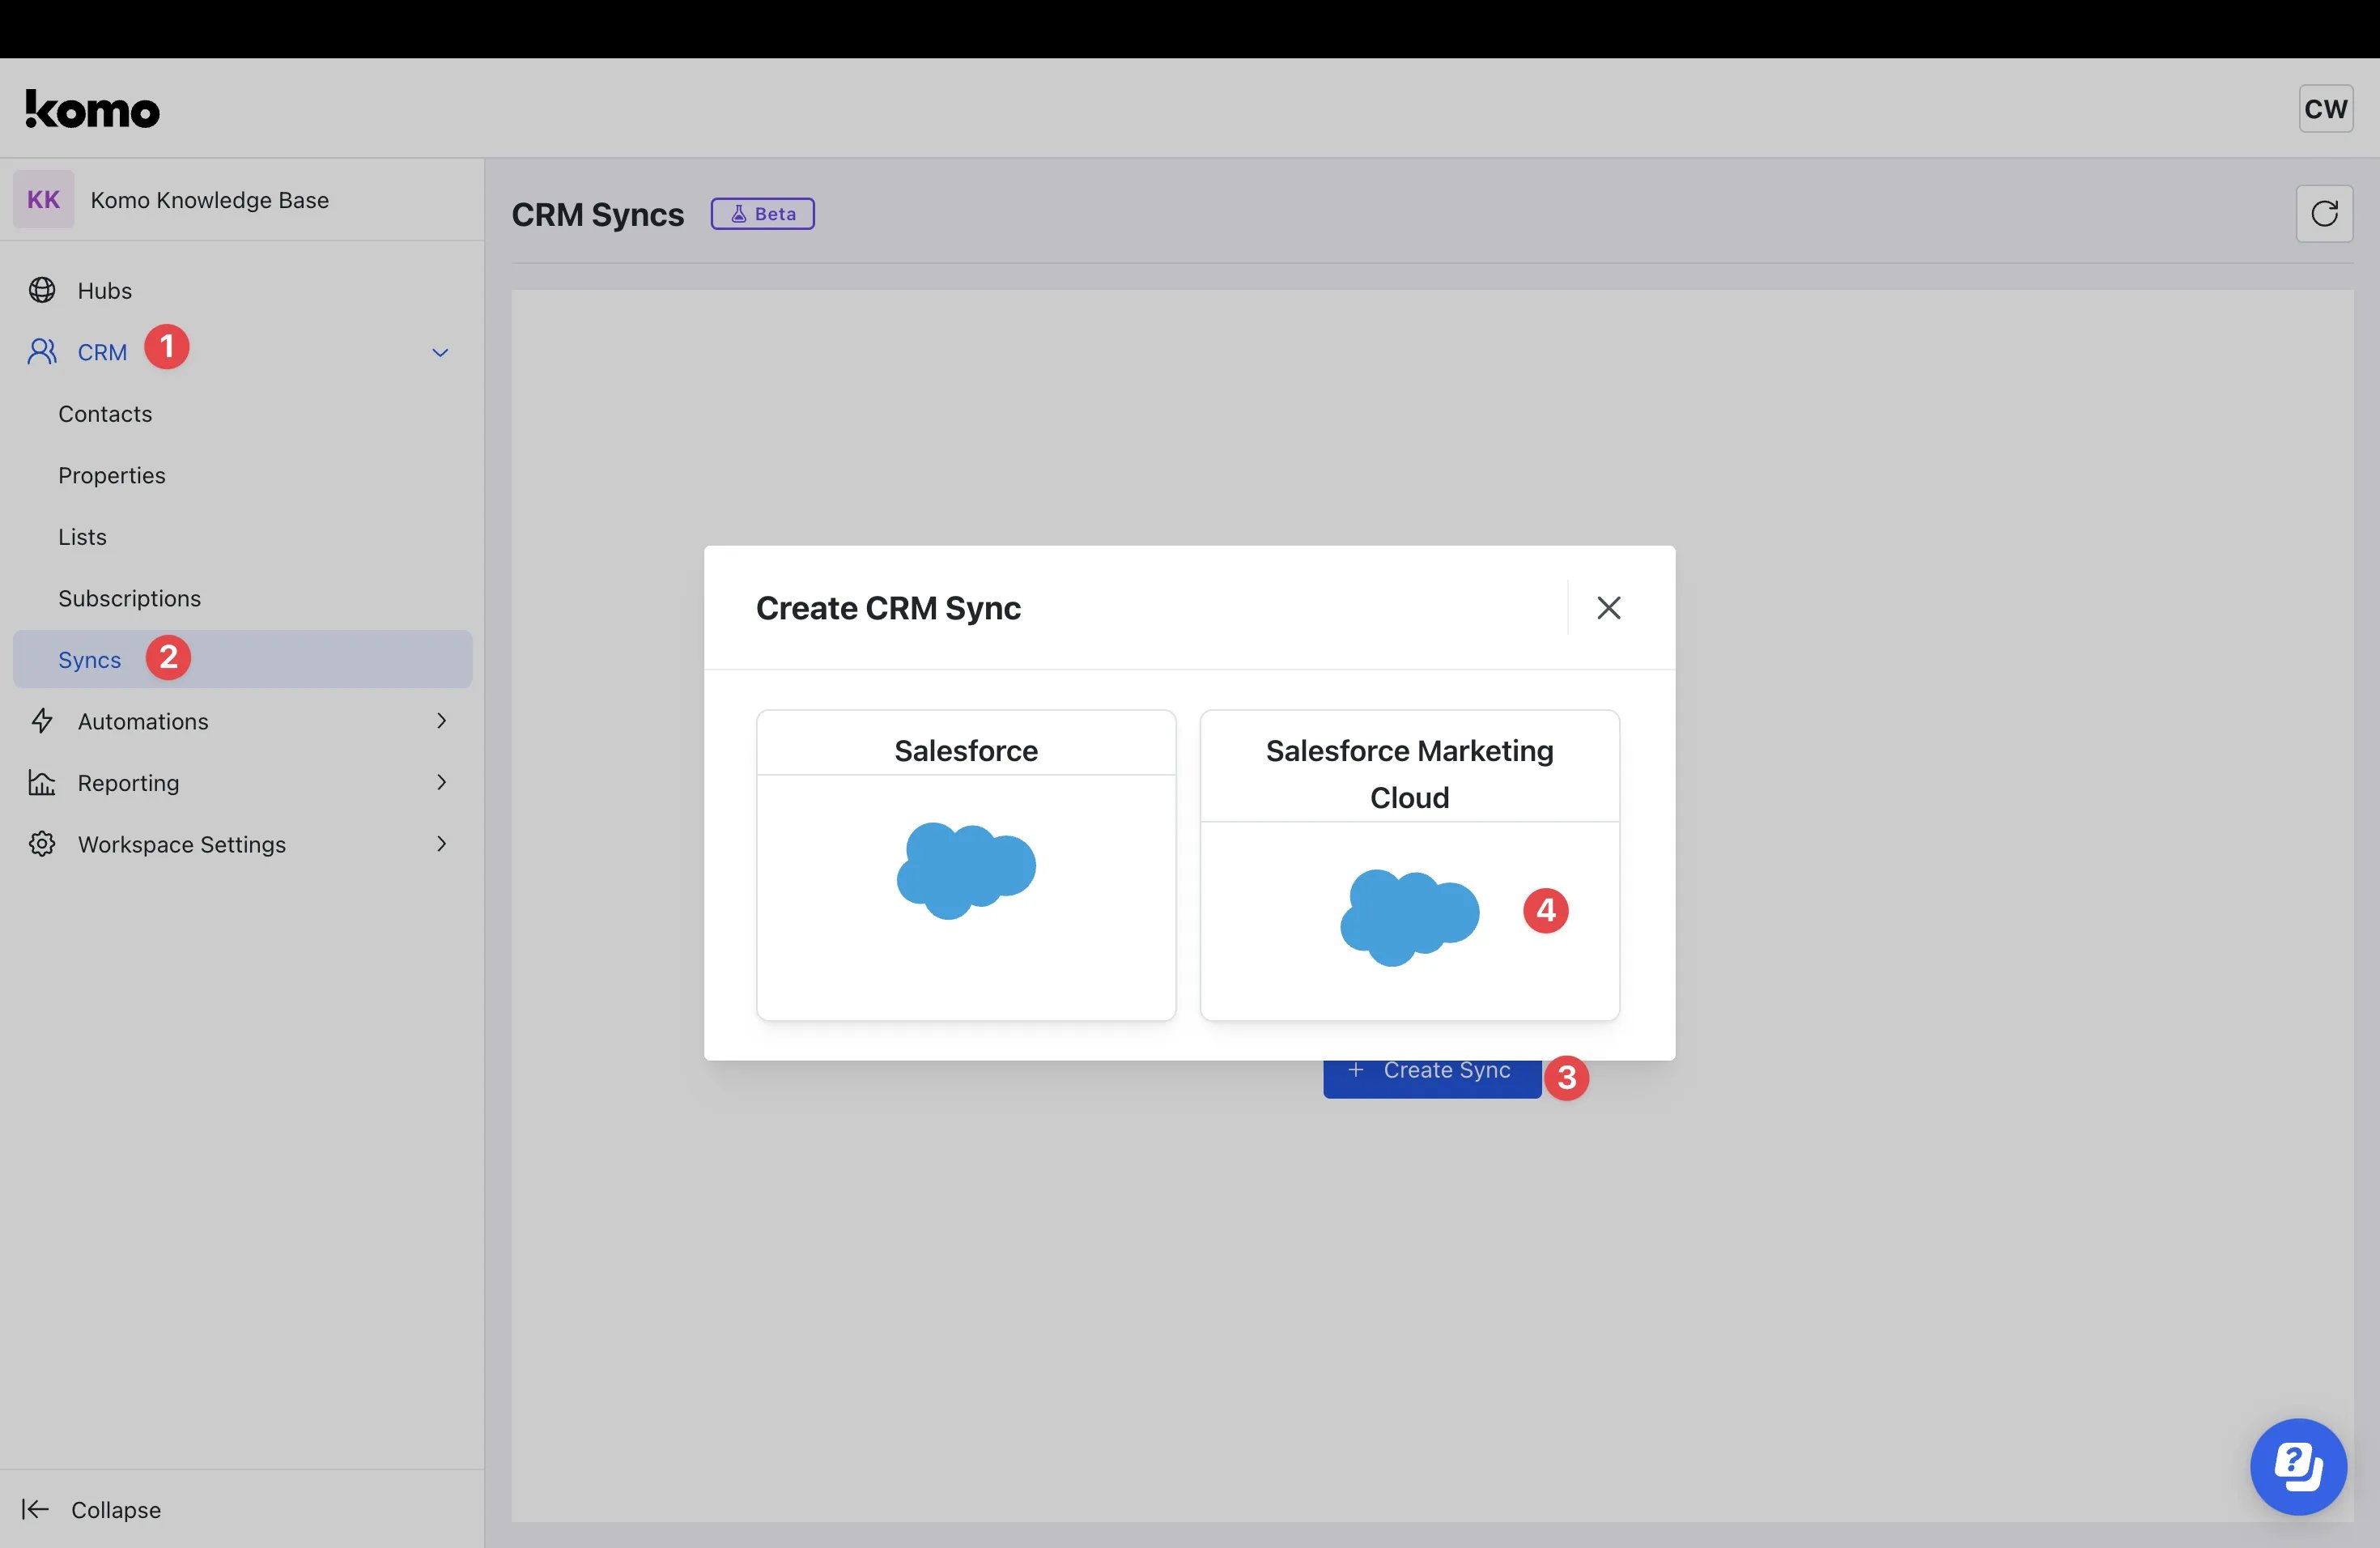
- (1) Click on CRM.
- (2) Click Syncs.
- (3) Click the + Create Sync button.
- (4) Select the CRM you would like to sync with.
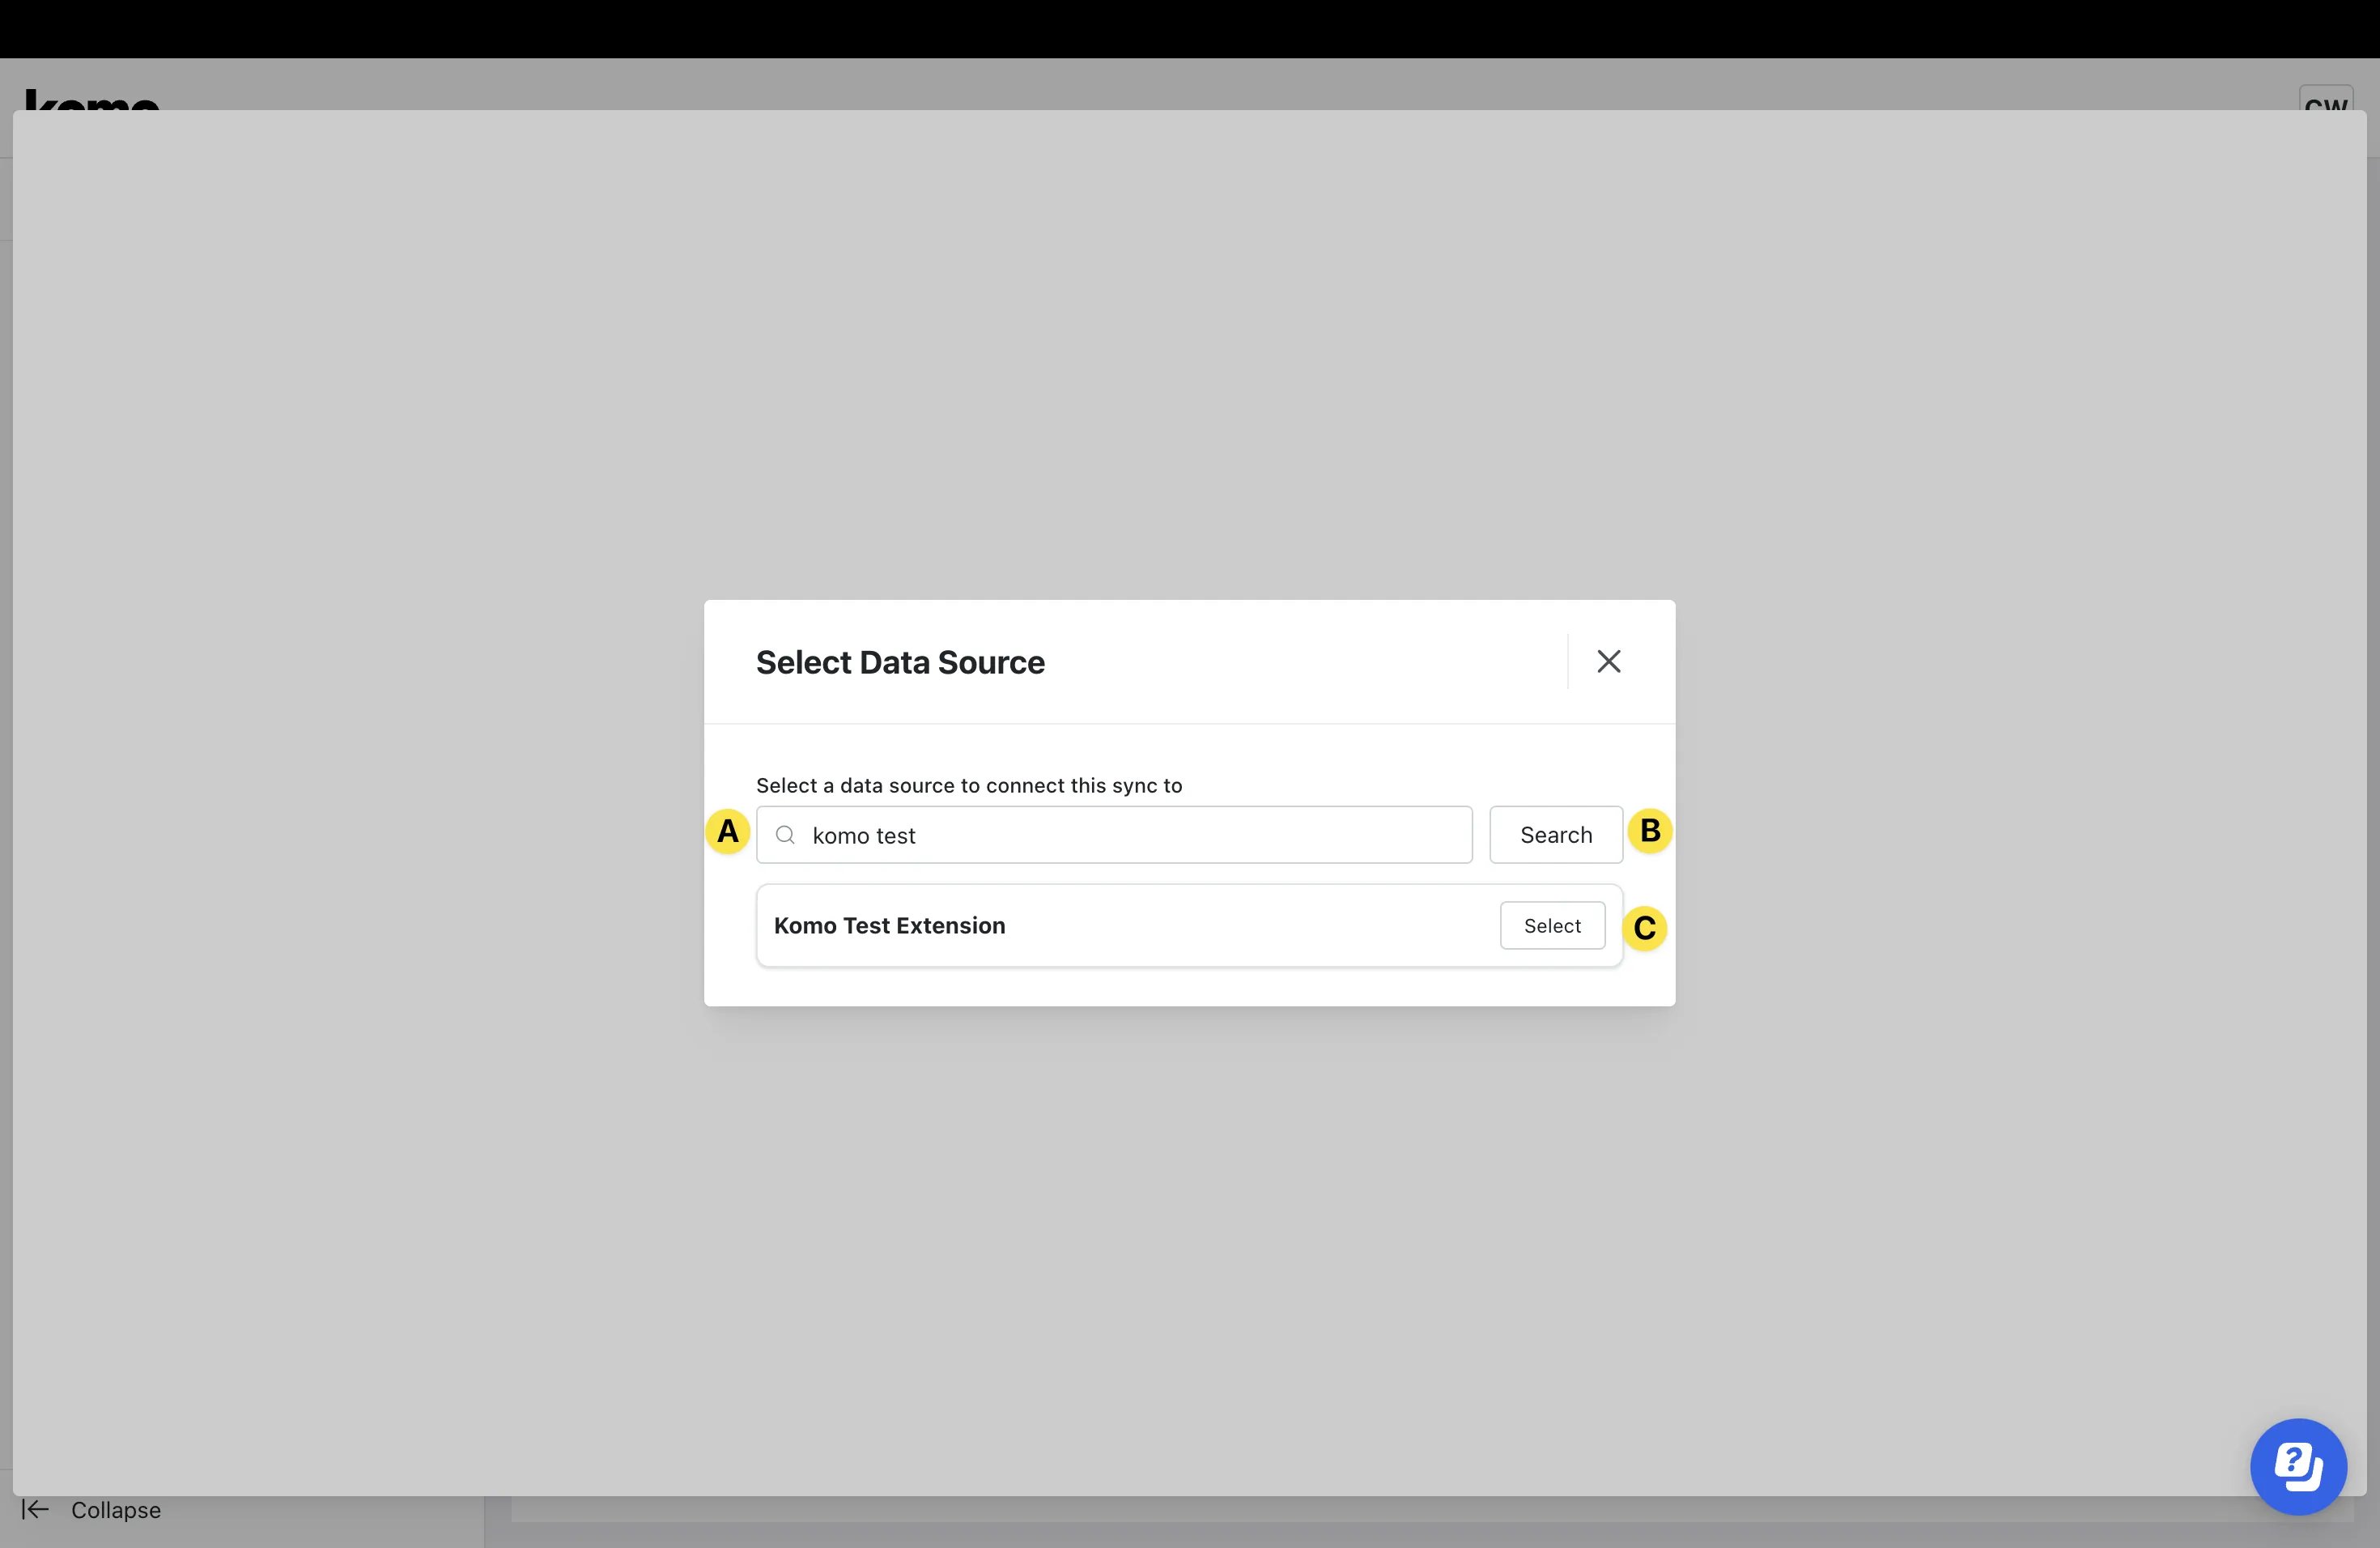
- (A) Select which Data Extension you are using as the Data source to sync into. You can search by typing the name of the Data Extension. This should be the Data Extension you created in Step 1.
- (B) Click Search.
- (C)Select the appropriate data source.
Step 3: Complete Sync configuration
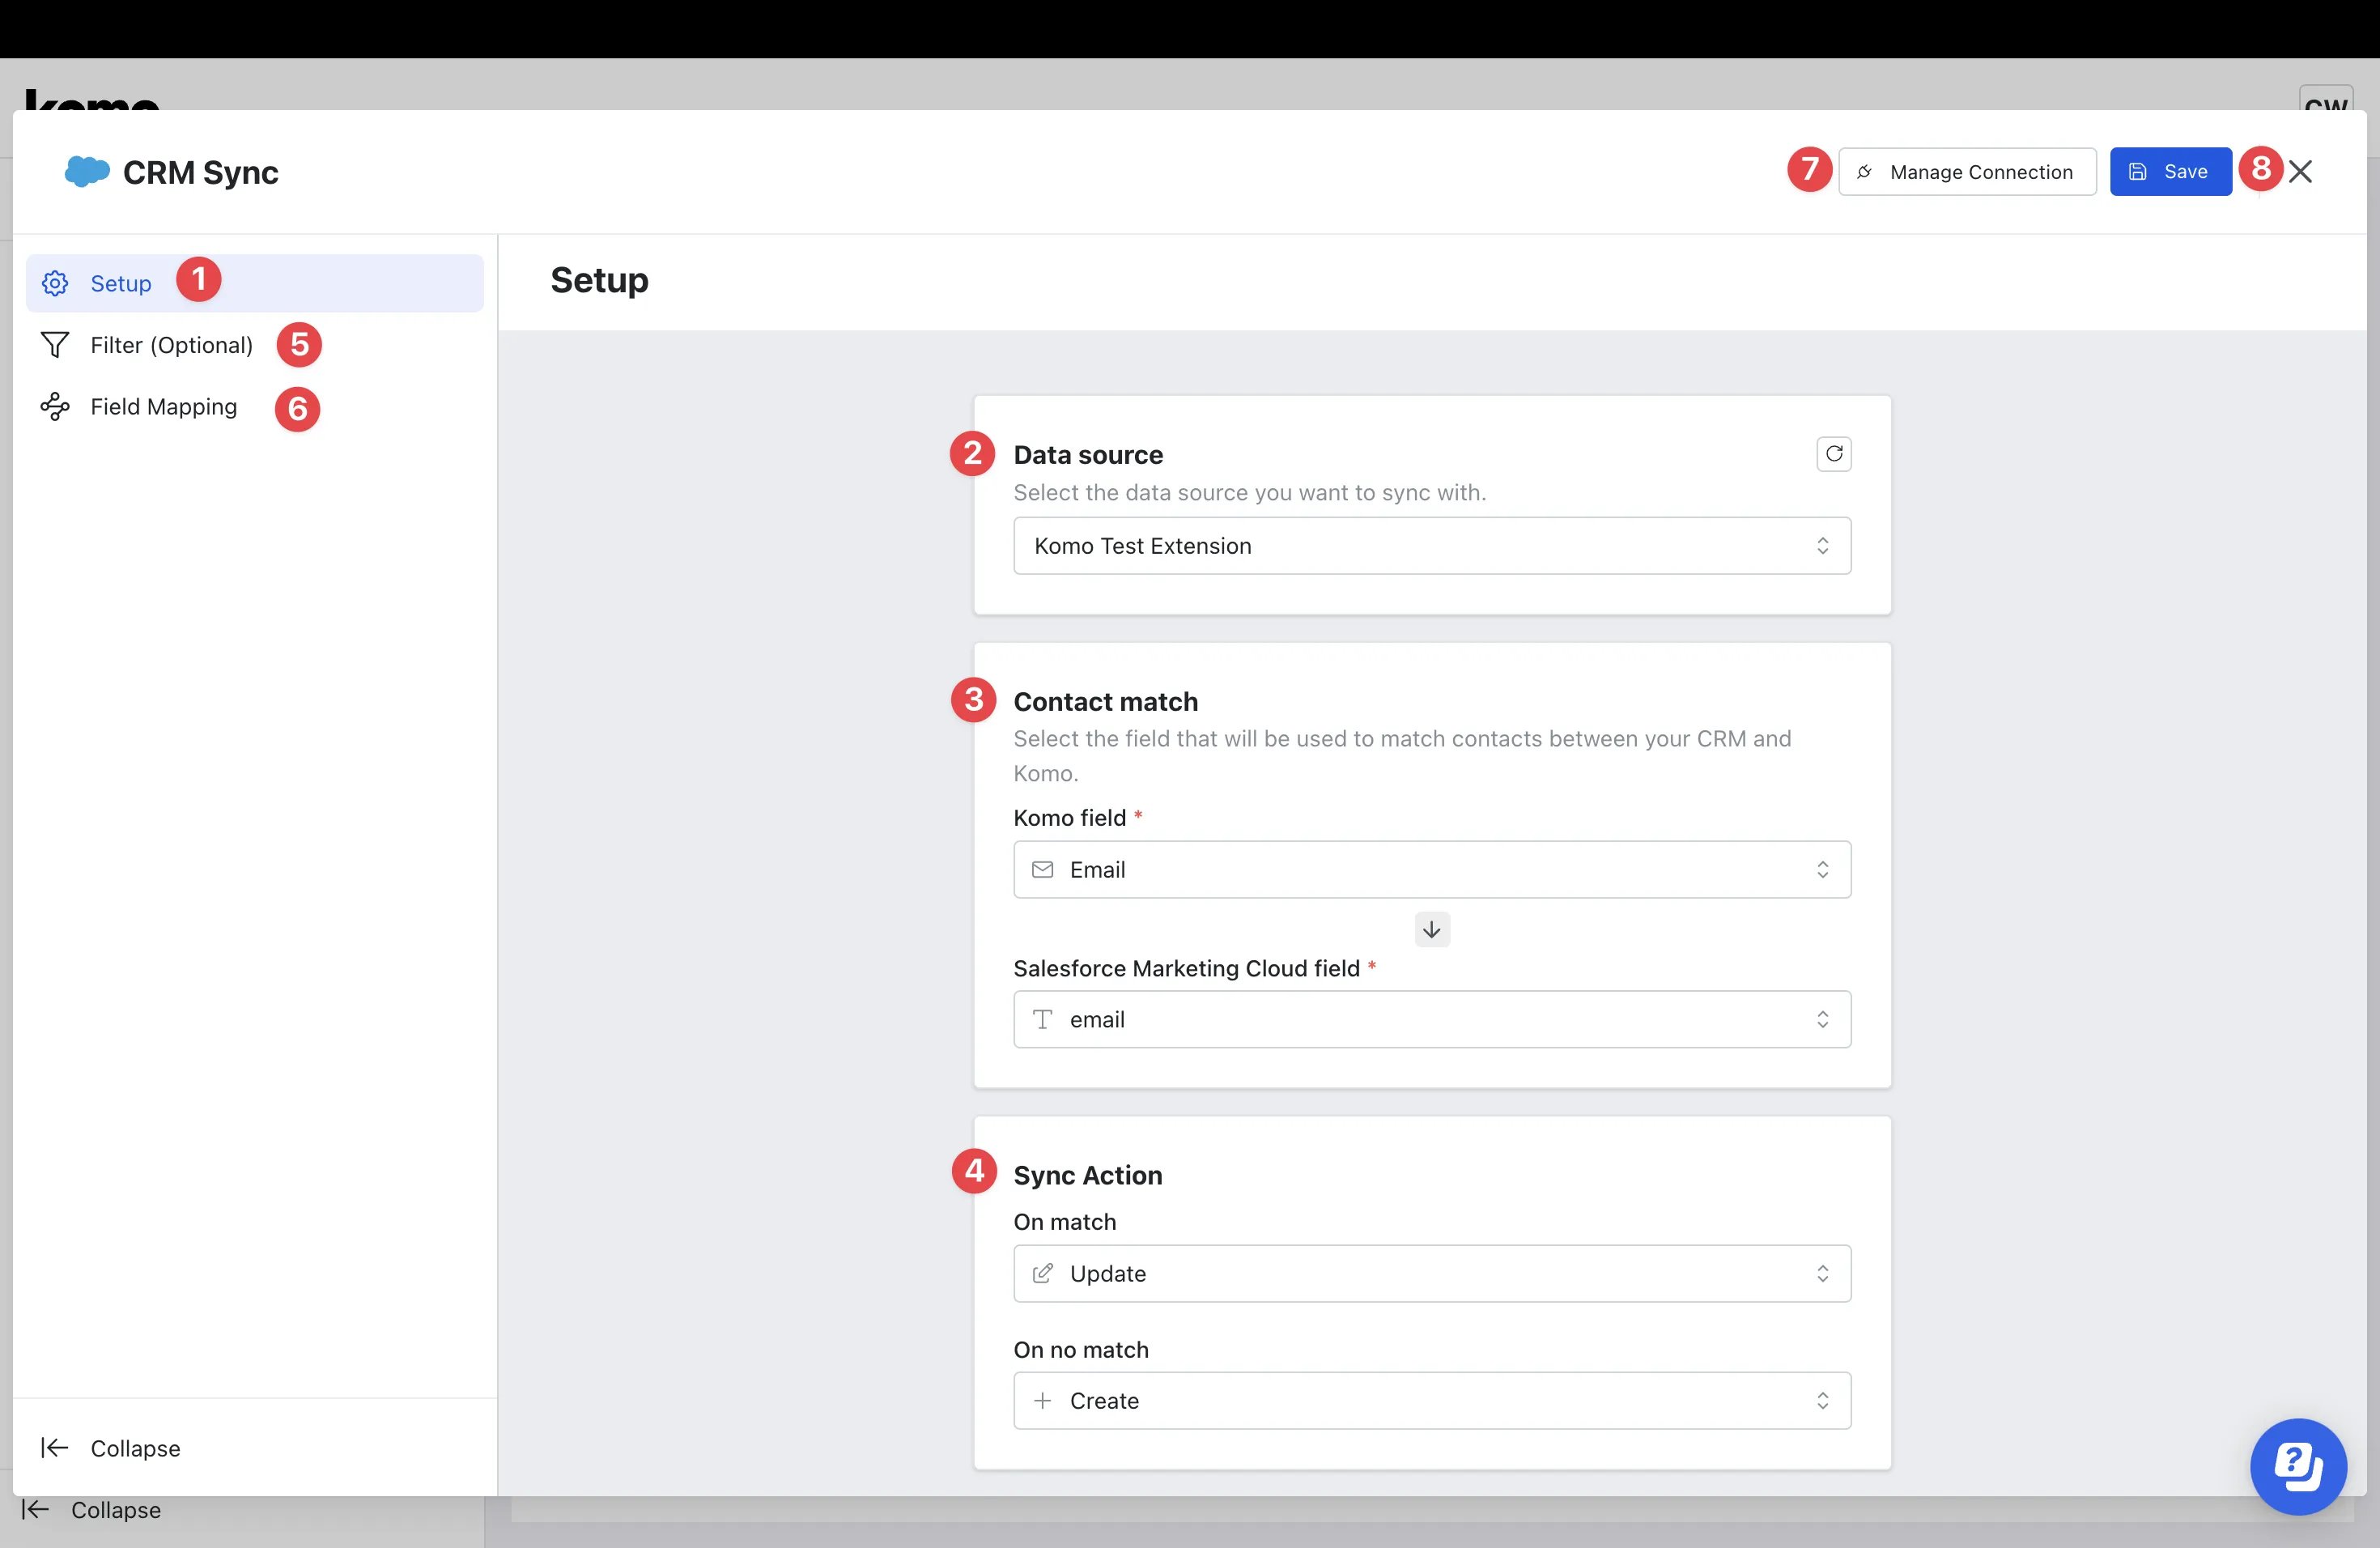
- (1) Here you can configure the CRM Sync Setup.
- (2) Here you will see the Data source you just linked.
- (3) Select the field within Komo and your CRM which will be used to match contacts between the two platforms.
- (4) Set the desired Sync Actions to be performed when there is a match and when there is no match.
- (5) Click on Create Property Filter (optional) if you would like to add filters to your sync.
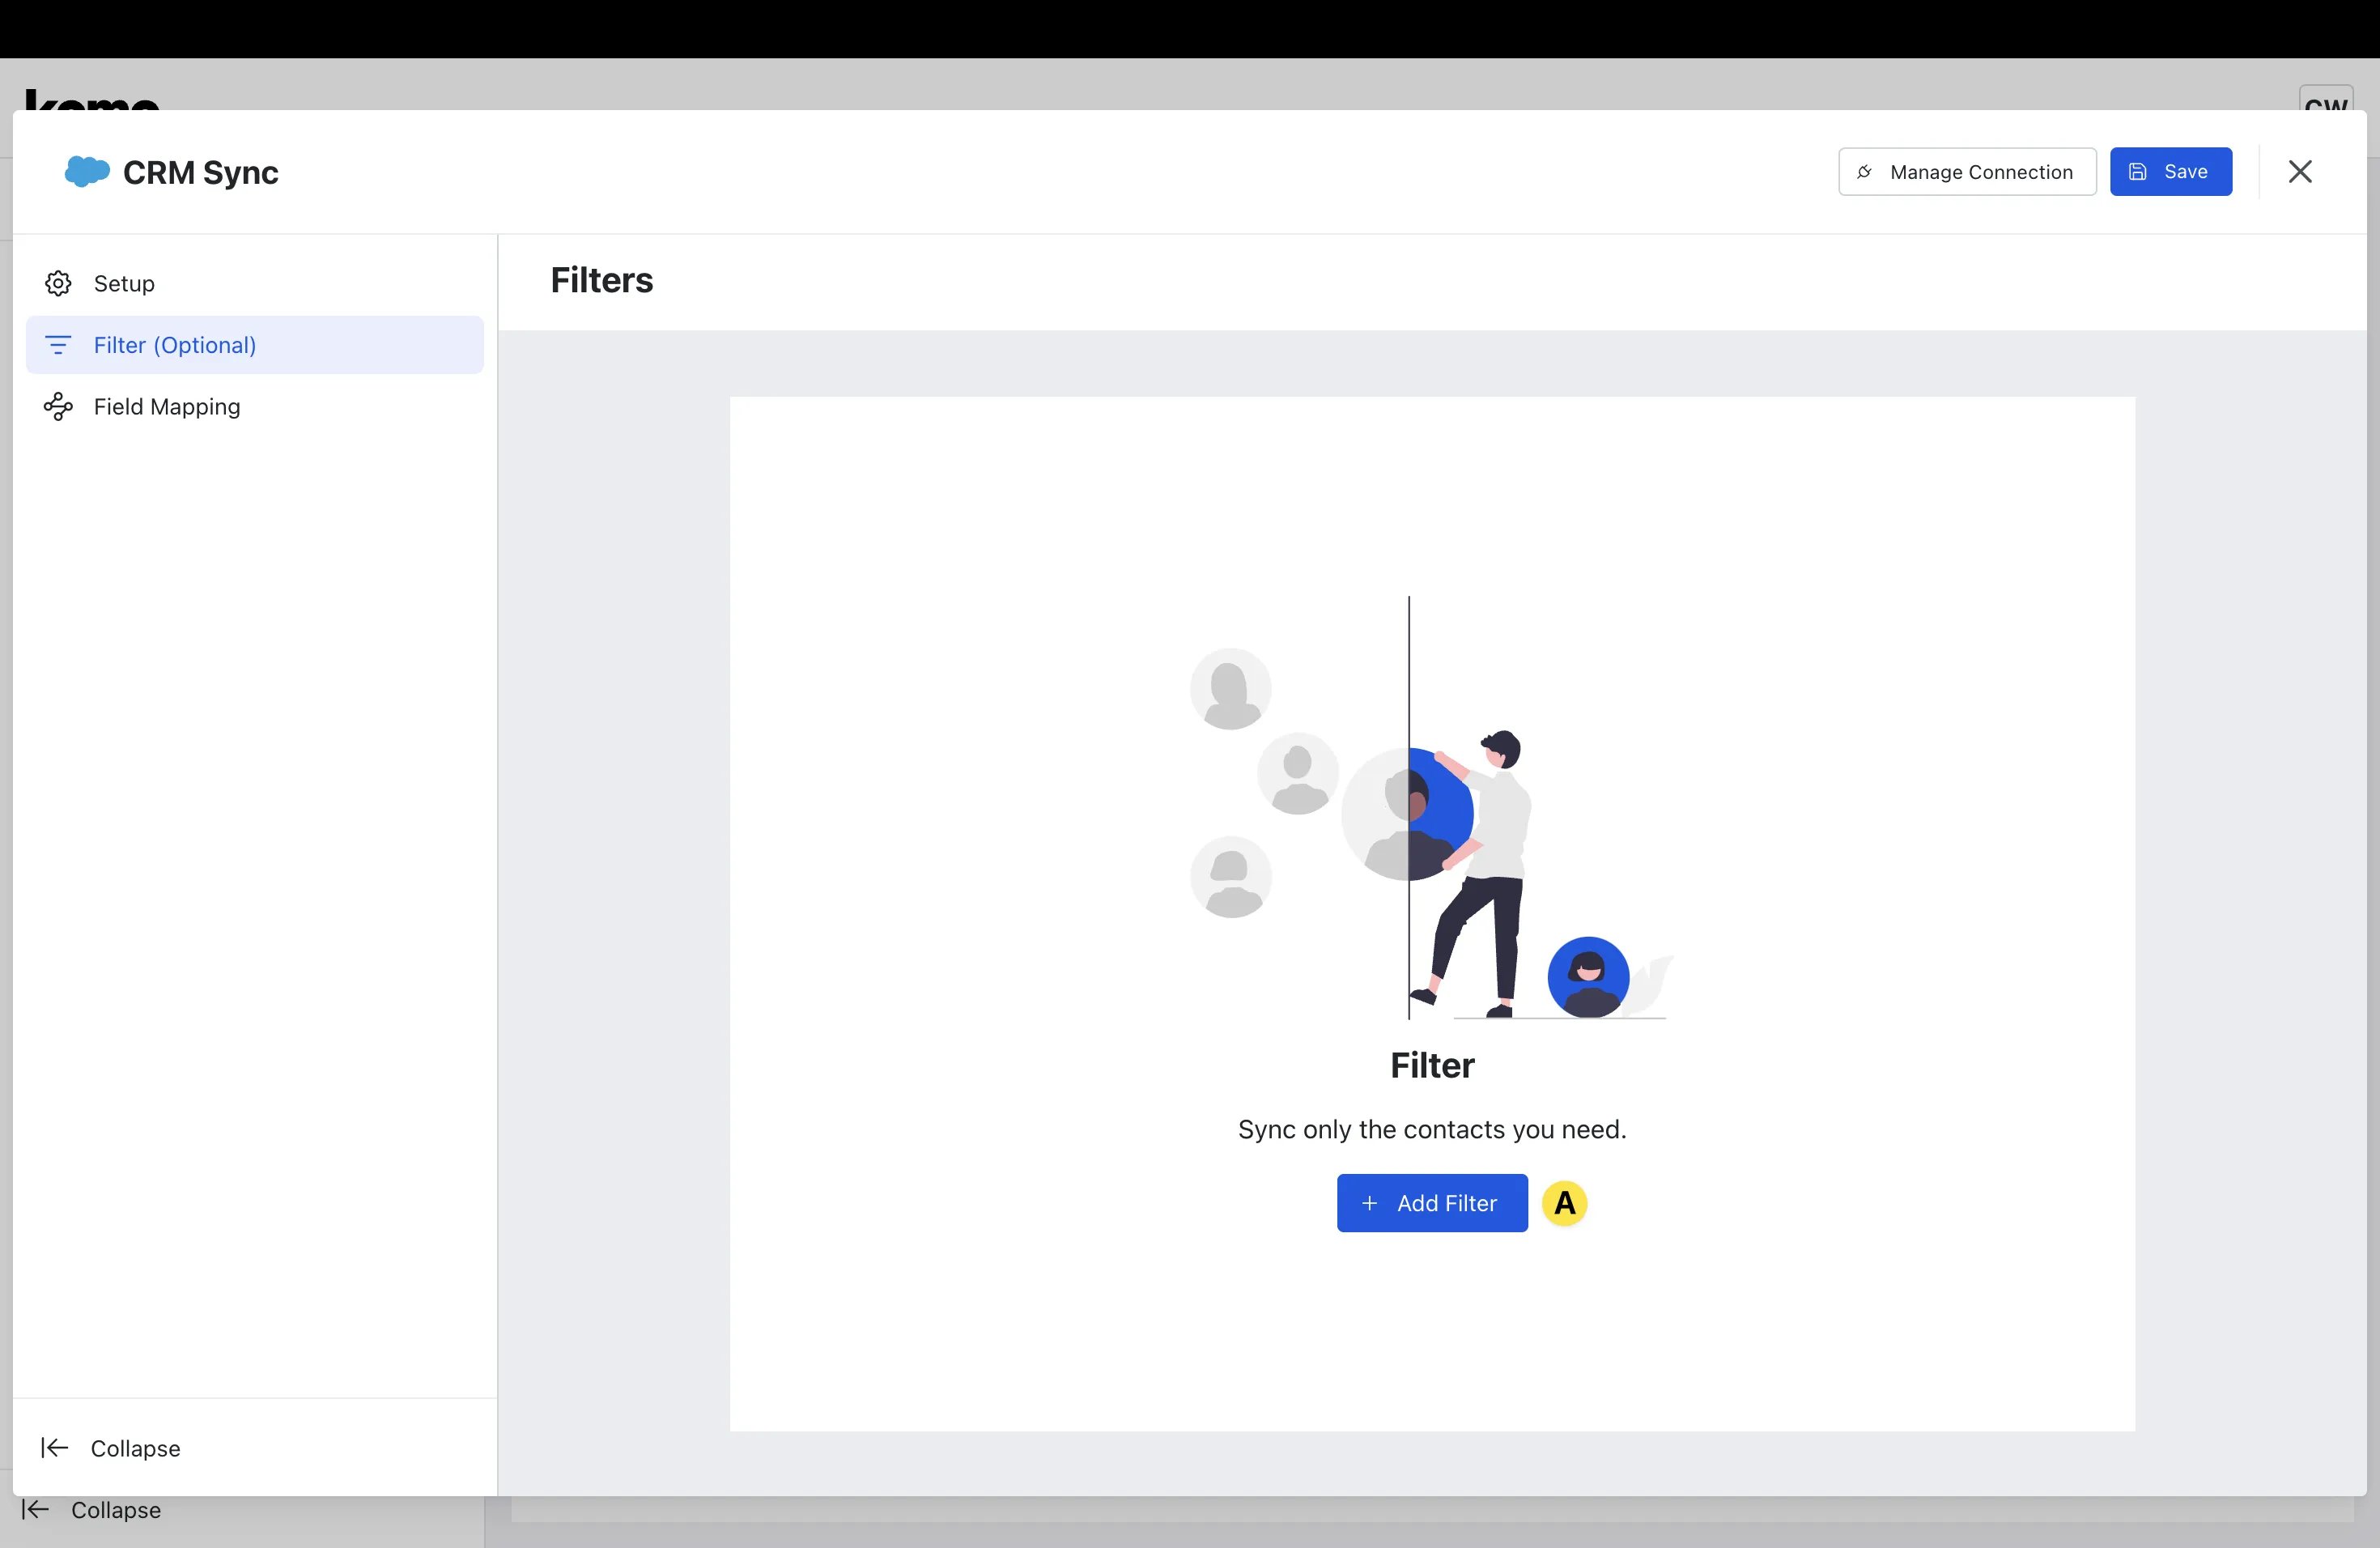
- (A) Click + Add Filter.
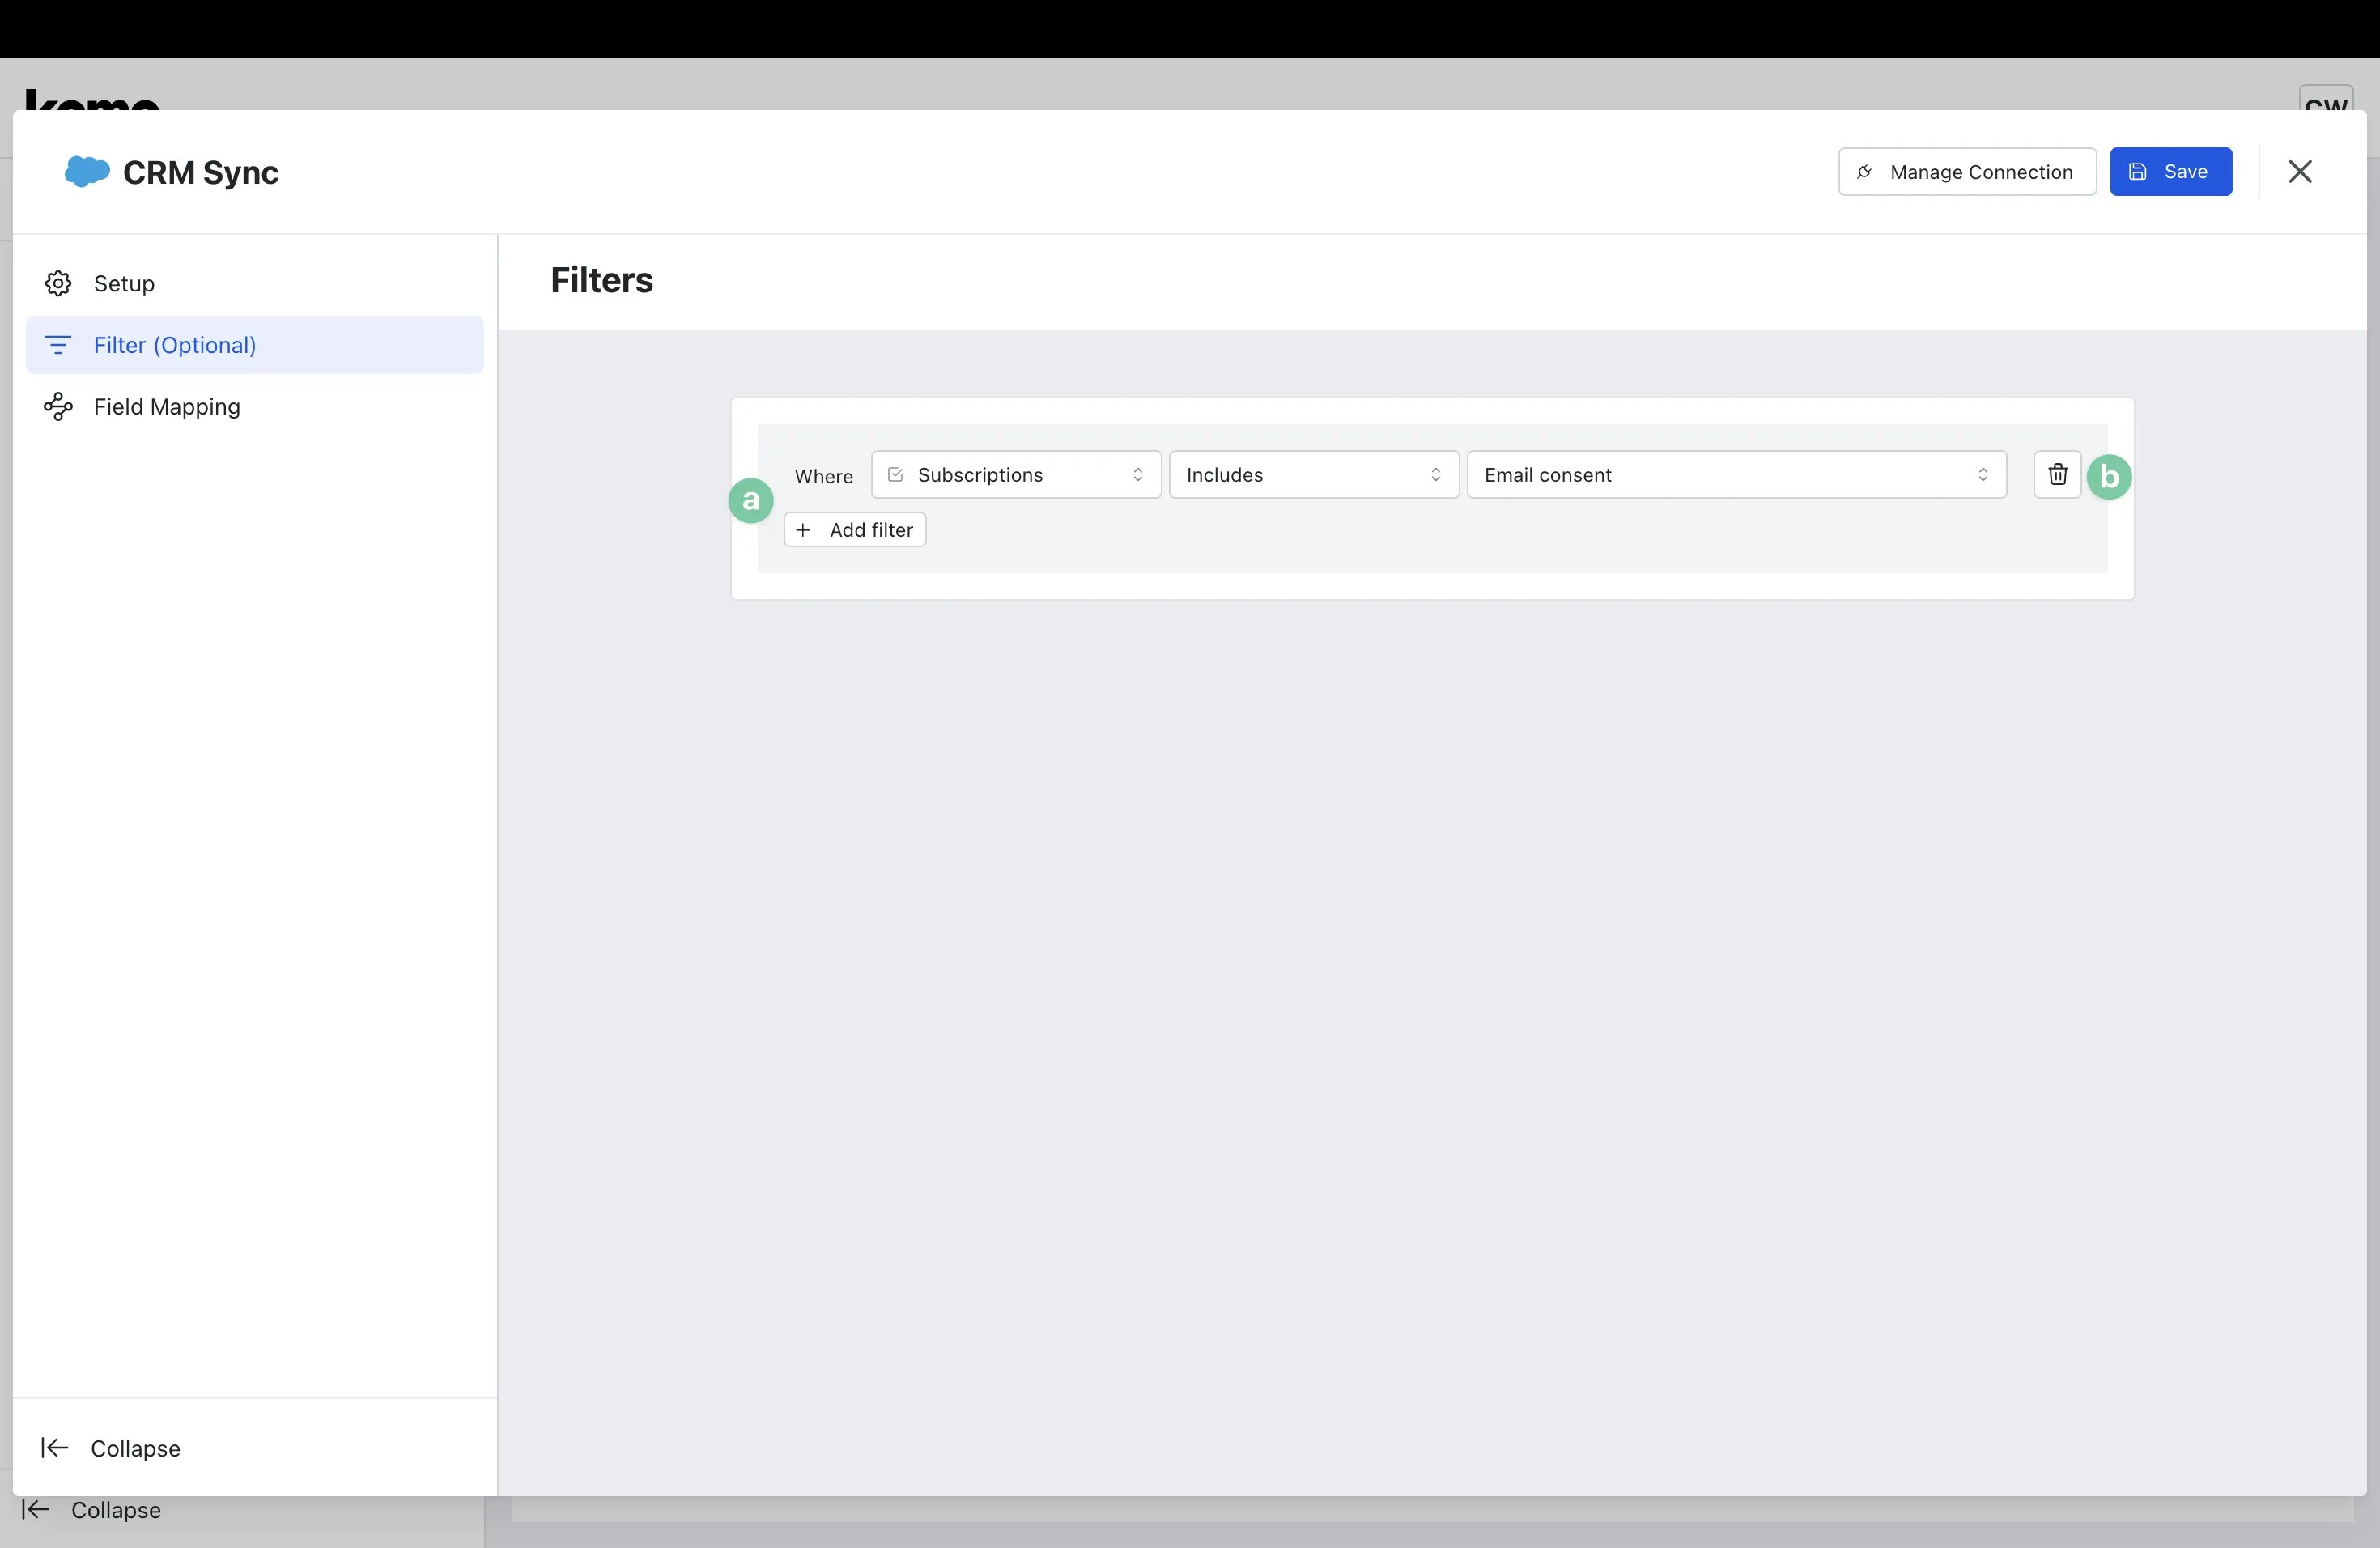
- (a) Here you can configure your Filters as required.
- (b) Click the bin to delete any filters you have created.
- (6) Click on Create Property Field Mapping to ensure contact fields in Komo are properly mapped to the fields in your CRM.
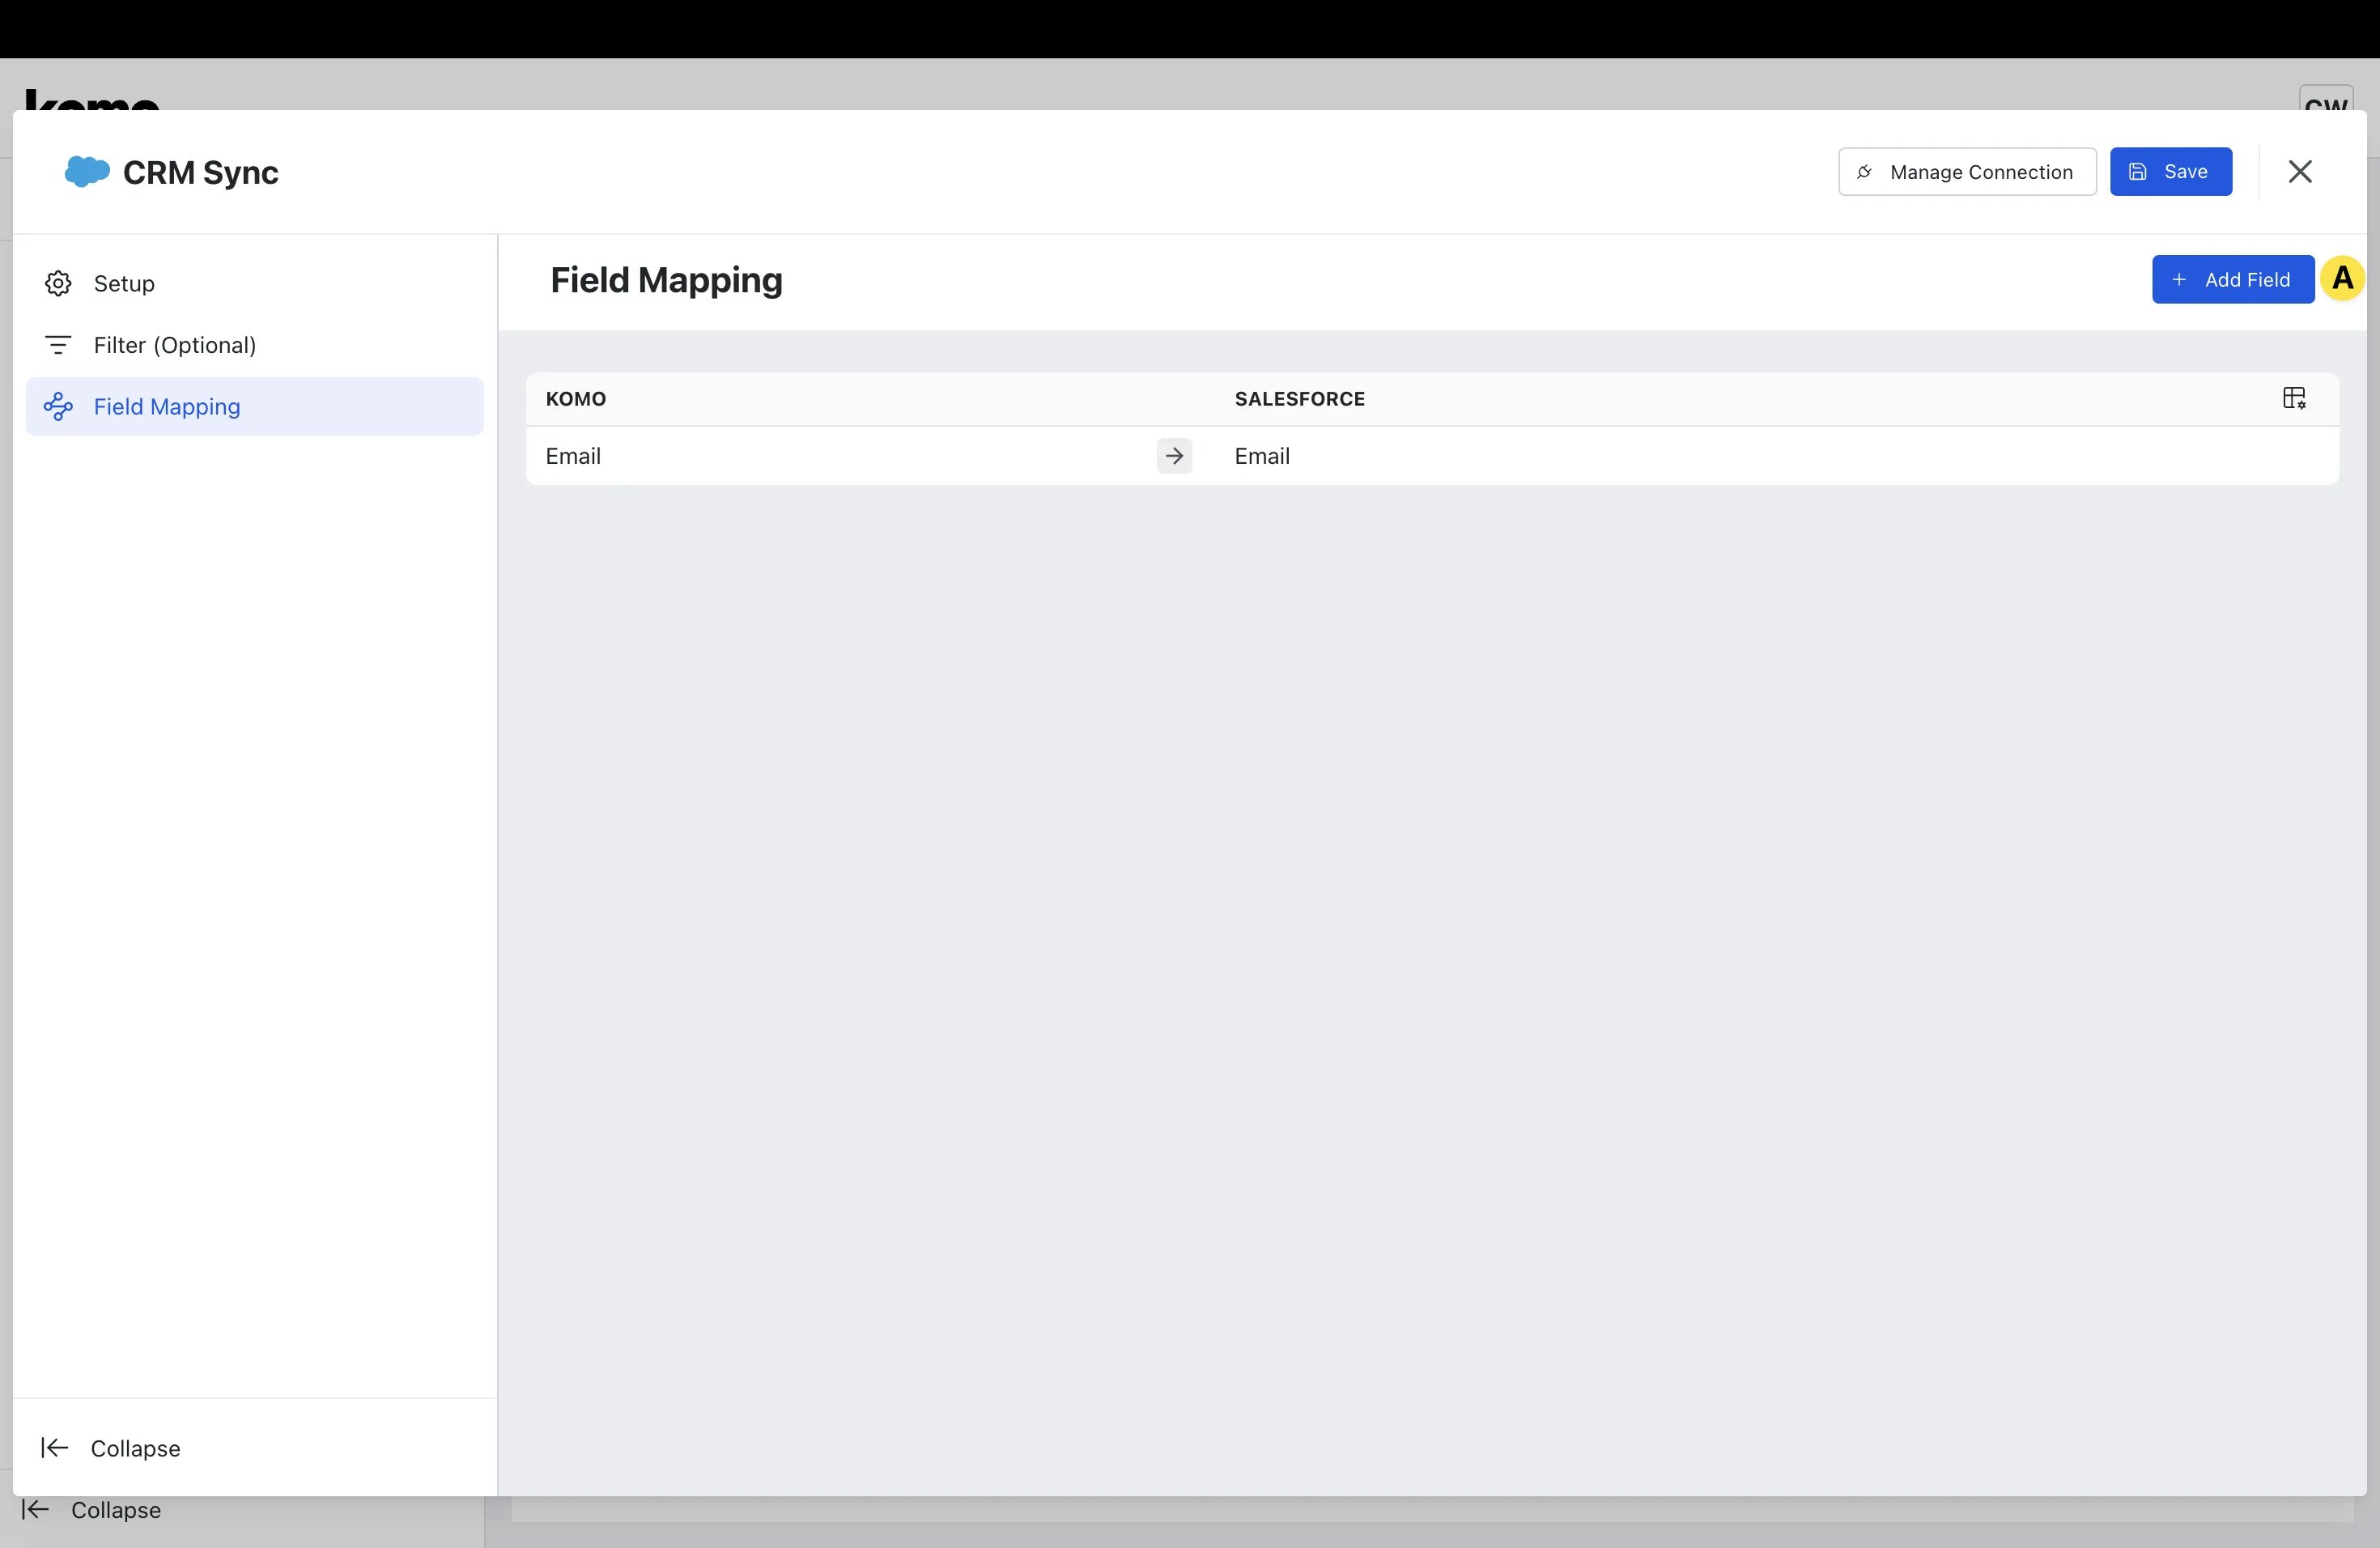
- (A) Click + Add Field.
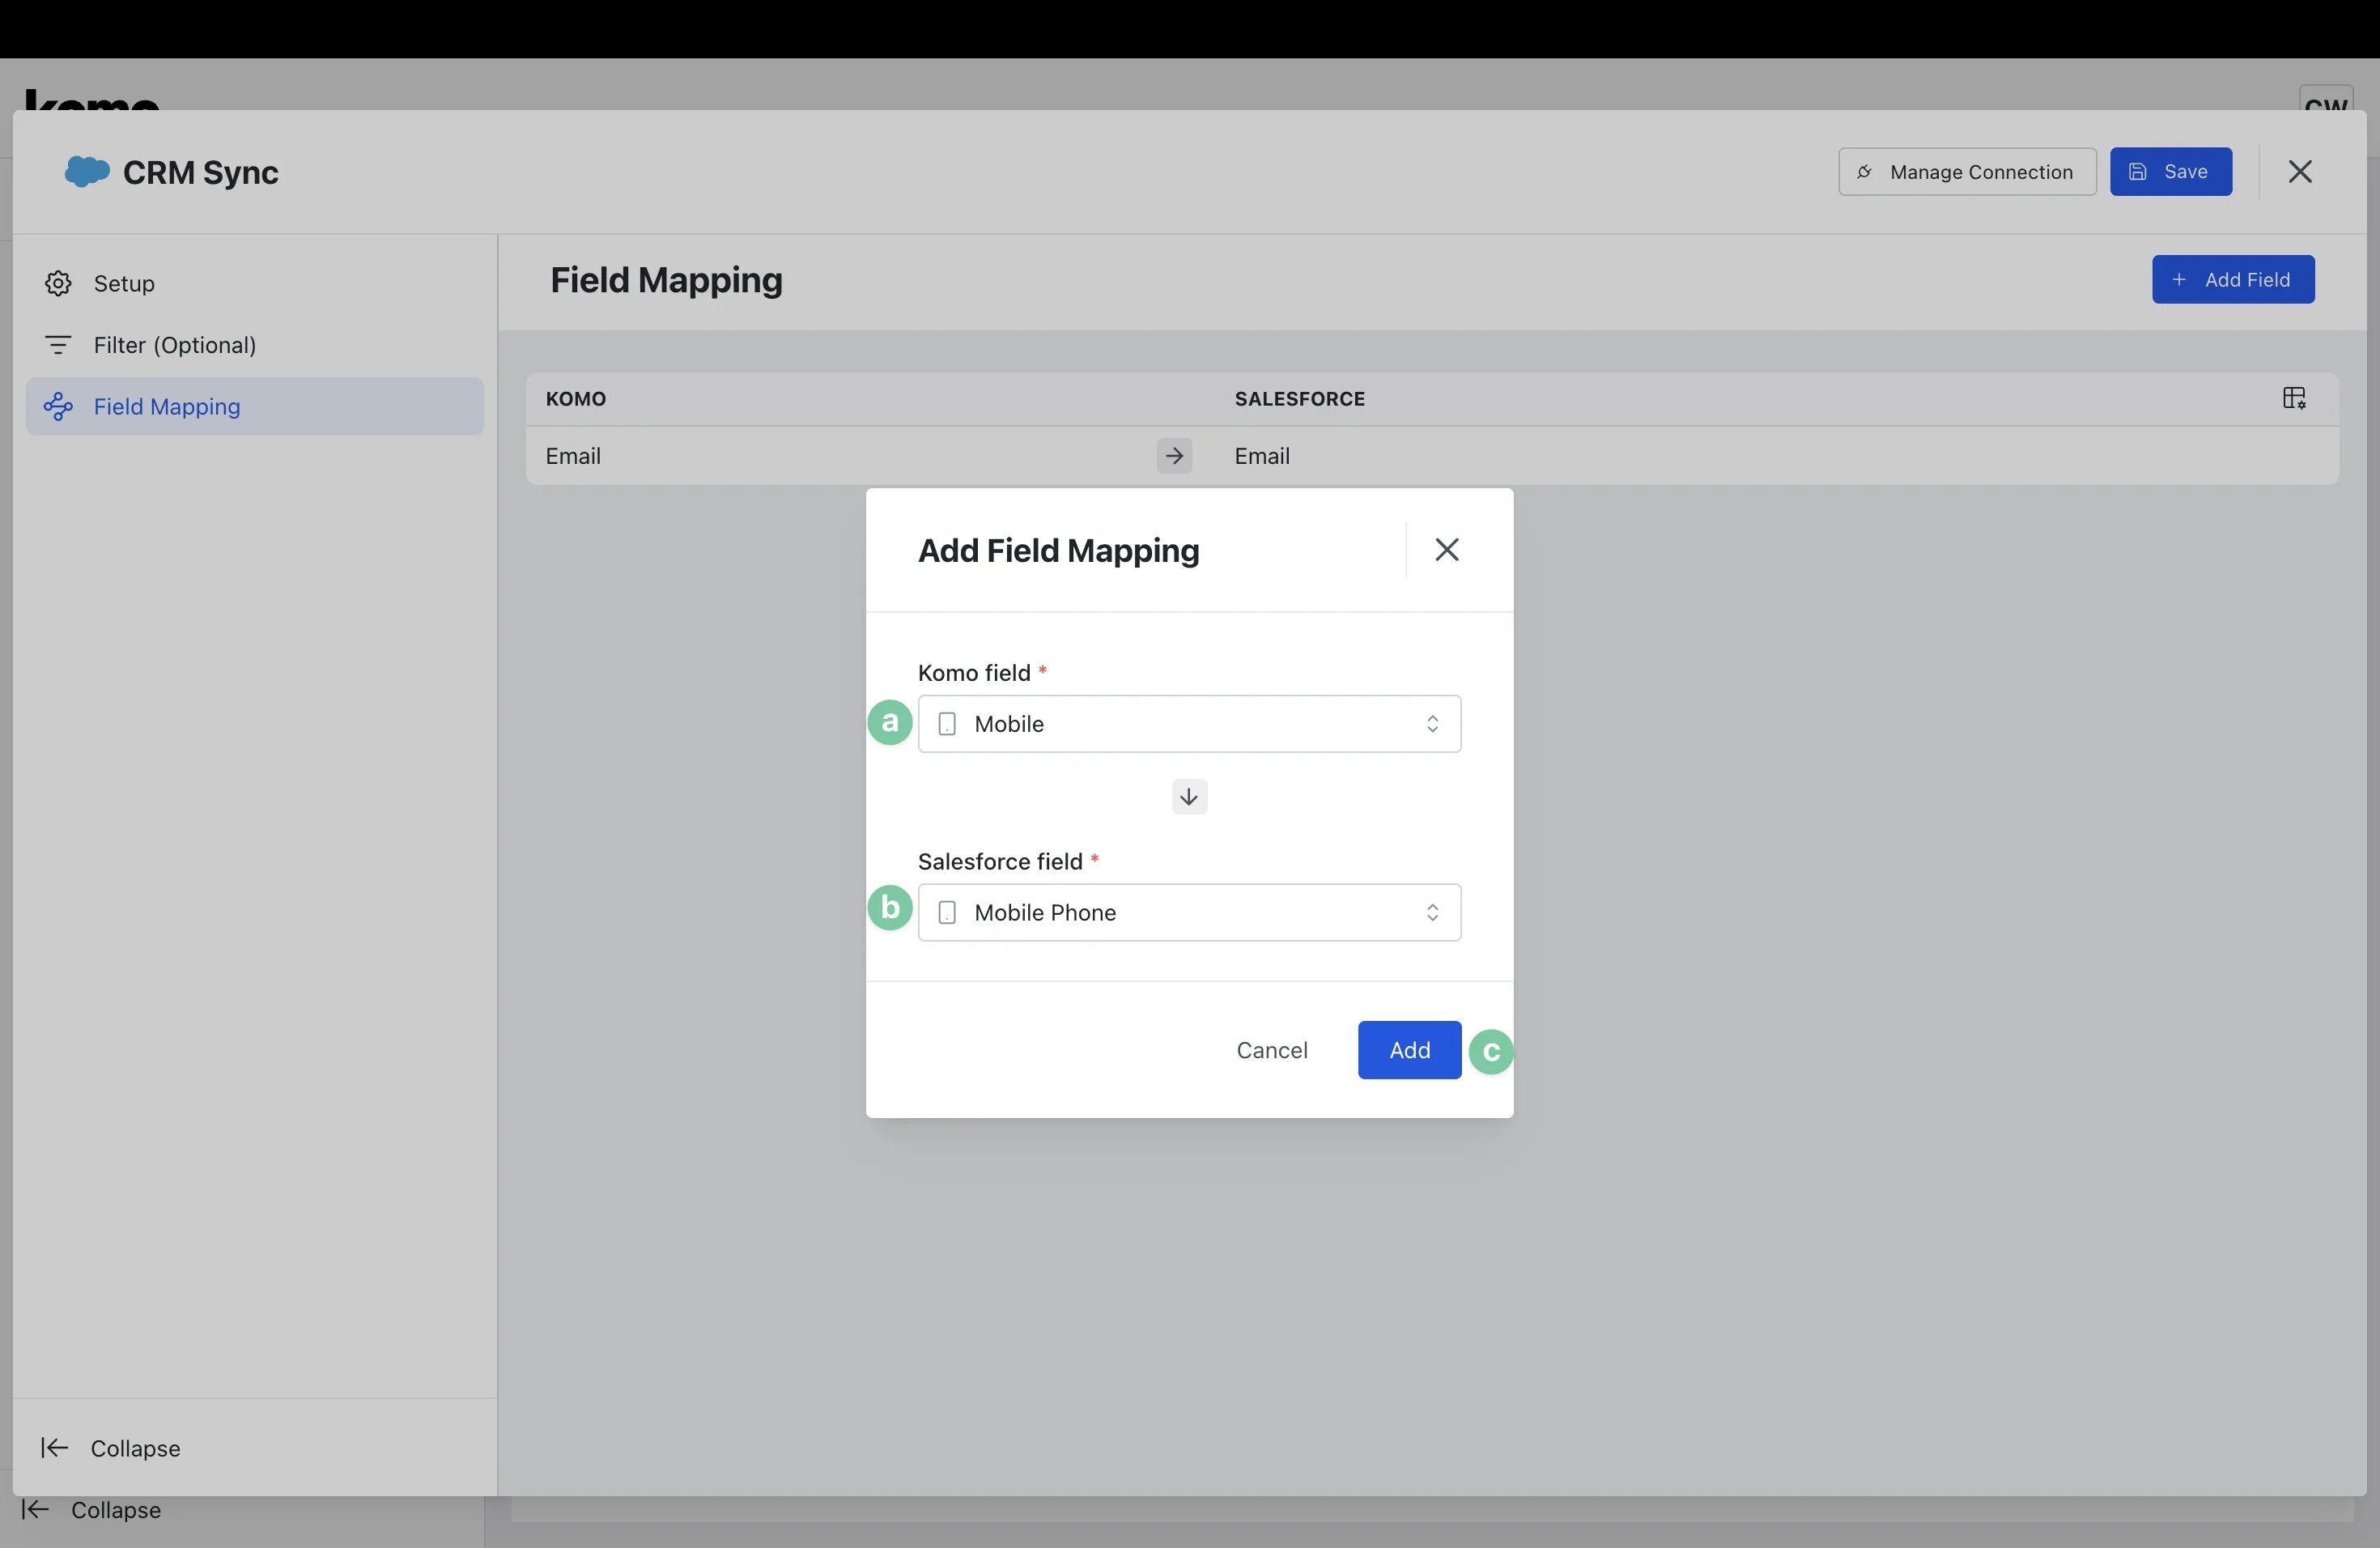
- (a) Select the desired Komo field to be mapped.
- (b) Select the corresponding CRM field that the Komo field should be mapped to.
- (c) Click Add.
- (7) Here you can edit and manage any of the CRM connection settings you configured in Step 1.
- (8) Once you’re satisfied with the CRM sync settings and have mapped all required fields, click Save.
Step 4: Run the CRM Sync

- Once your CRM Sync settings are configured, it’s time to run the sync.
- Click the 3 dots at the top right of the screen.
- Click Rename, give the sync a more easily identifiable InternalName and click the Rename button.
- Click the 3 dots again and select Start. The sync will now display as Running.
- Click the 3 dots once again and select Sync now. You will now see details of the sync that has just been initiated.
You can repeat the Sync now step every time you want the sync to run/be updated.
Step 5: Review the CRM Sync

- You can now review the sync to ensure it’s performing as expected.
- (1) Here you can view all details relating to the sync including ID, when it was Created and Last Updated, the Run duration and Status.
- (2) Click on the Green tick to view more detailed information on the Sync Run.
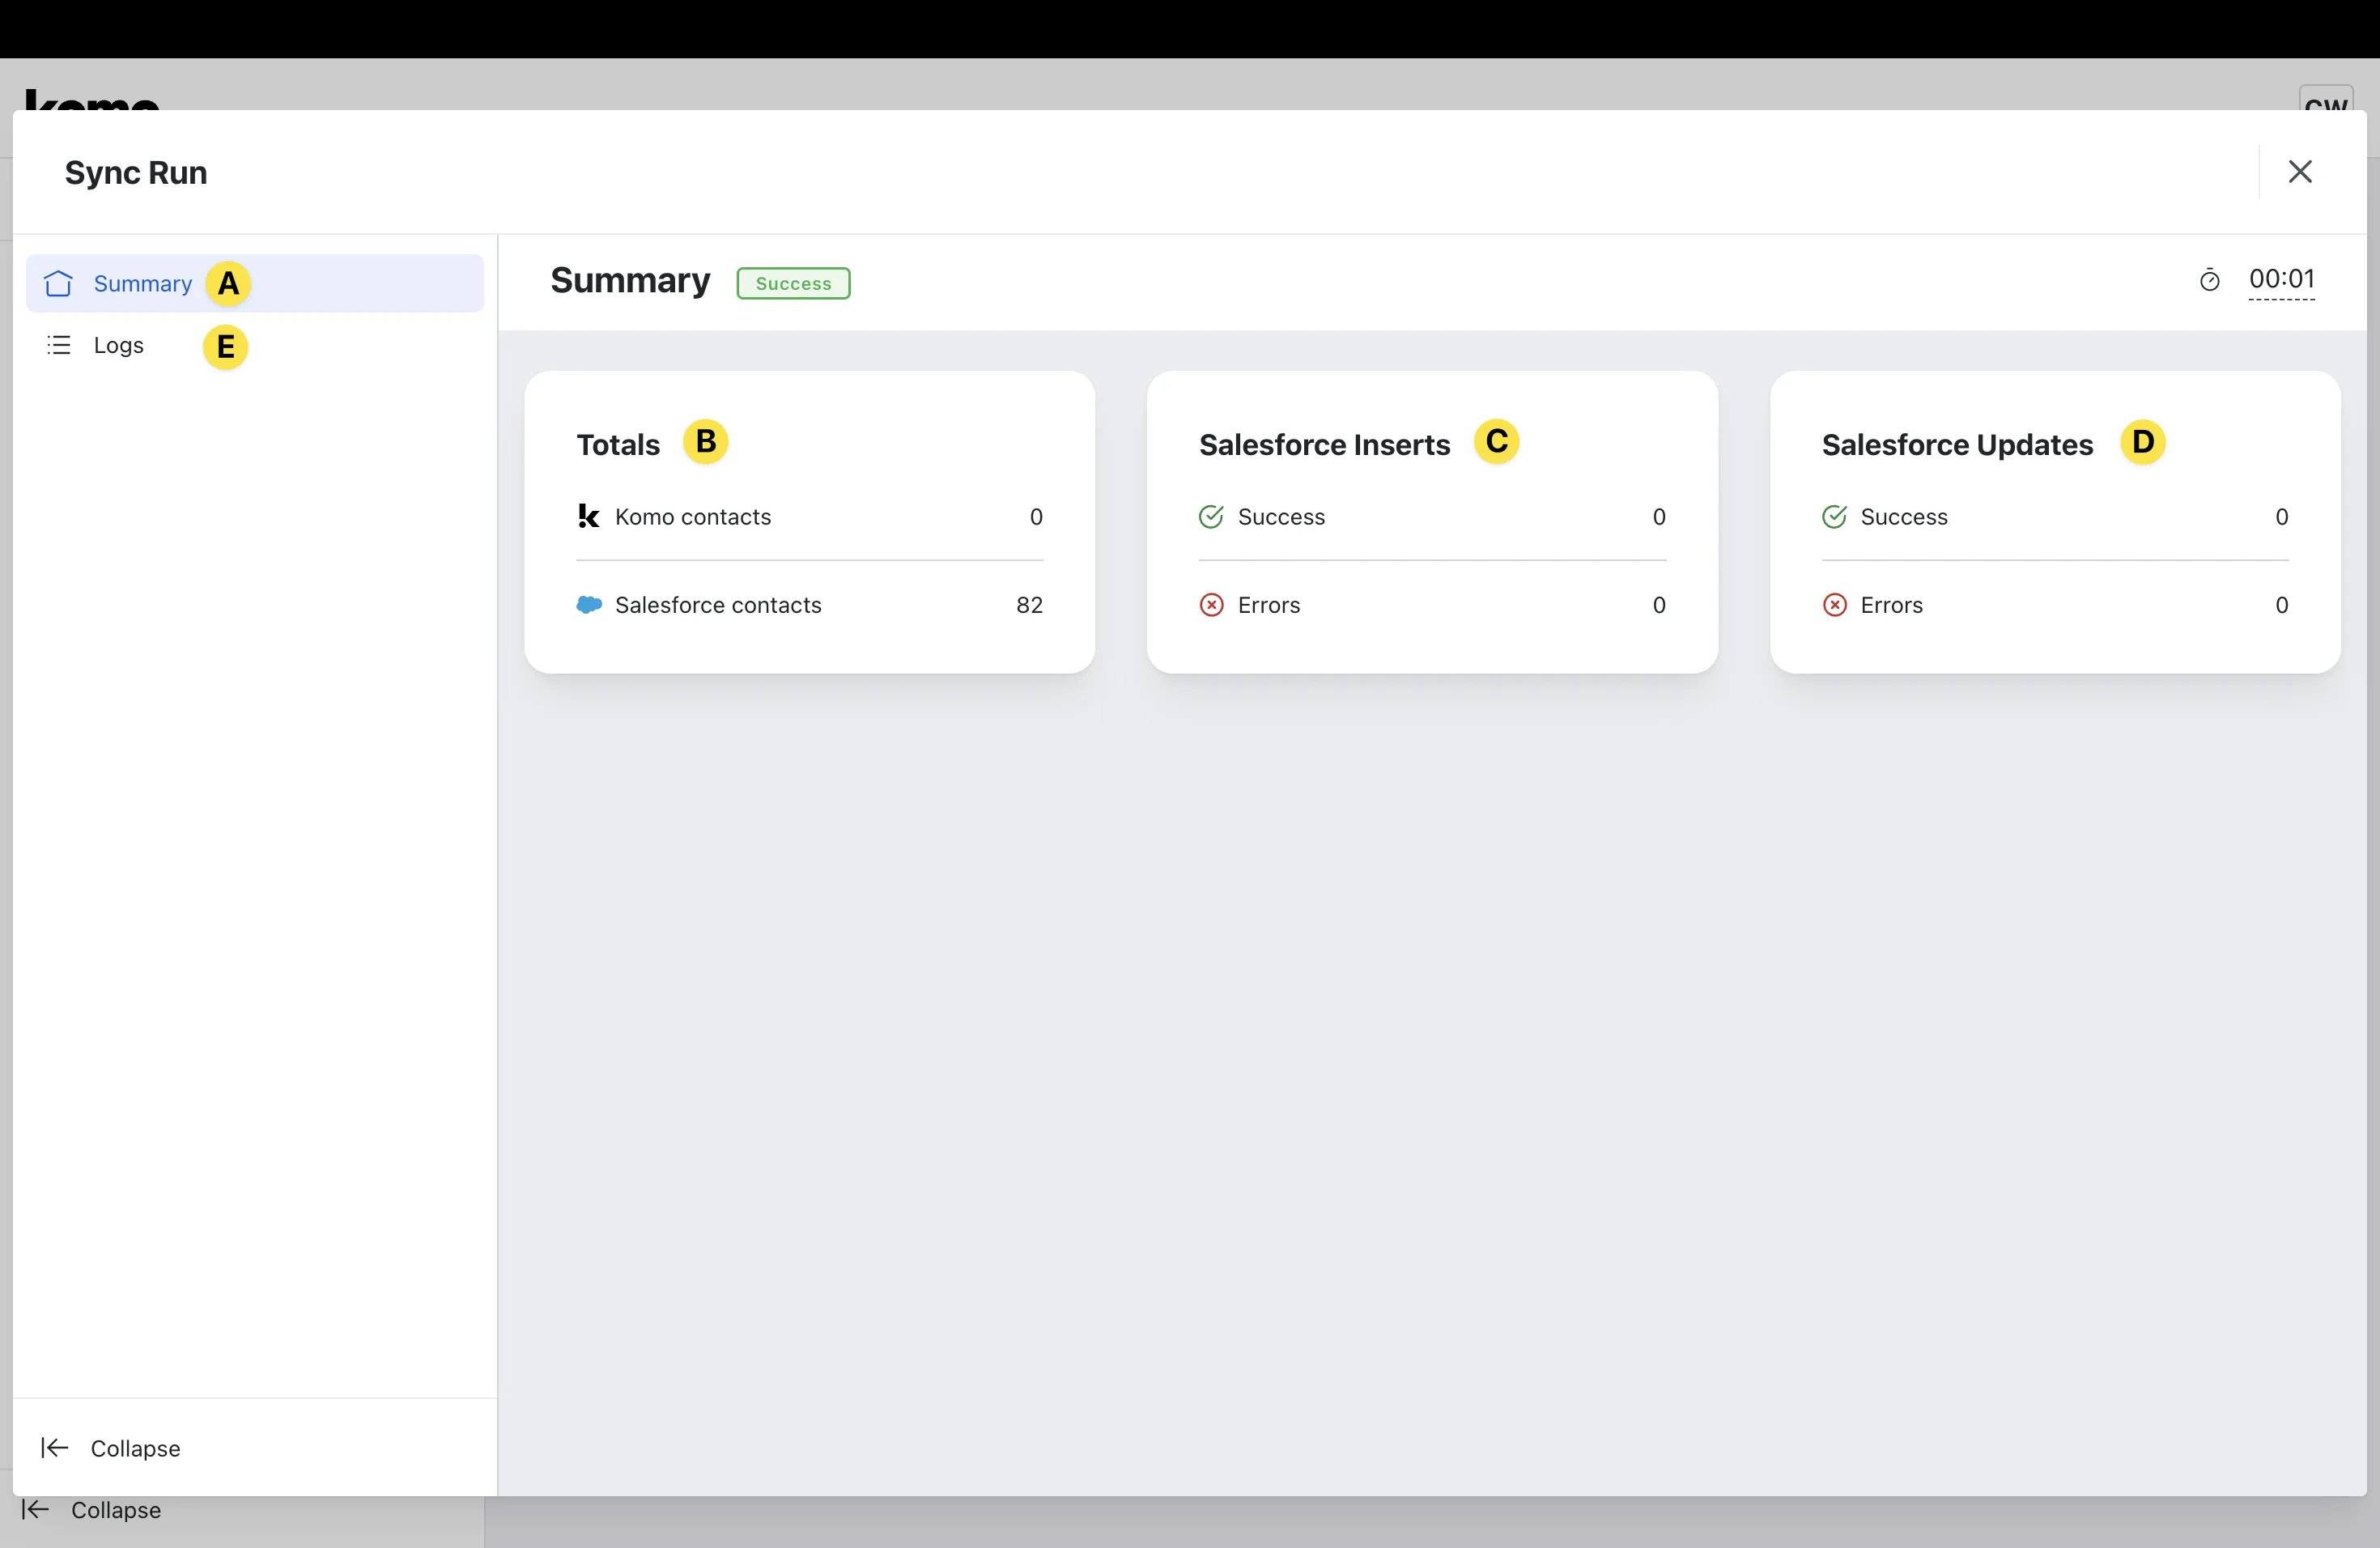
- (A) Here you will be able to see a Summary of the key Sync Run details.
- (B)Totals displays the total number of contacts within your Komo and CRM instances.
- (C)CRM Inserts displays how many contacts the sync successfully imported into the CRM and how many errors were encountered.
- (D)CRM Updates displays how many contacts the sync successfully updated in the CRM and how many errors were encountered.
- (E) Click Logs to view in depth logs of the executed sync.
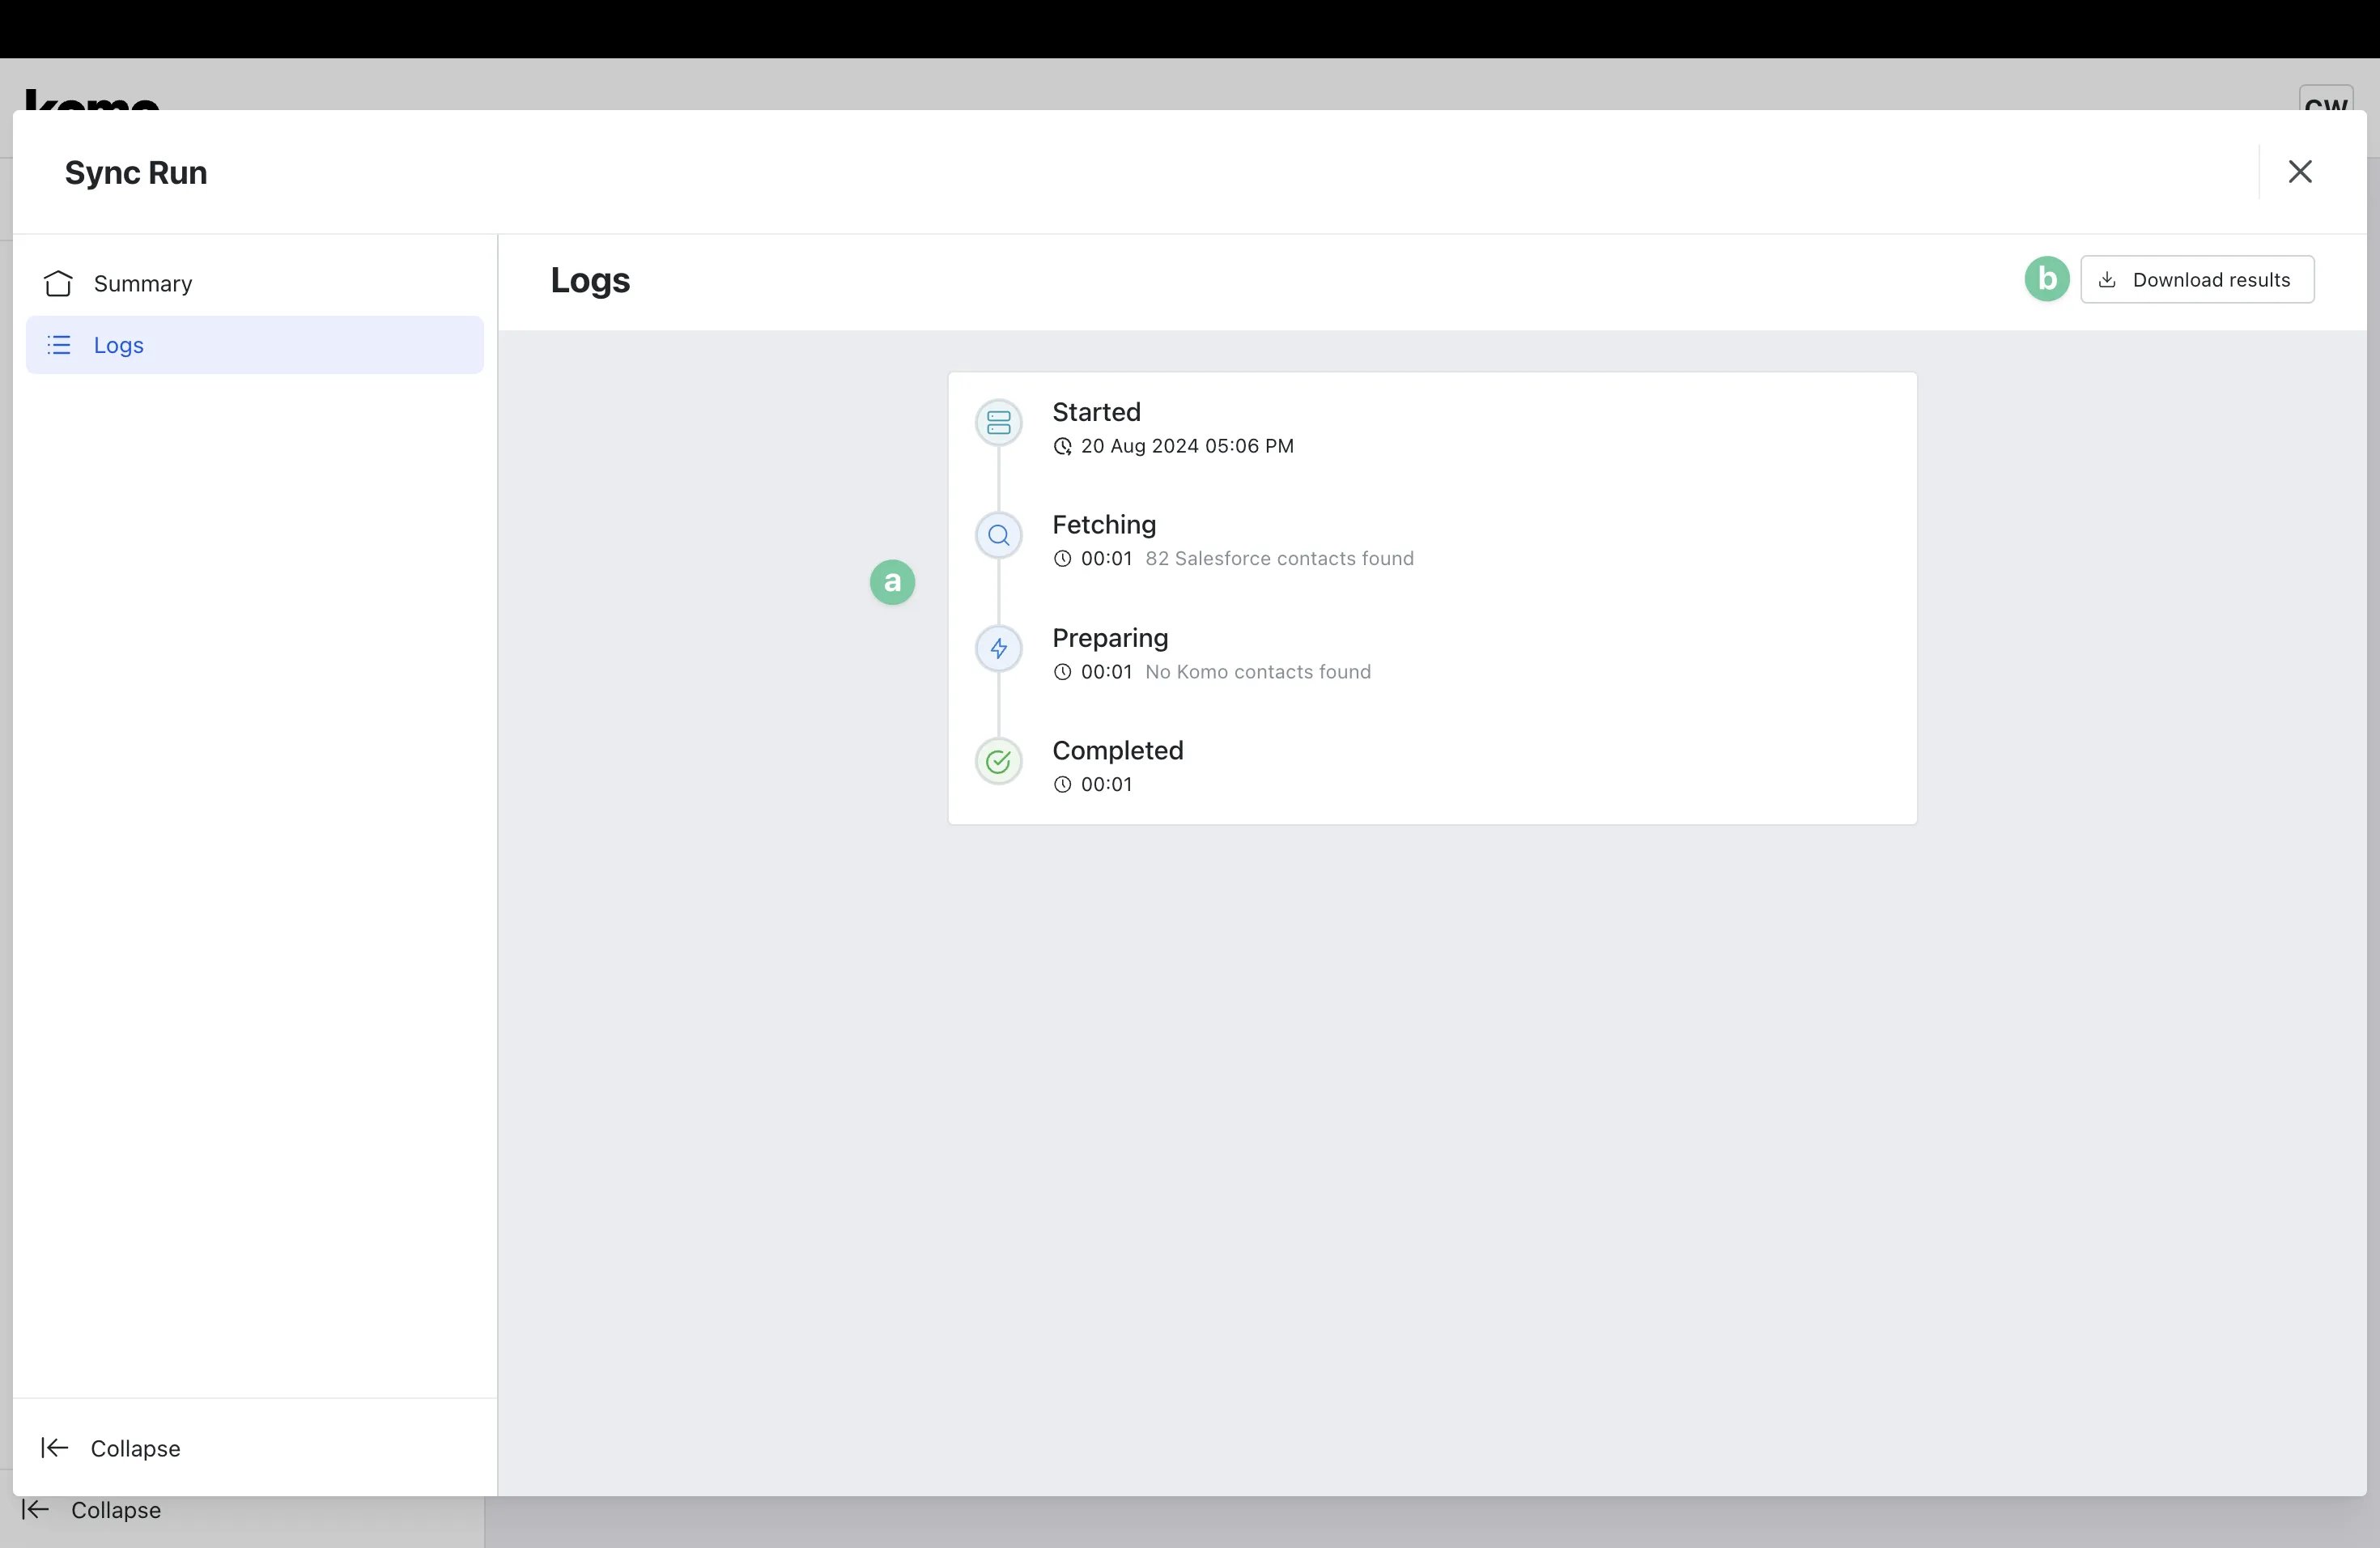
- (a) Here you can view a log of the various actions that took place within the sync.
- (b) Click Download results to export a CSV of the sync logs.