
Contents
What is it?
The Hub Editor gives you the ability to create Cards on pages, customise the overall look and feel and edit page-specific settings.How do I use it?
Styling
- Step1: Open Styling
- Step 2: Add a Background
- Step 3: Edit the Header
- Step 4: Upload a Cover image
- Step 5: Set up your Footer settings
- Step 6: Set your Button colours
Step 1: Open Styling
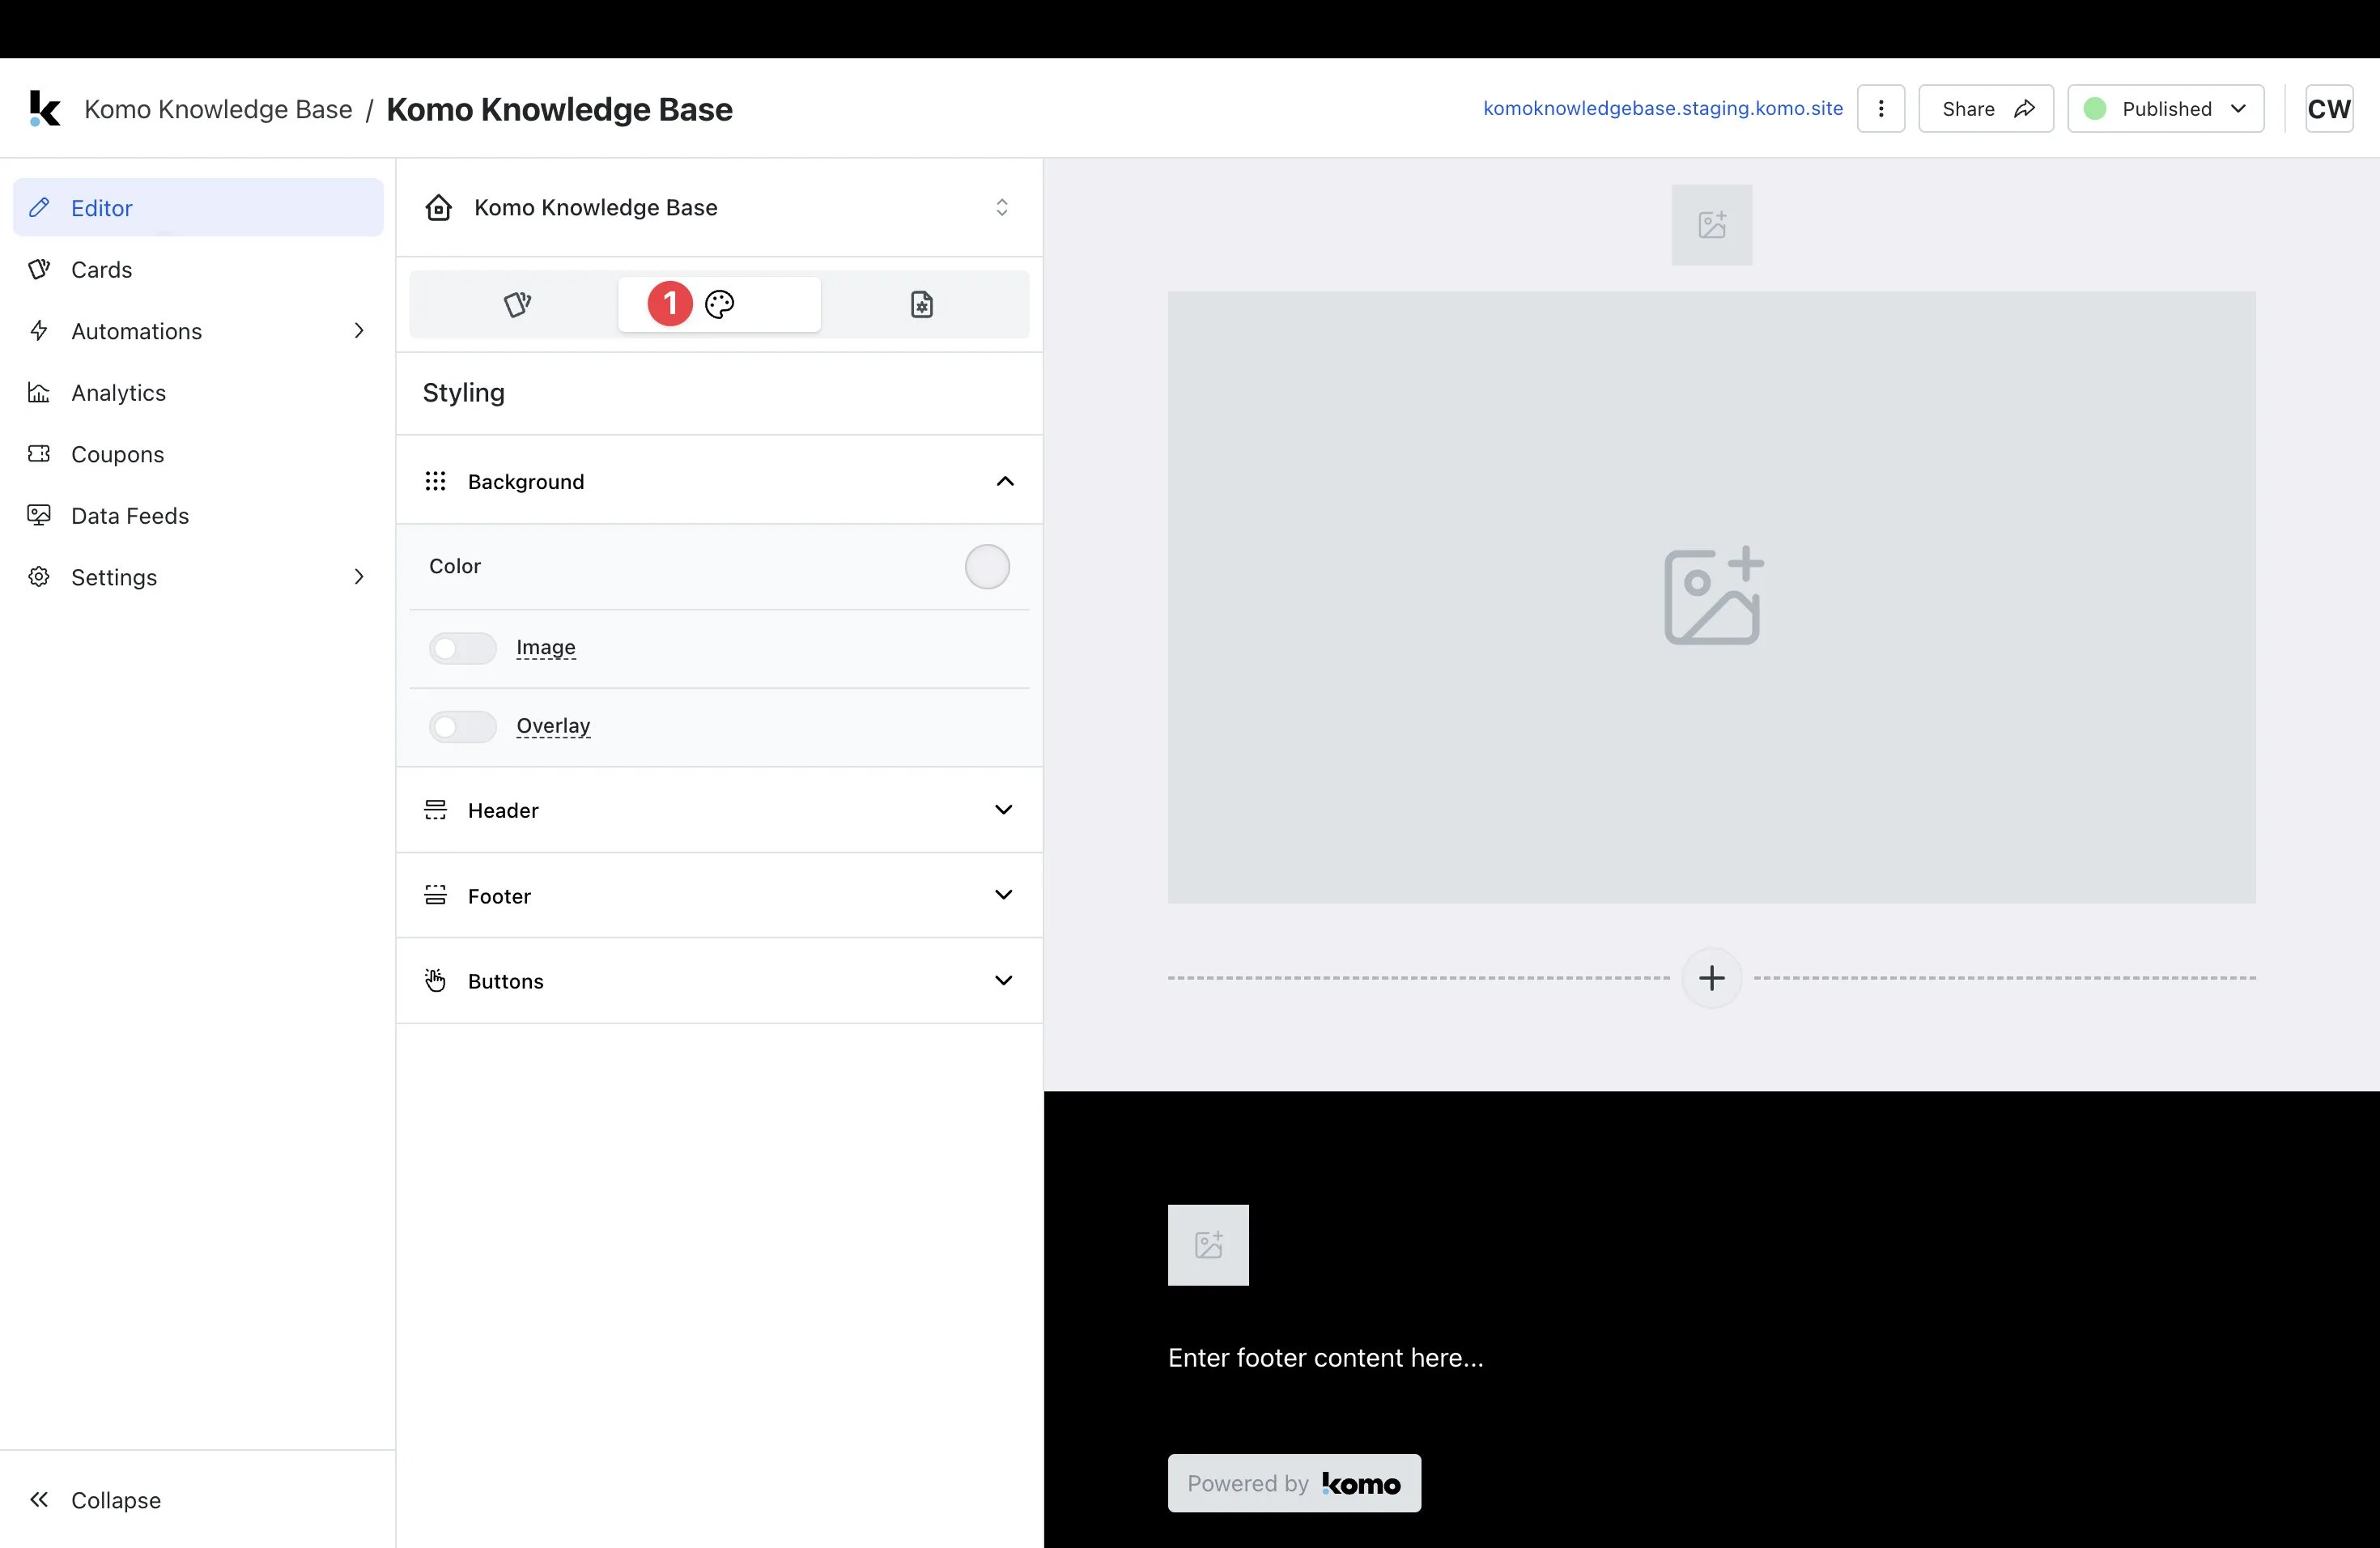
- (1) Within Editor, click on the Styling tab.
Step 2: Add a Background
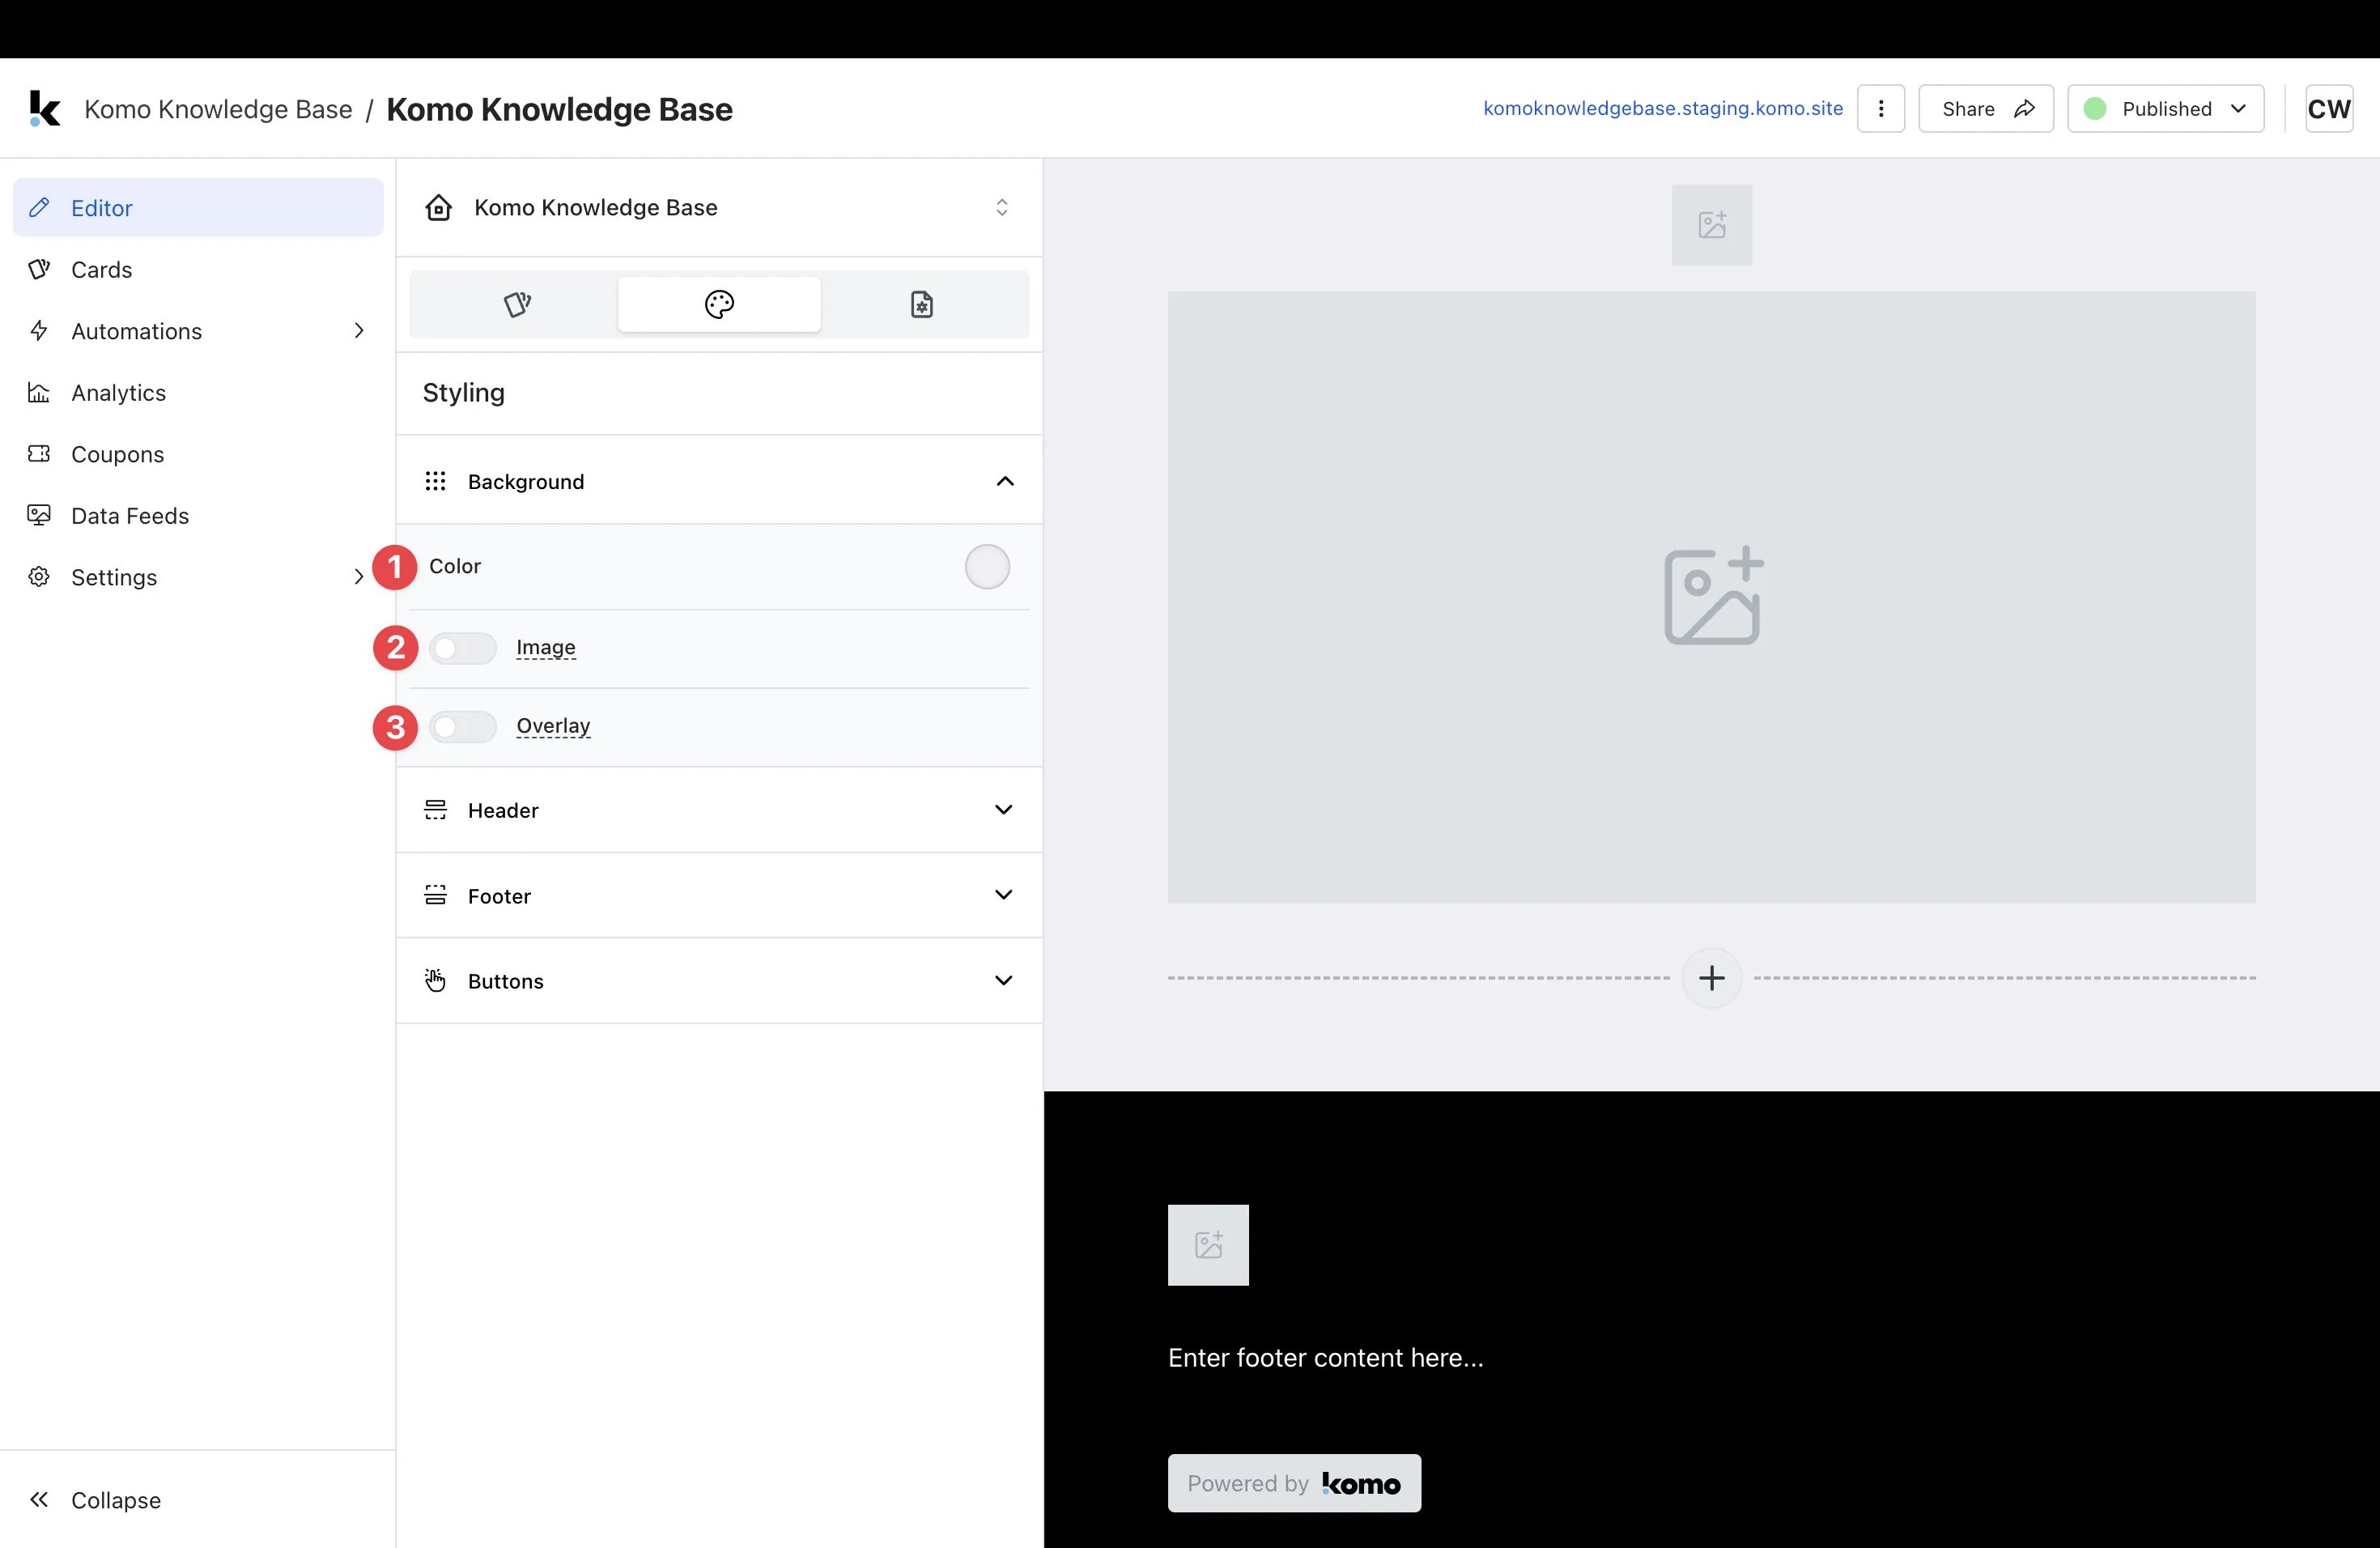
- (1) You can have a solid colour as your background.
- (2) Upload a background image here.
-
(3) Here you can add a colour overlay to your background image.
Note: The background will update as below.

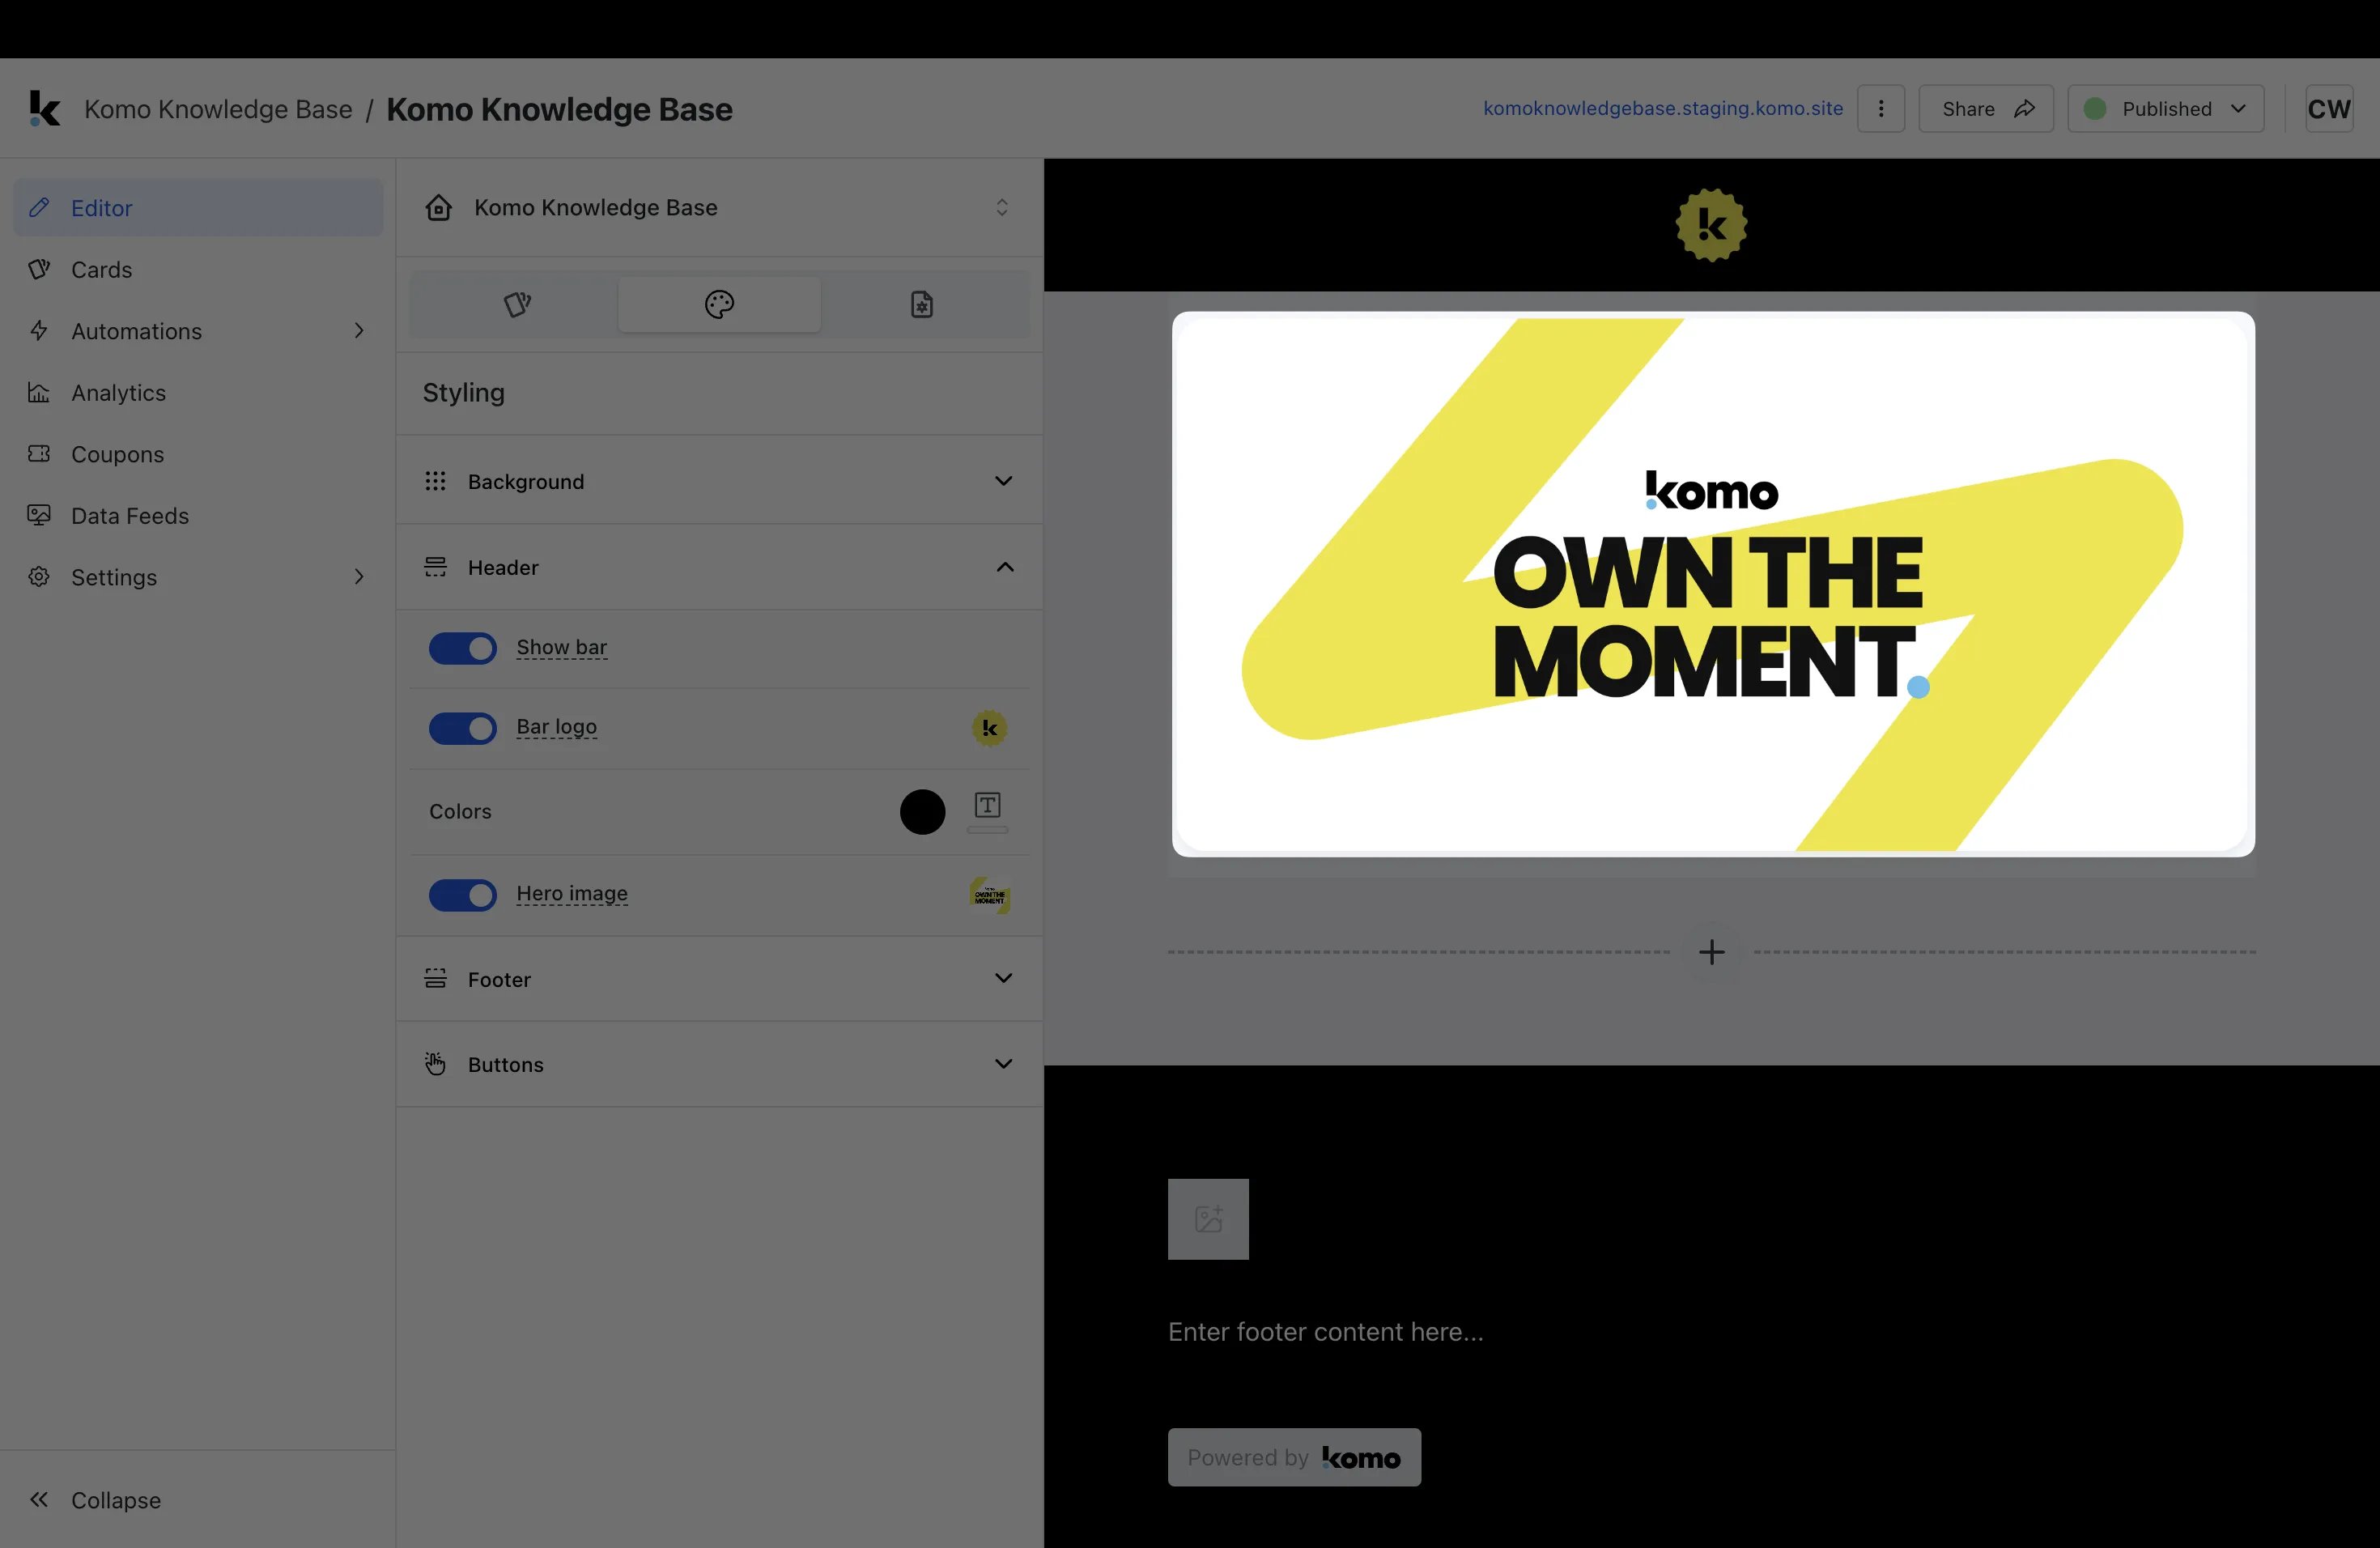
Step 3: Edit the Header
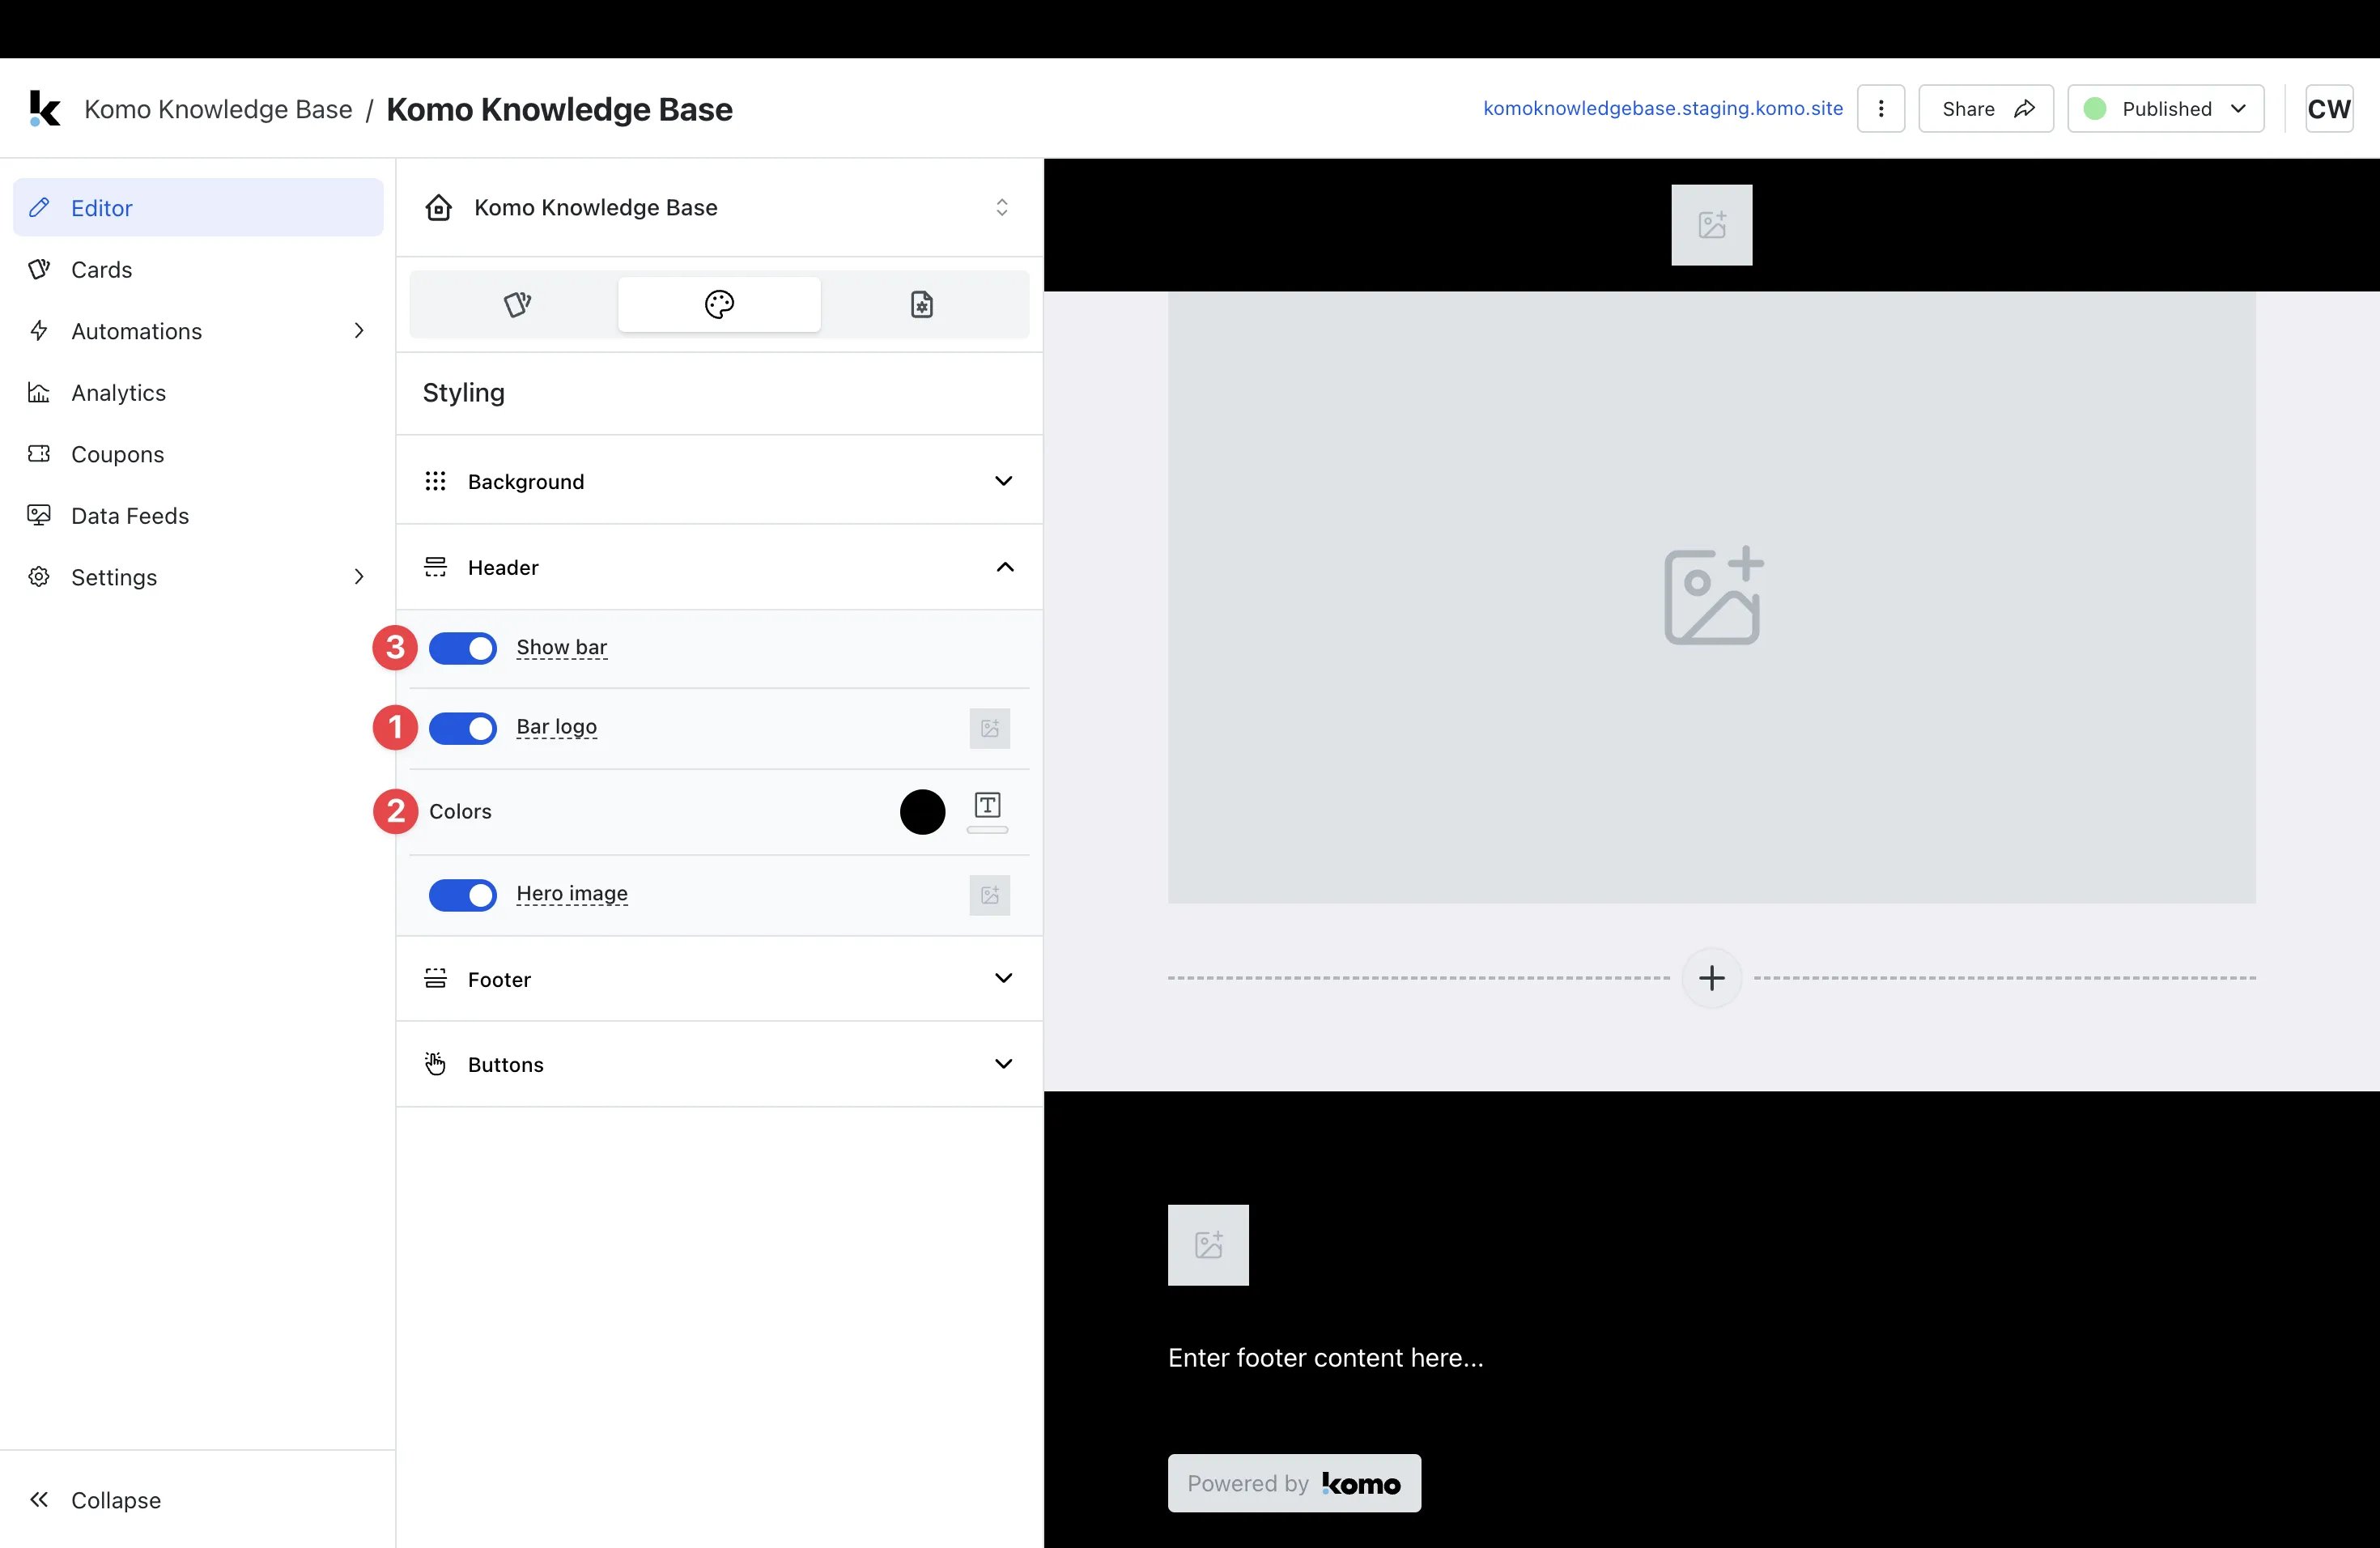
- (1) You can upload your logo to sit on the header bar or toggle this option off.
- (2) Alter the header bar colours here.
-
(3) If you prefer not to have the header bar visible, you can toggle off this feature here.
Note: The header will update as below.

Step 4: Upload a Cover image
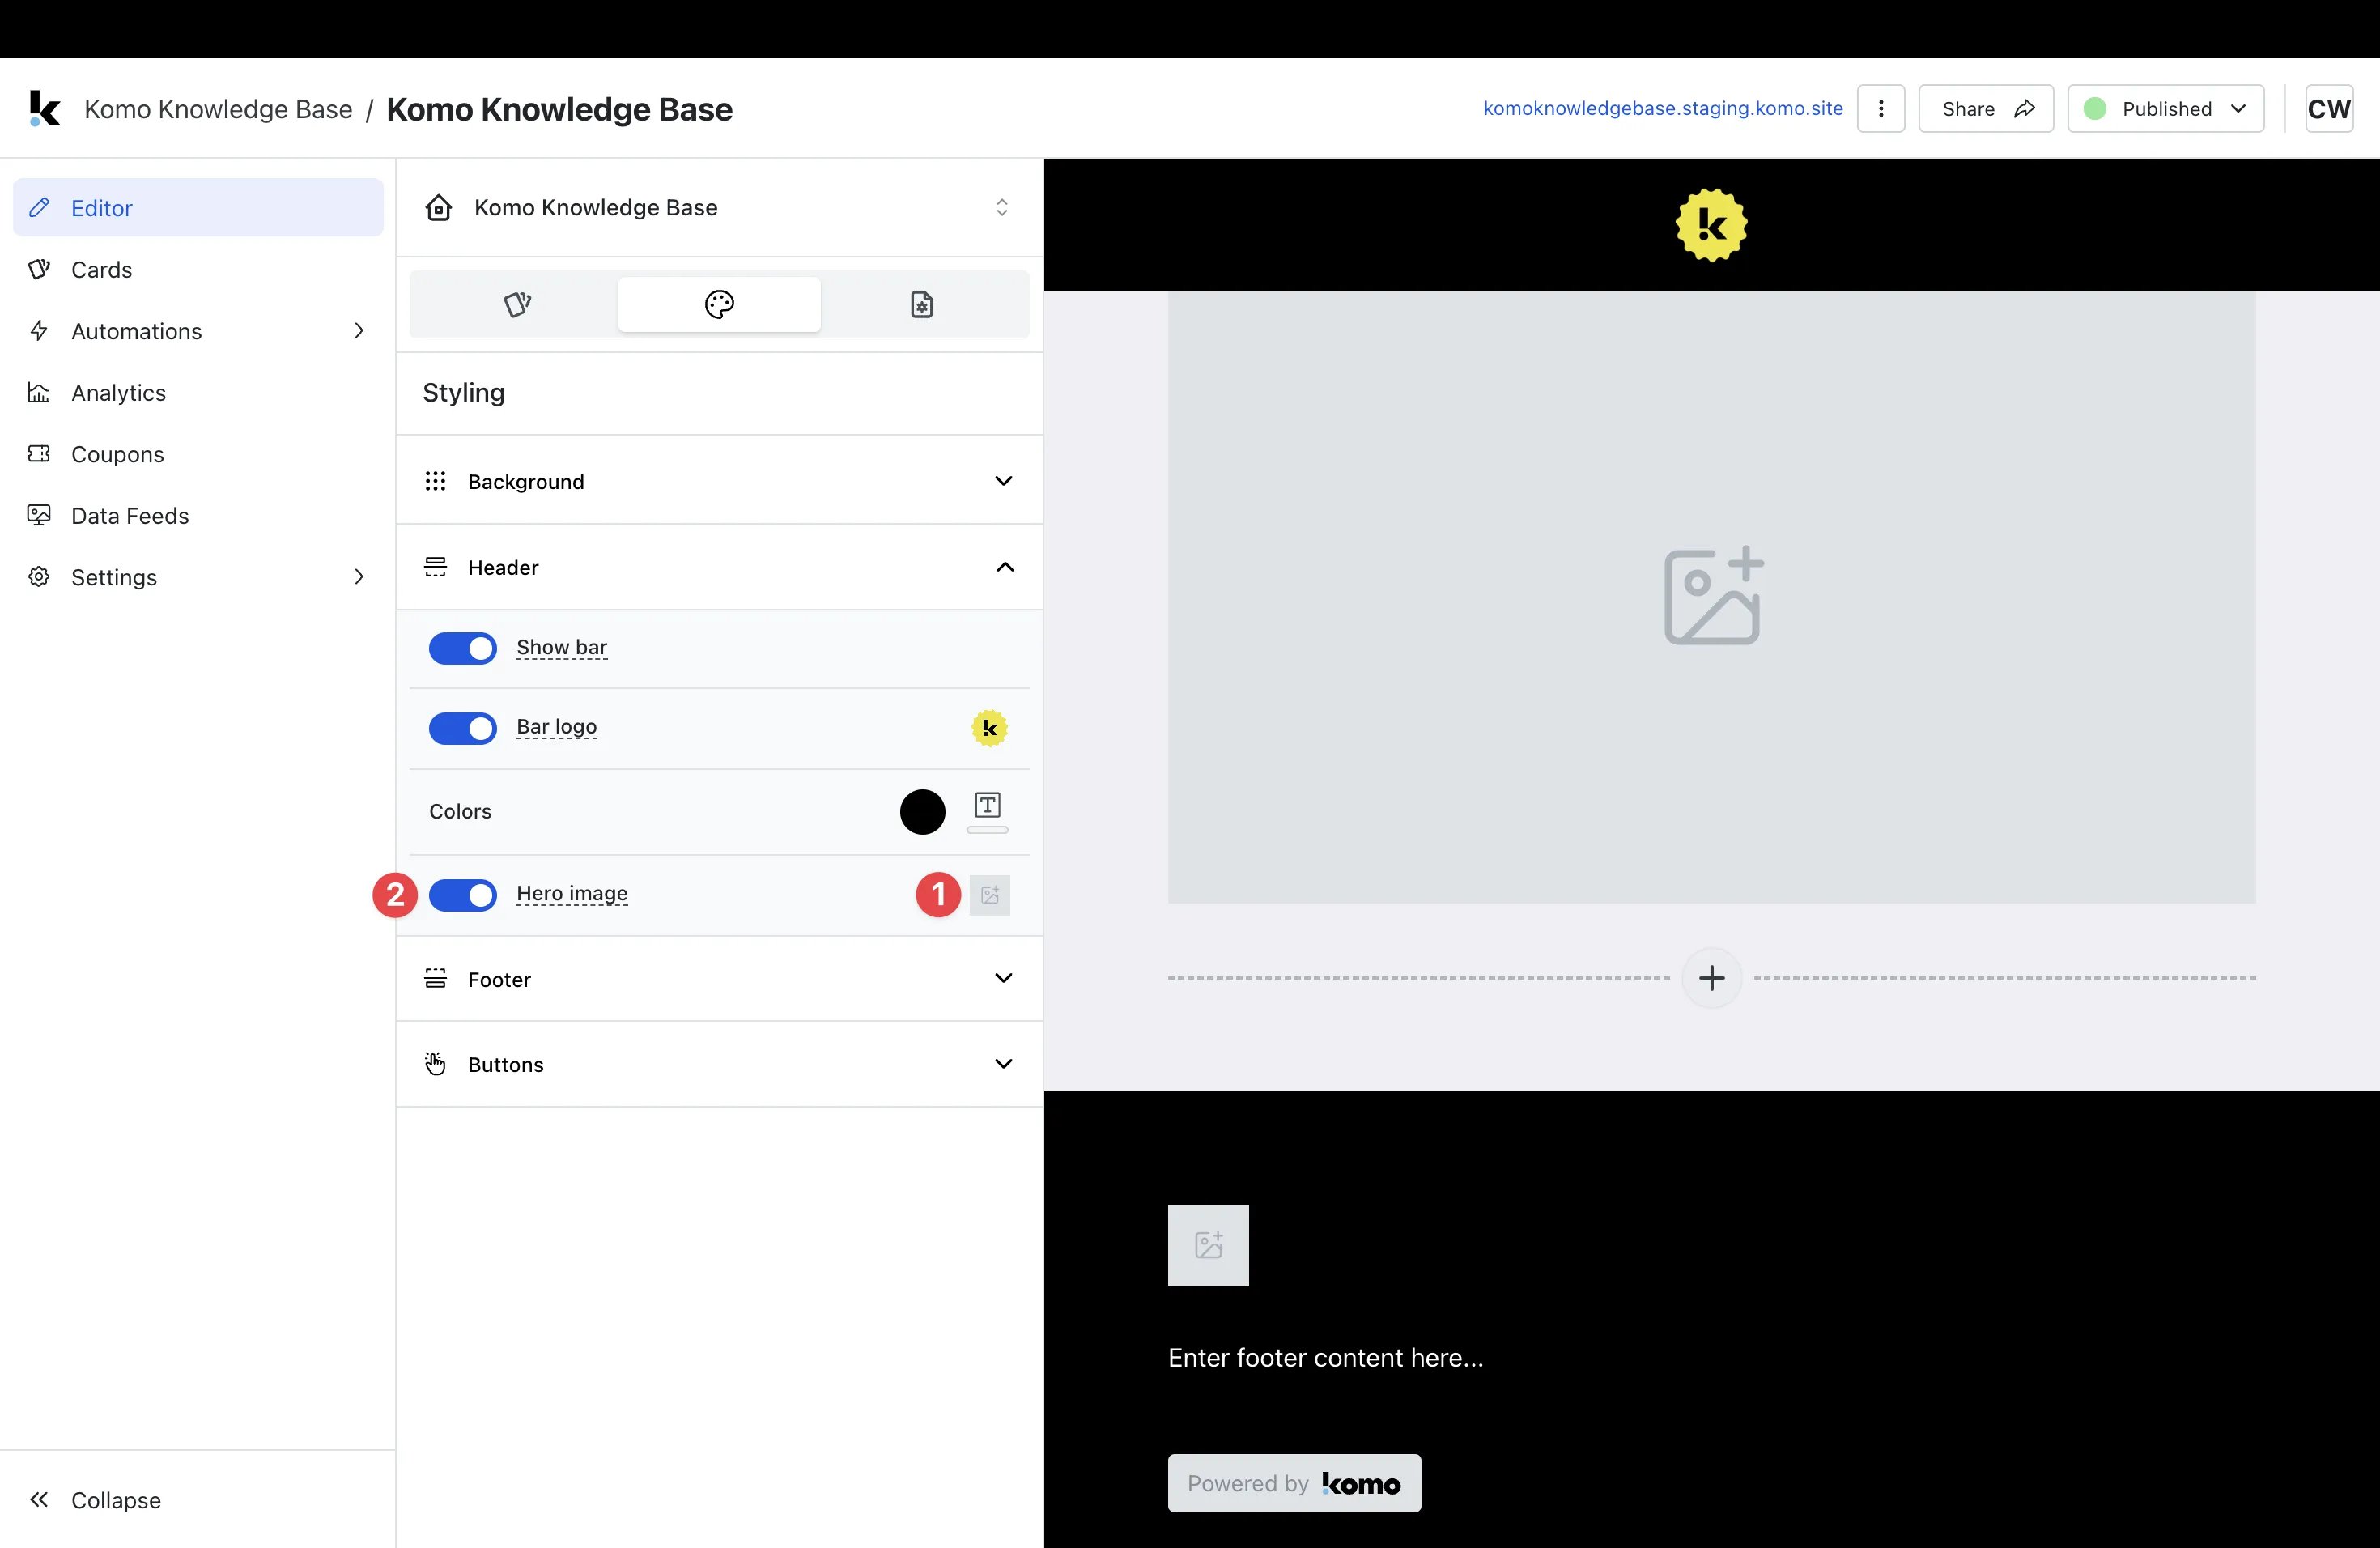
- (1) Here you can upload an image that will sit at the top of the Hub.
-
(2) You have the option to toggle off this feature here.
Tip: You can upload a transparent PNG image to create a ‘floating’ effect.
Note: The cover image will update as below.
Step 5: Set up your Footer settings
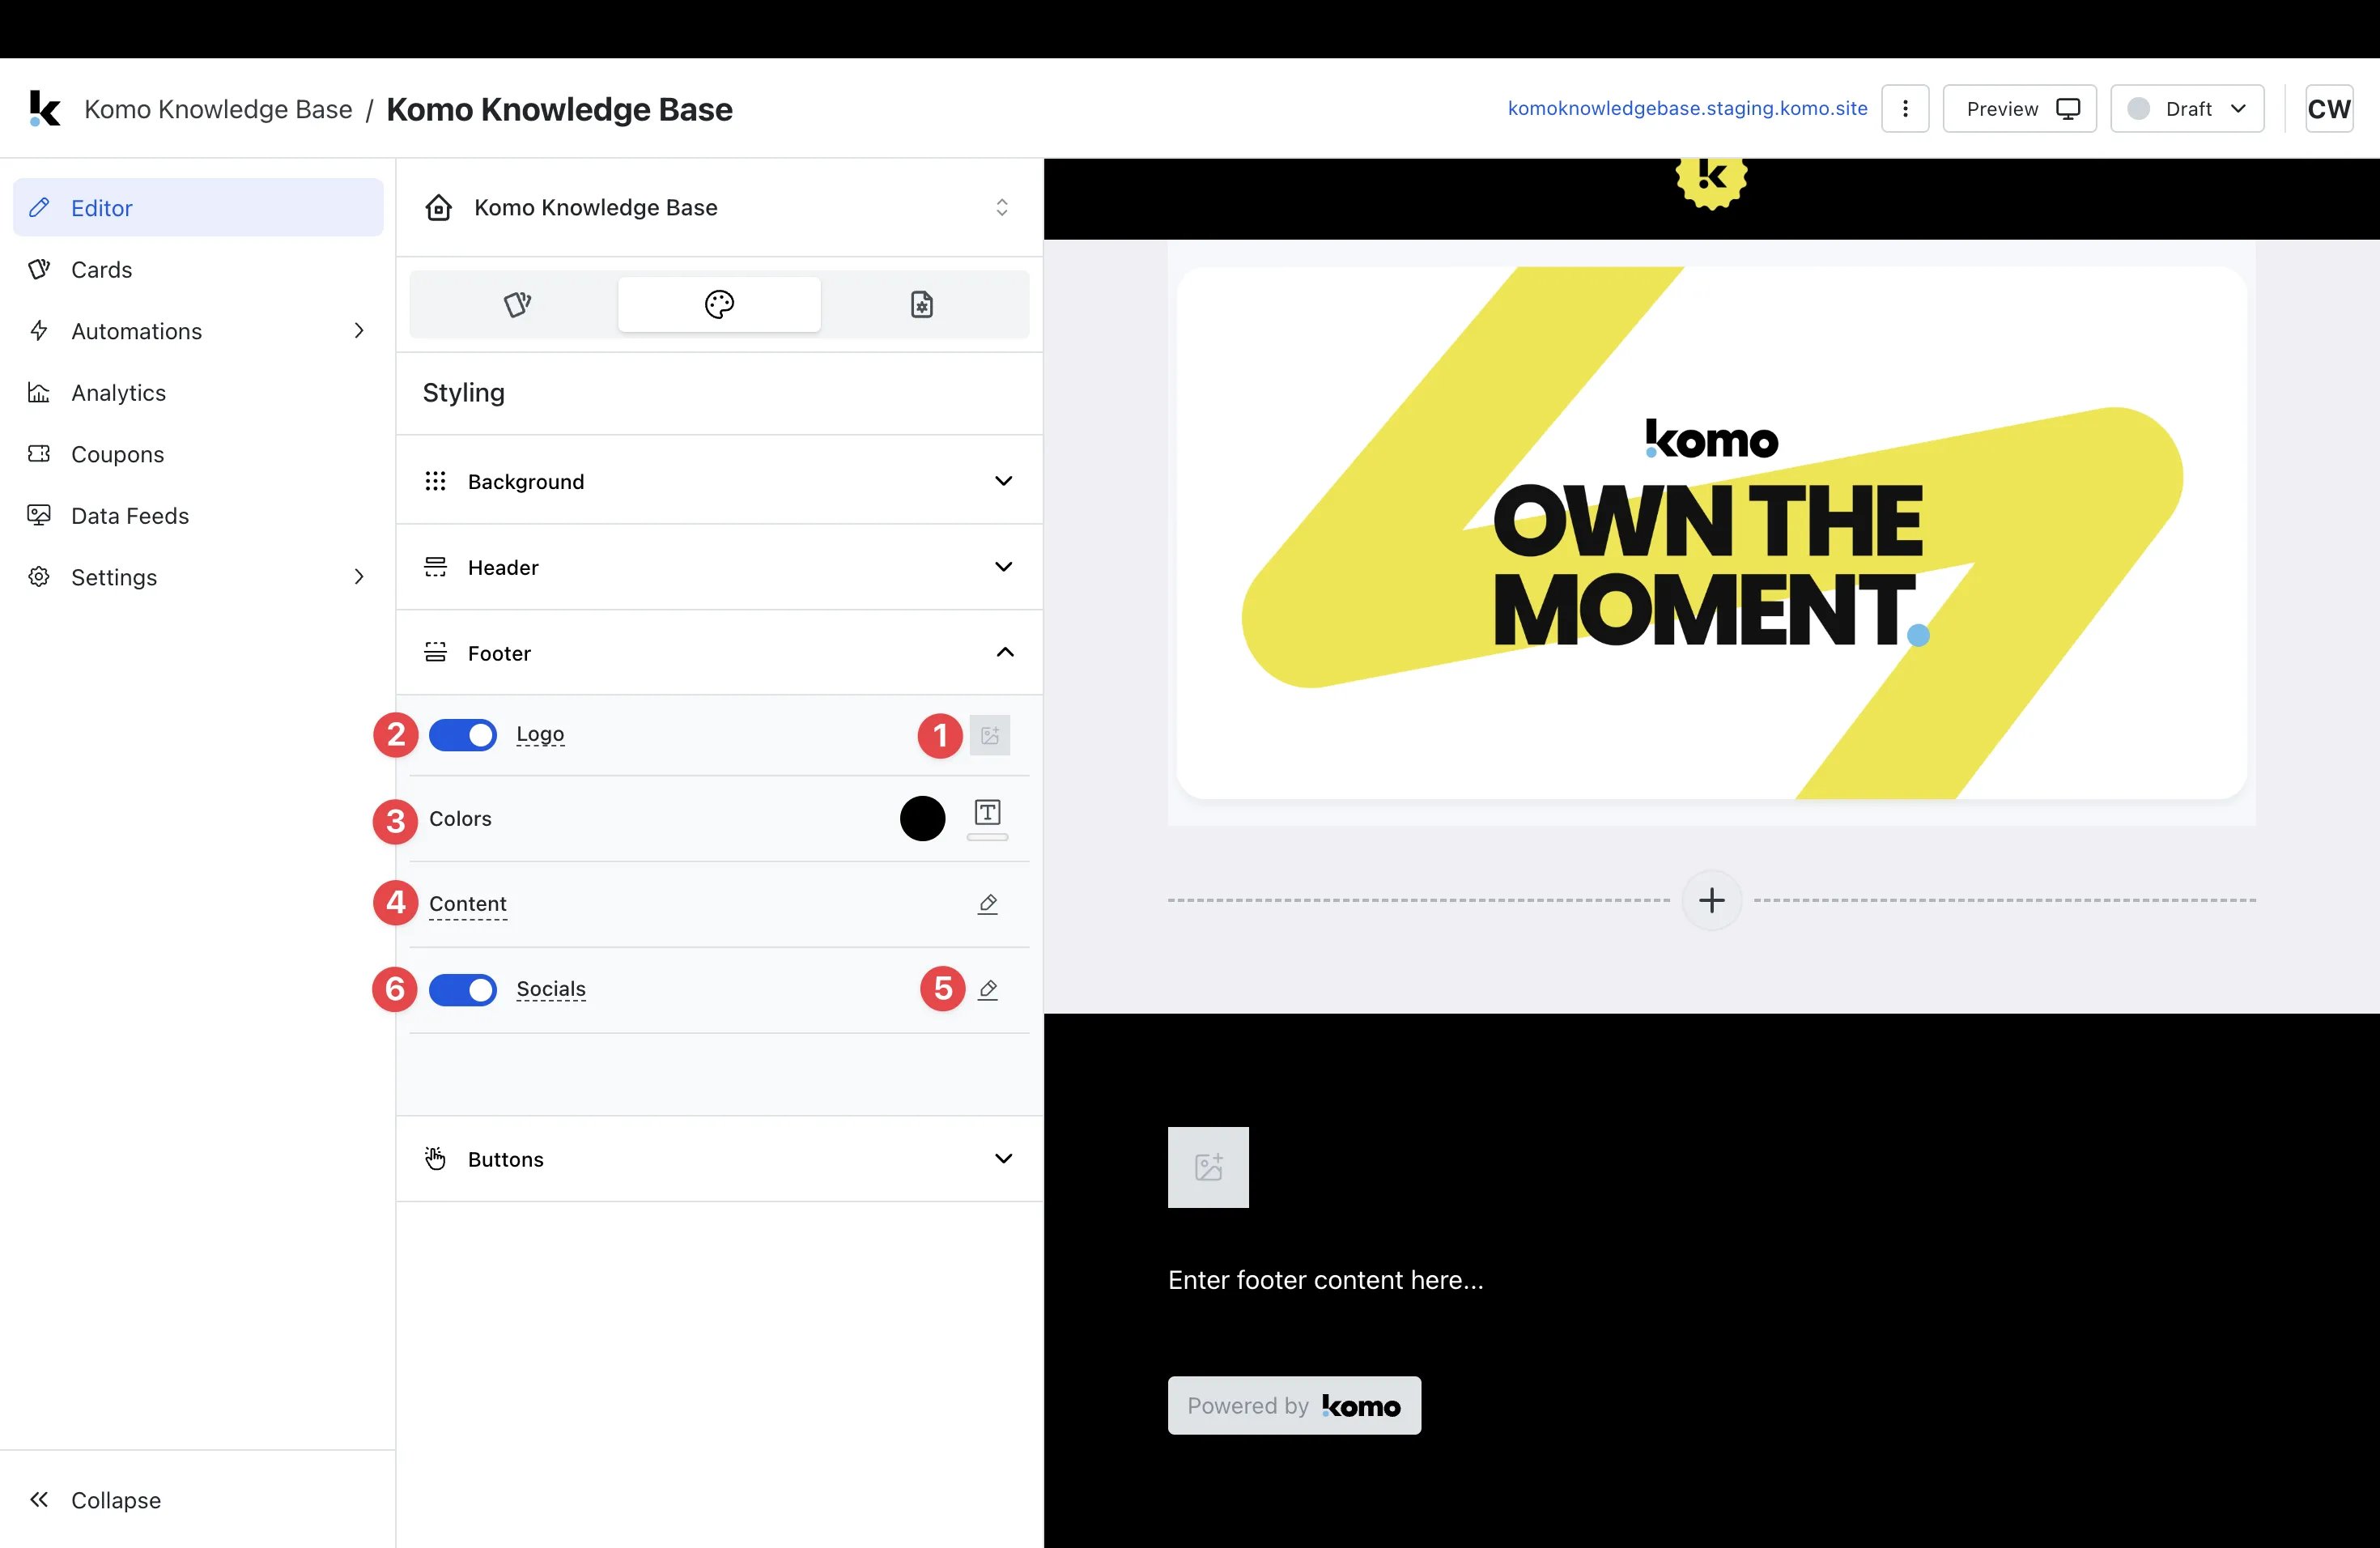
- (1) Upload your logo here or (2) you can disable the logo here.
- (3) Change the footer background colour and text colour.
- (4) Here is where you’ll input a brief description of the hub or your company.
- (5) Clicking on the edit icon, you can paste all your social links; or
-
(6) turn this option off here.
Note: The footer will update as below.

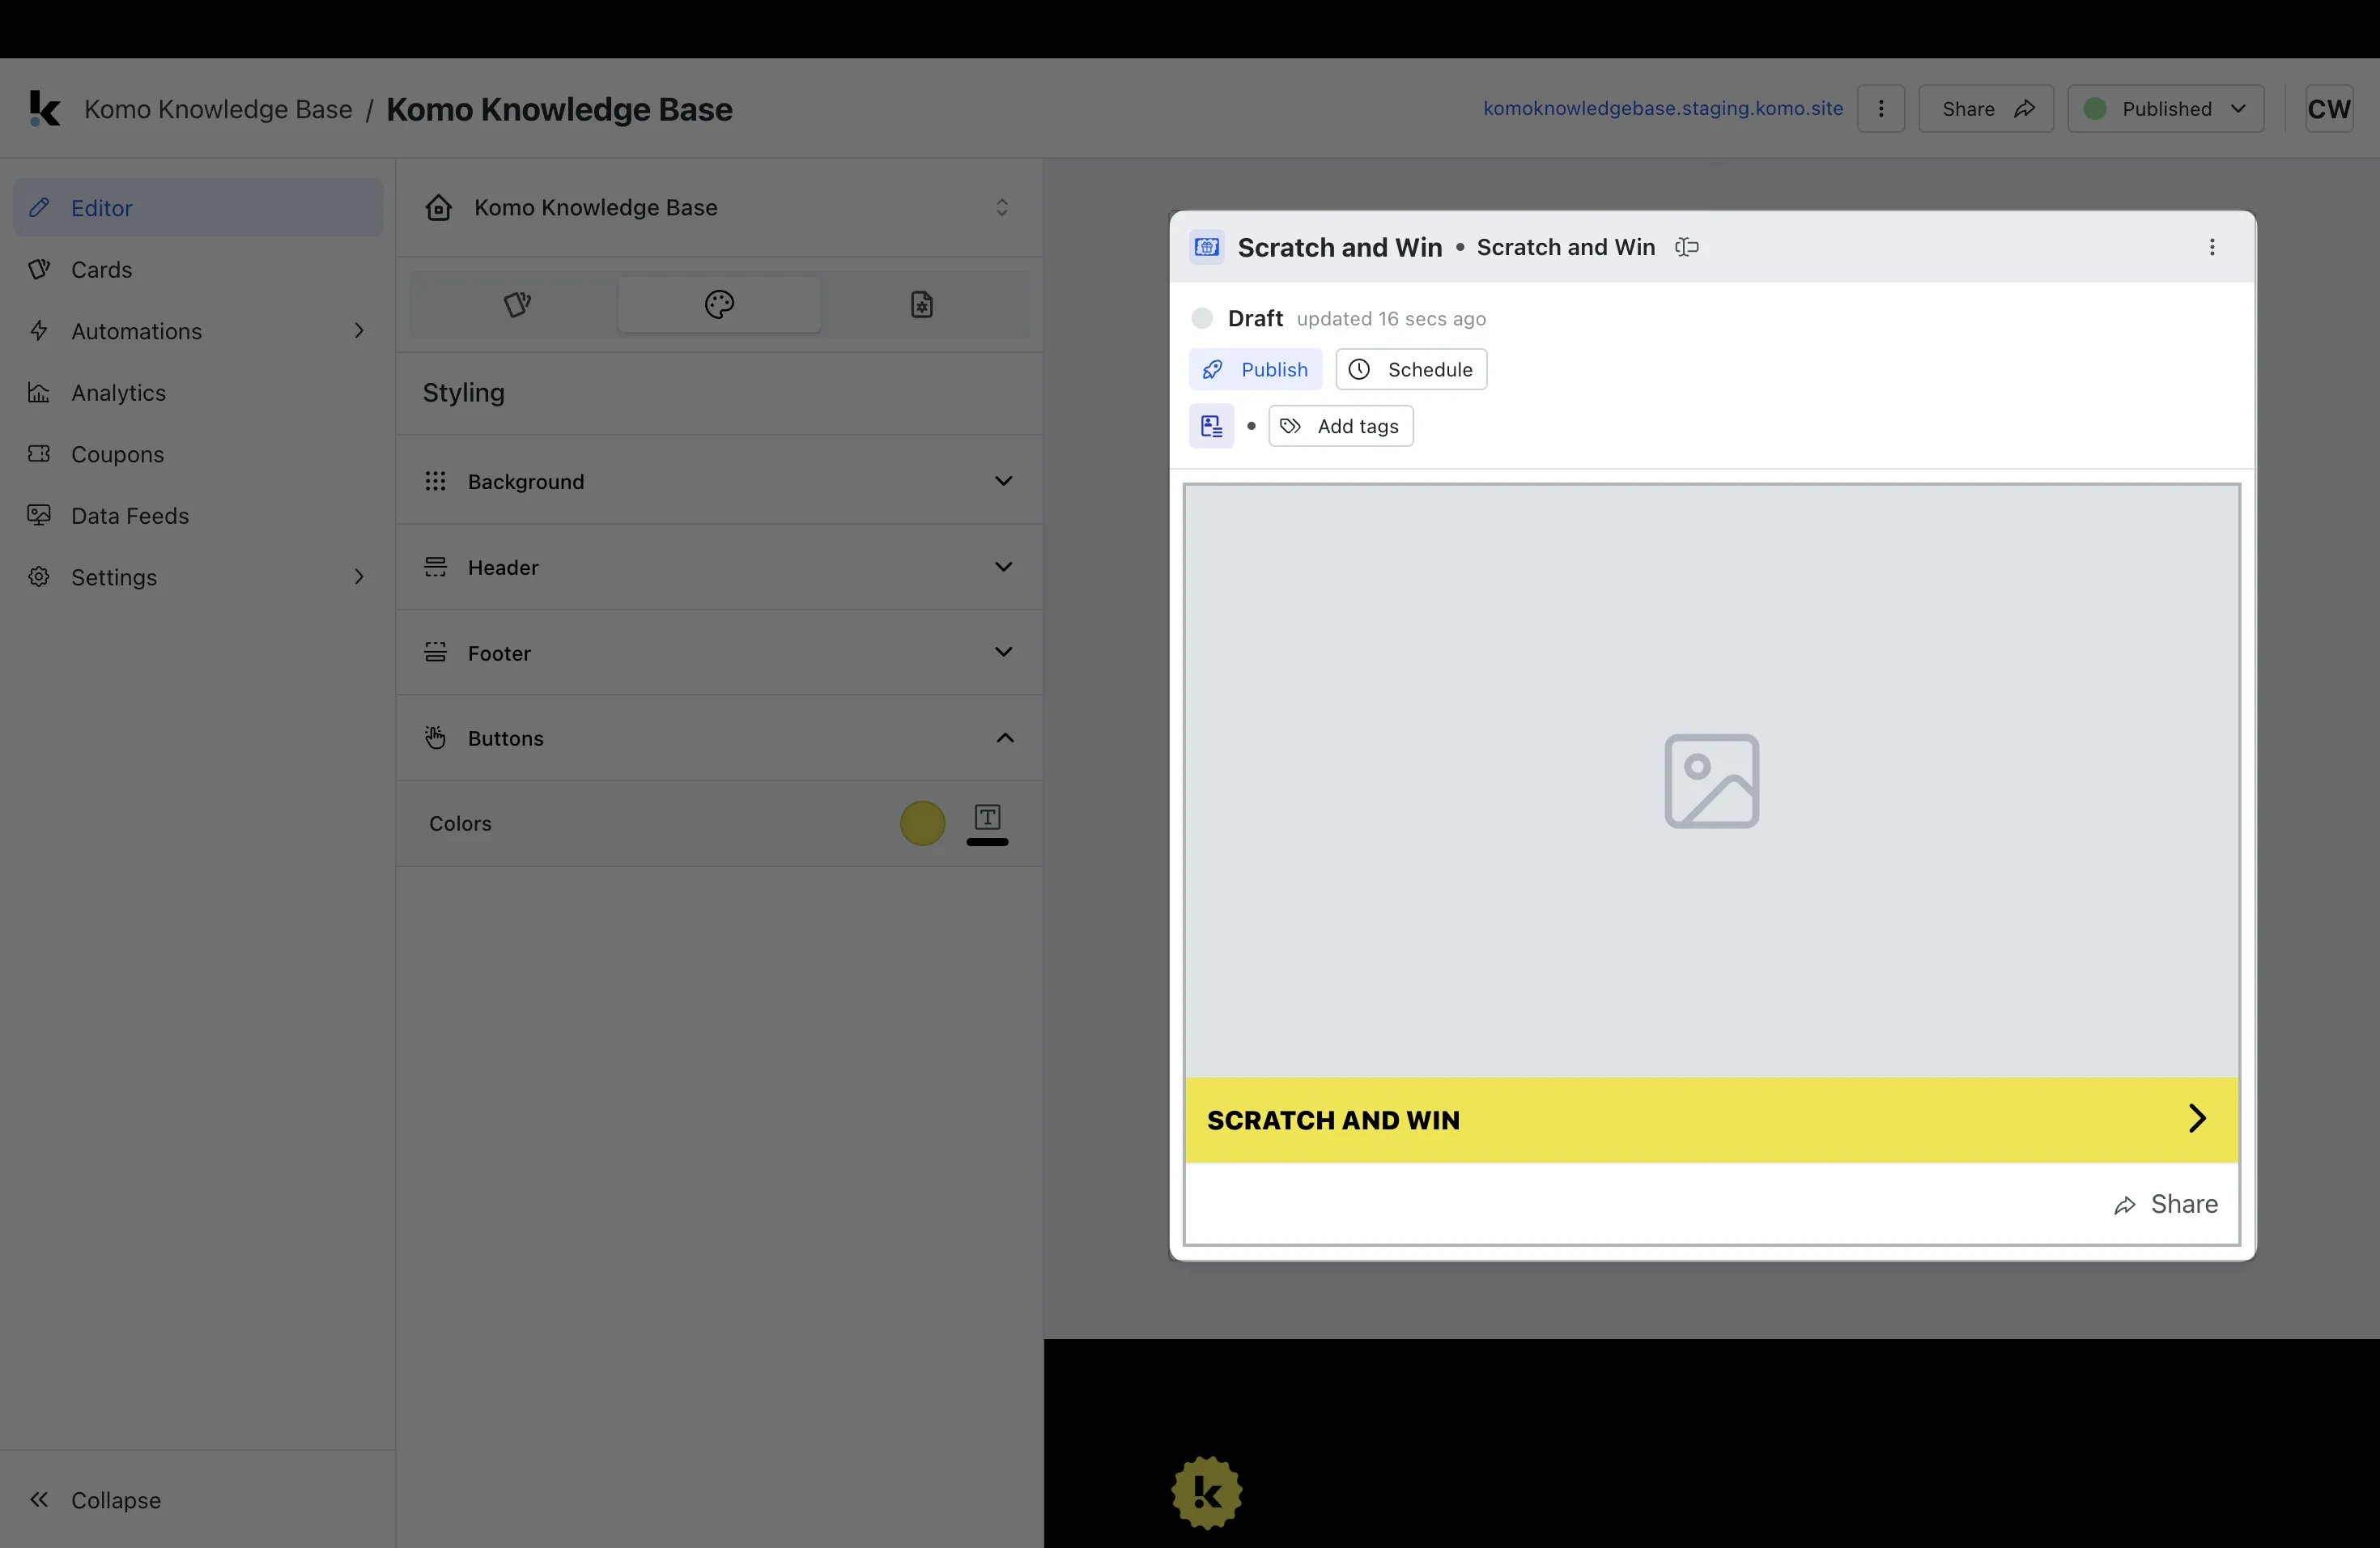
Step 6: Set your Button colours
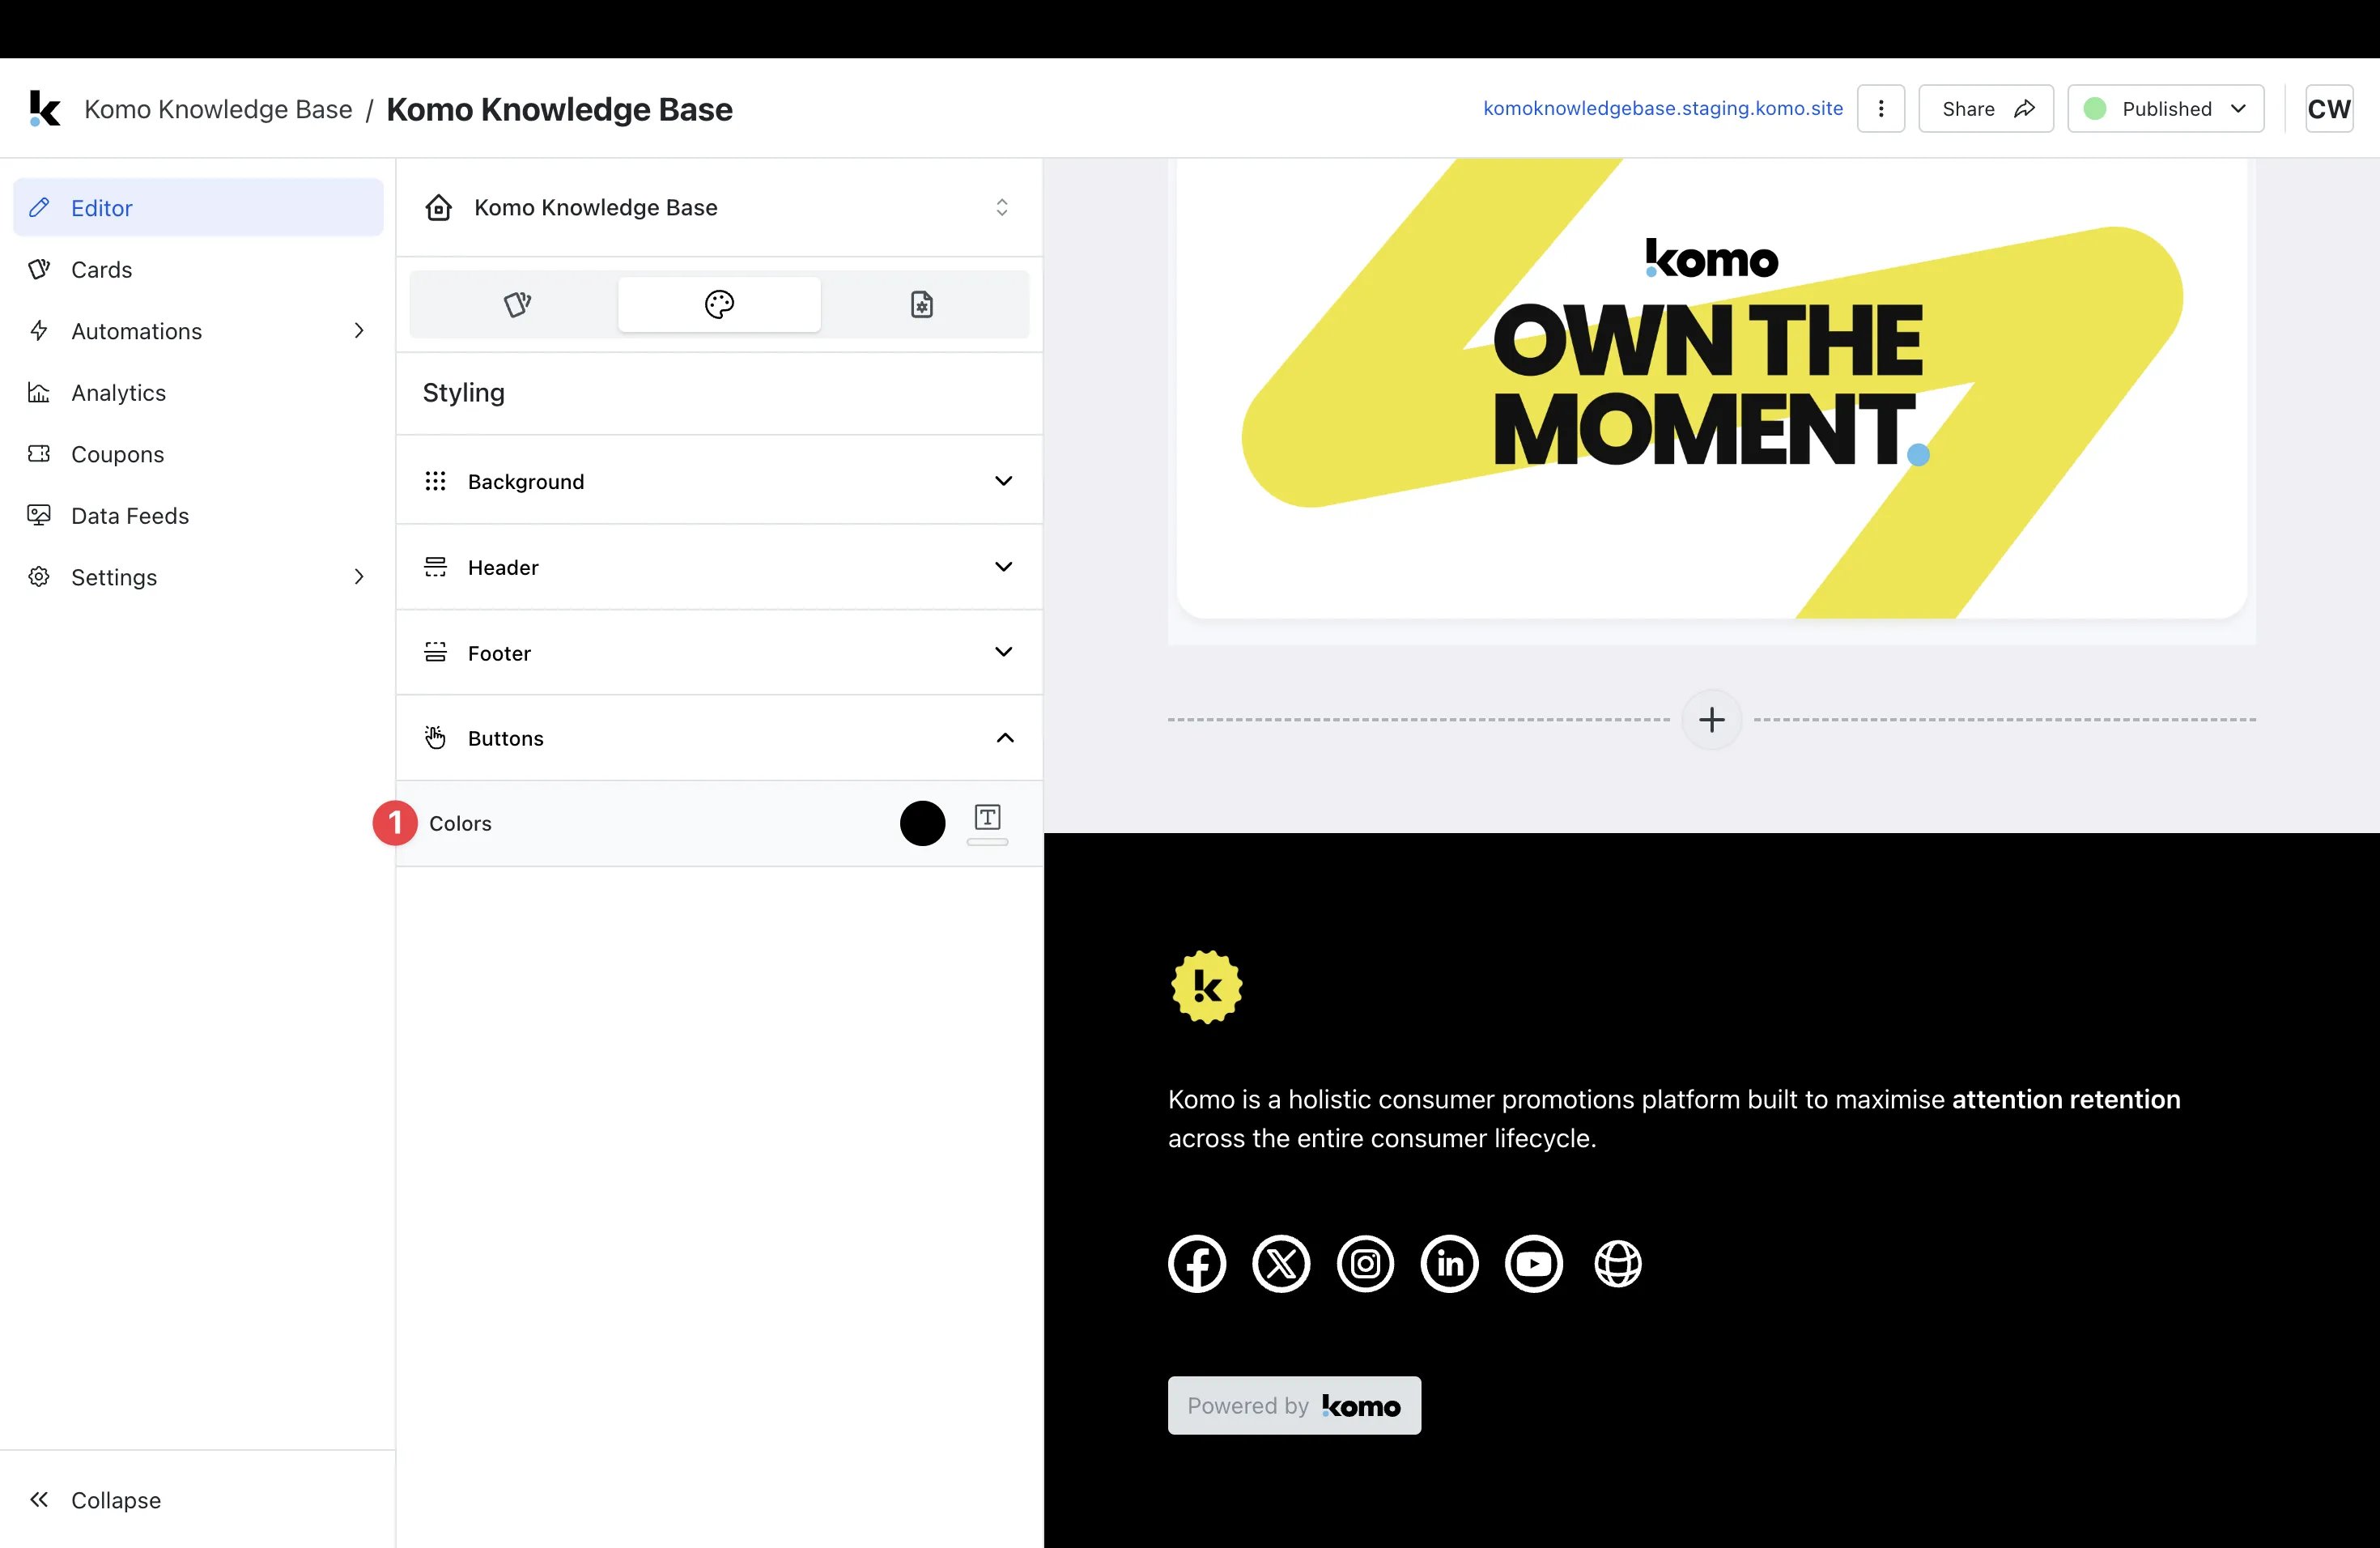
-
(1) Here is where you can alter the colour of the call-to-action bar.
Tip: We recommend setting this up prior to creating your cards as once this is changed, all content added to the Hub will have these settings. You will also be able to change the call-to-action bar colours at the card level.
Note: The button colours will update as below.
Cards
Step 1: Open Cards
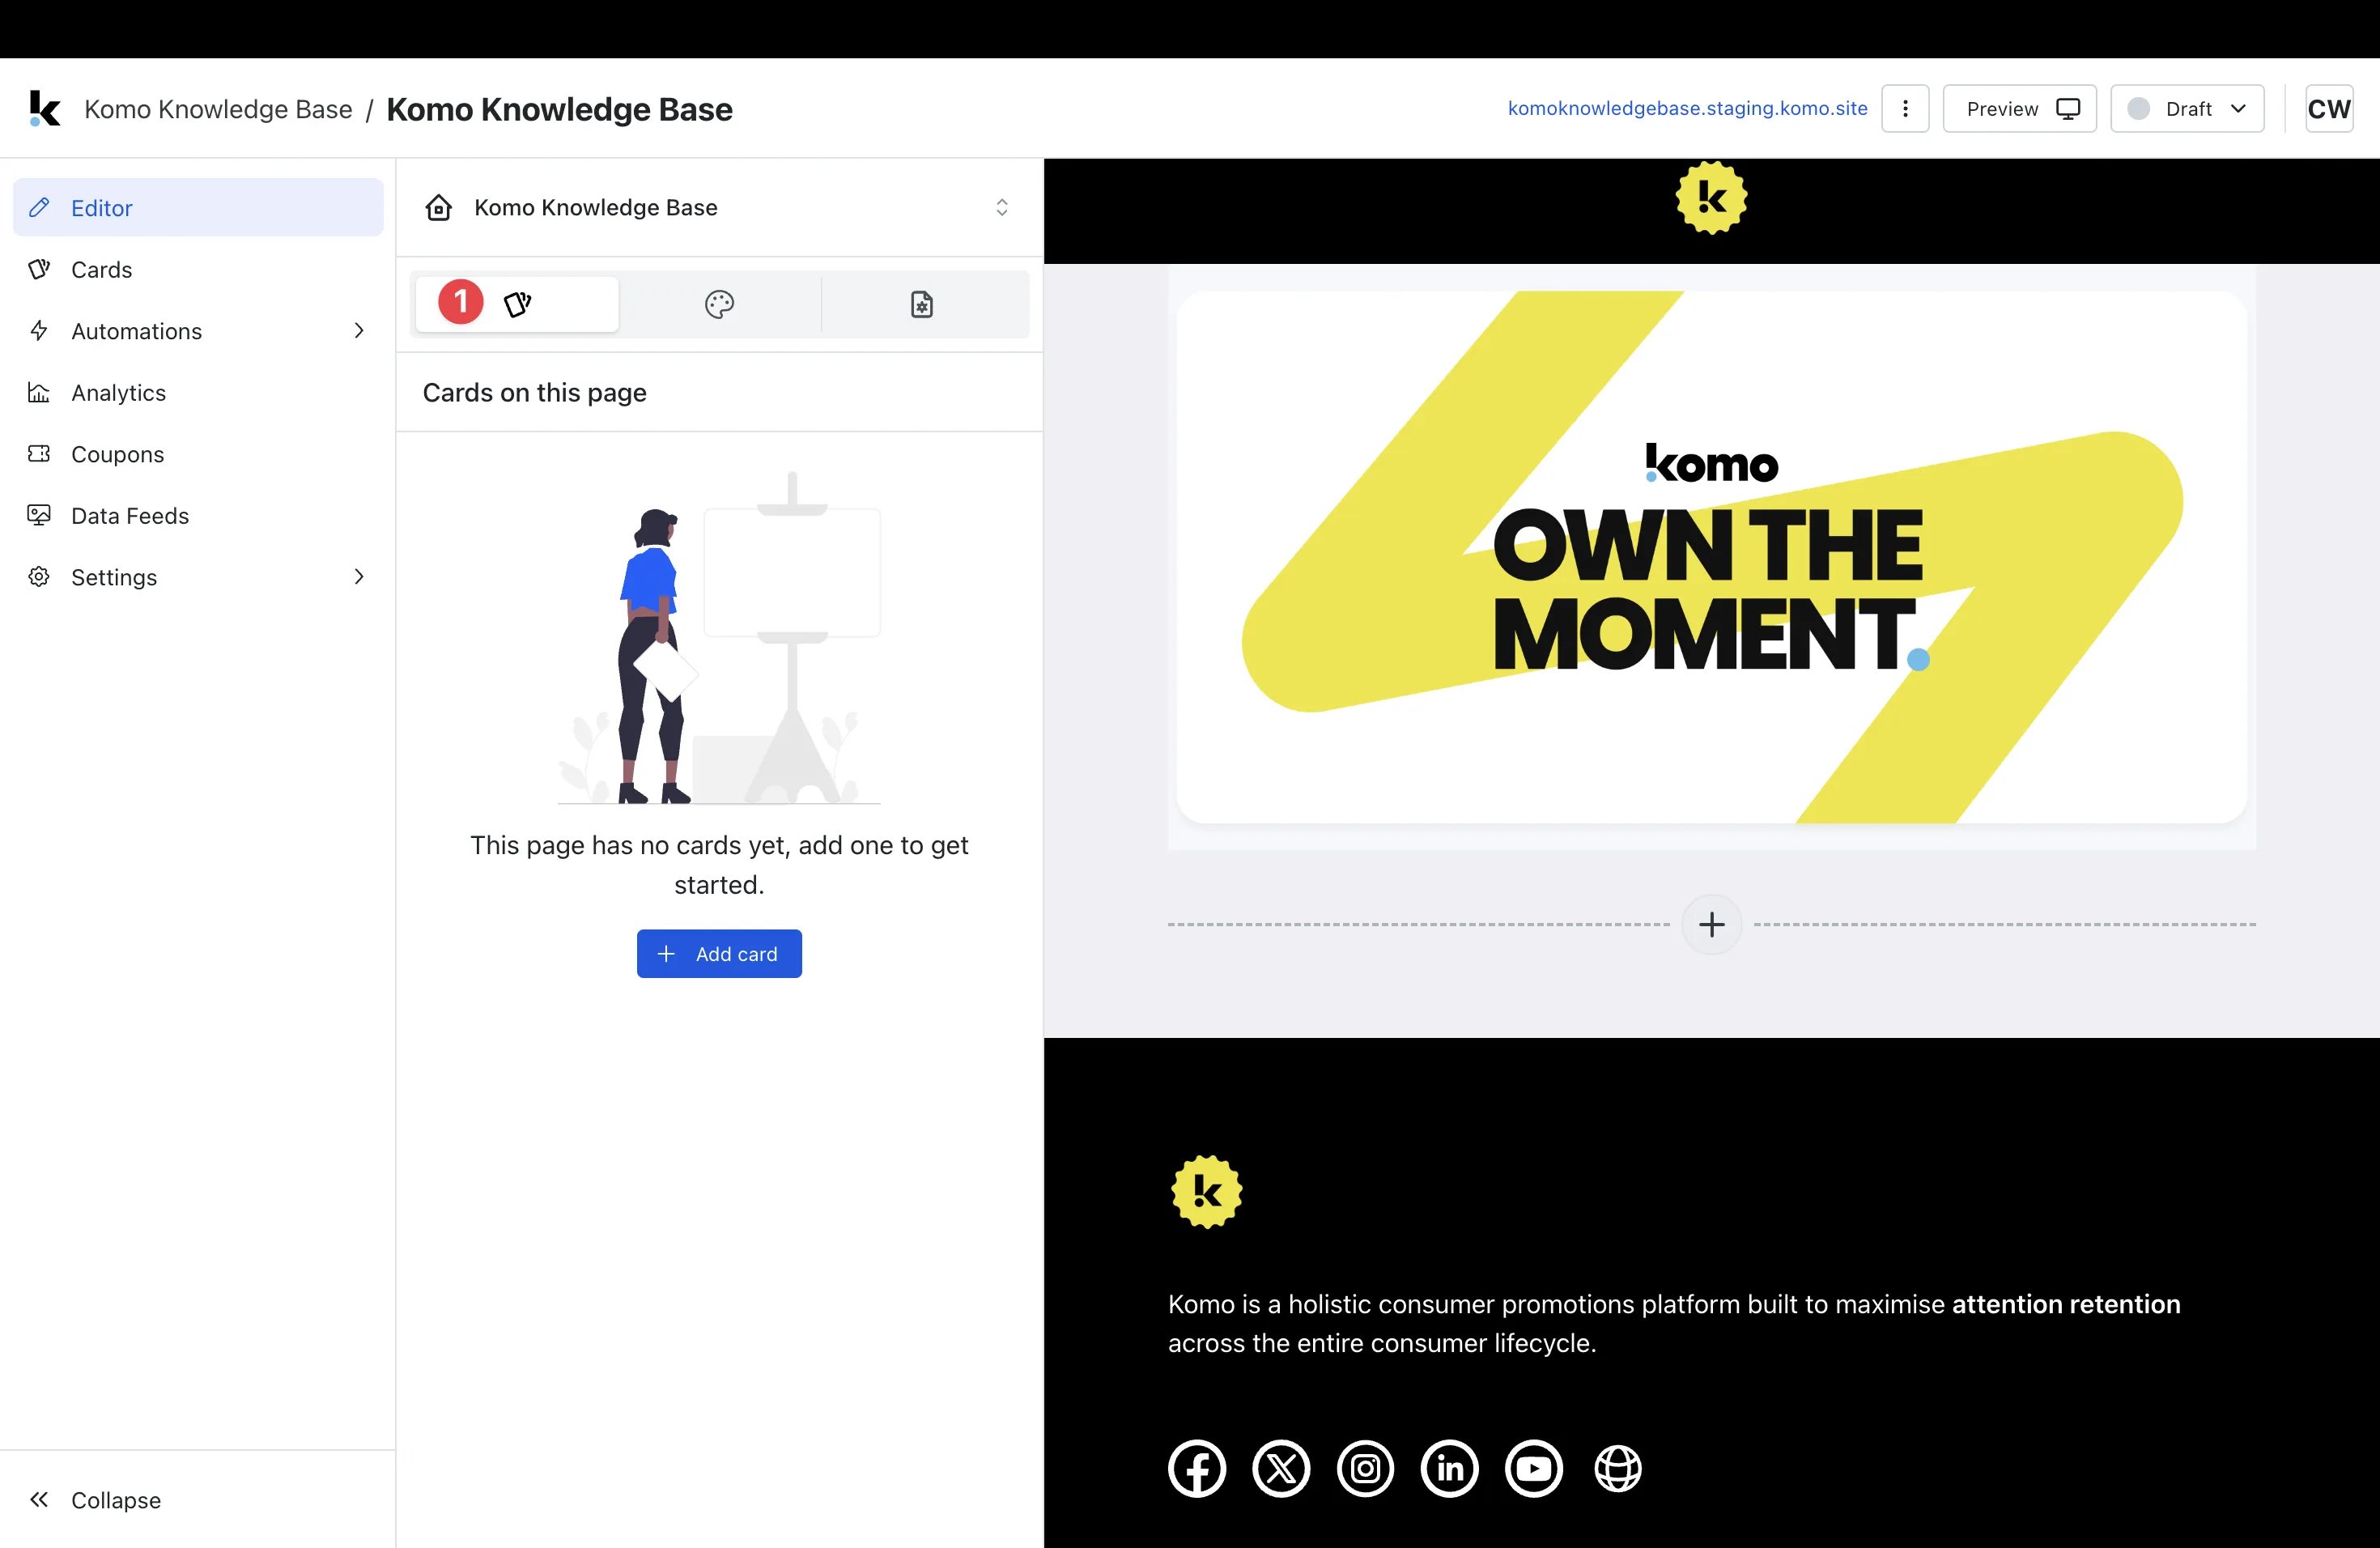
- (1) Within Editor, click on the Cards tab.
Step 2: Add Cards

-
Add cards by selecting (1) + Add card, (2) +, or (3) + (only displays after the first card is created).

- (A) Here, you can access a range of cards that can be created From Scratch. As the name suggests, this involves manually working through various steps to set up your card.
- (B) From Existing allows you to import previously created cards from the Content Card repository into this page. This saves set up time and allows you to create a card once and reuse across multiple pages.
- (C) From Templates allows you to import Card templates that can then be tweaked to your various needs.
- (D) Here you can search the name of the Card you’re looking to import.
- (E) Here, you can scroll through all available Cards, including Games, Media, and Embeds and select the option you wish to create.
Step 3: Reorder Cards
- Reorder cards as you wish by hovering your mouse over the left-hand side of the Card tab, clicking the 6 dots and then dragging to the desired position.
- You will now notice that the Card order on the page has been updated.
Page Settings
- Step1: Open Page settings
- Step 2: Set Page details
- Step 3: Edit SEO settings
- Step 4: Update Search and Sharing settings
Step 1: Open Page settings

- (1) Within Editor, select the Page settings tab.
Step 2: Set Page details
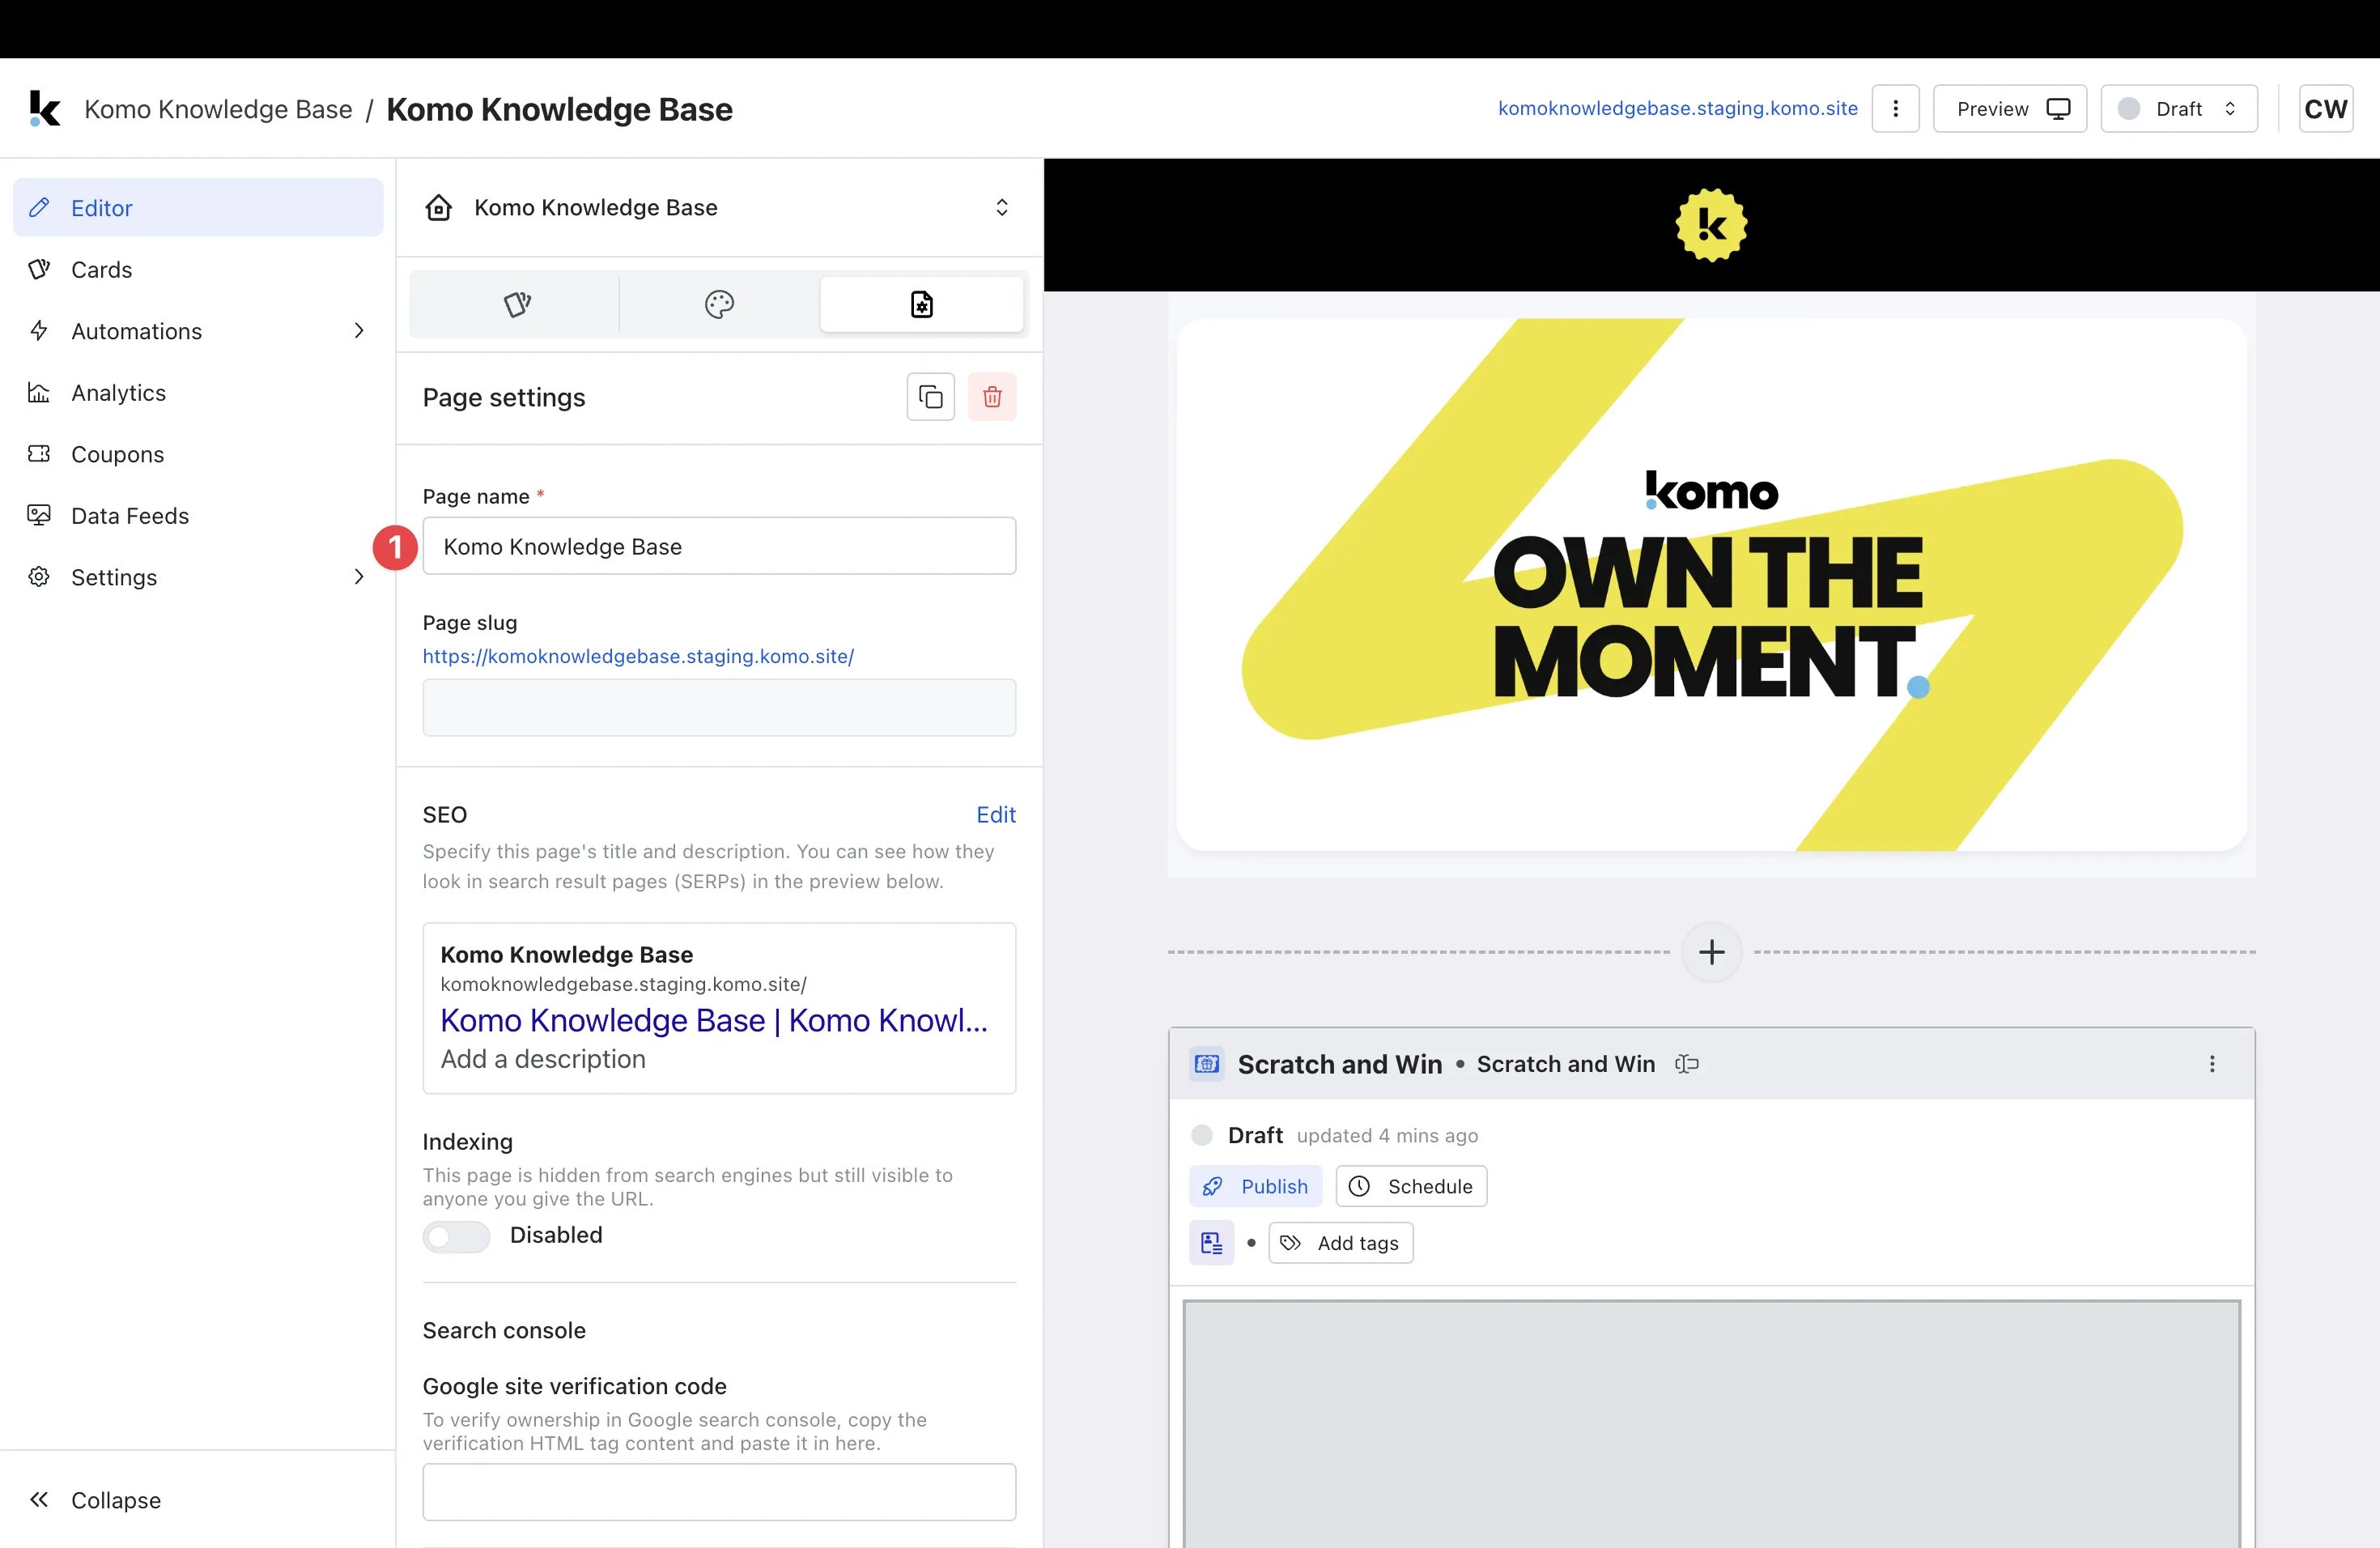
- (1) Here you can edit your Page Name if desired.
Step 3: Edit SEO settings
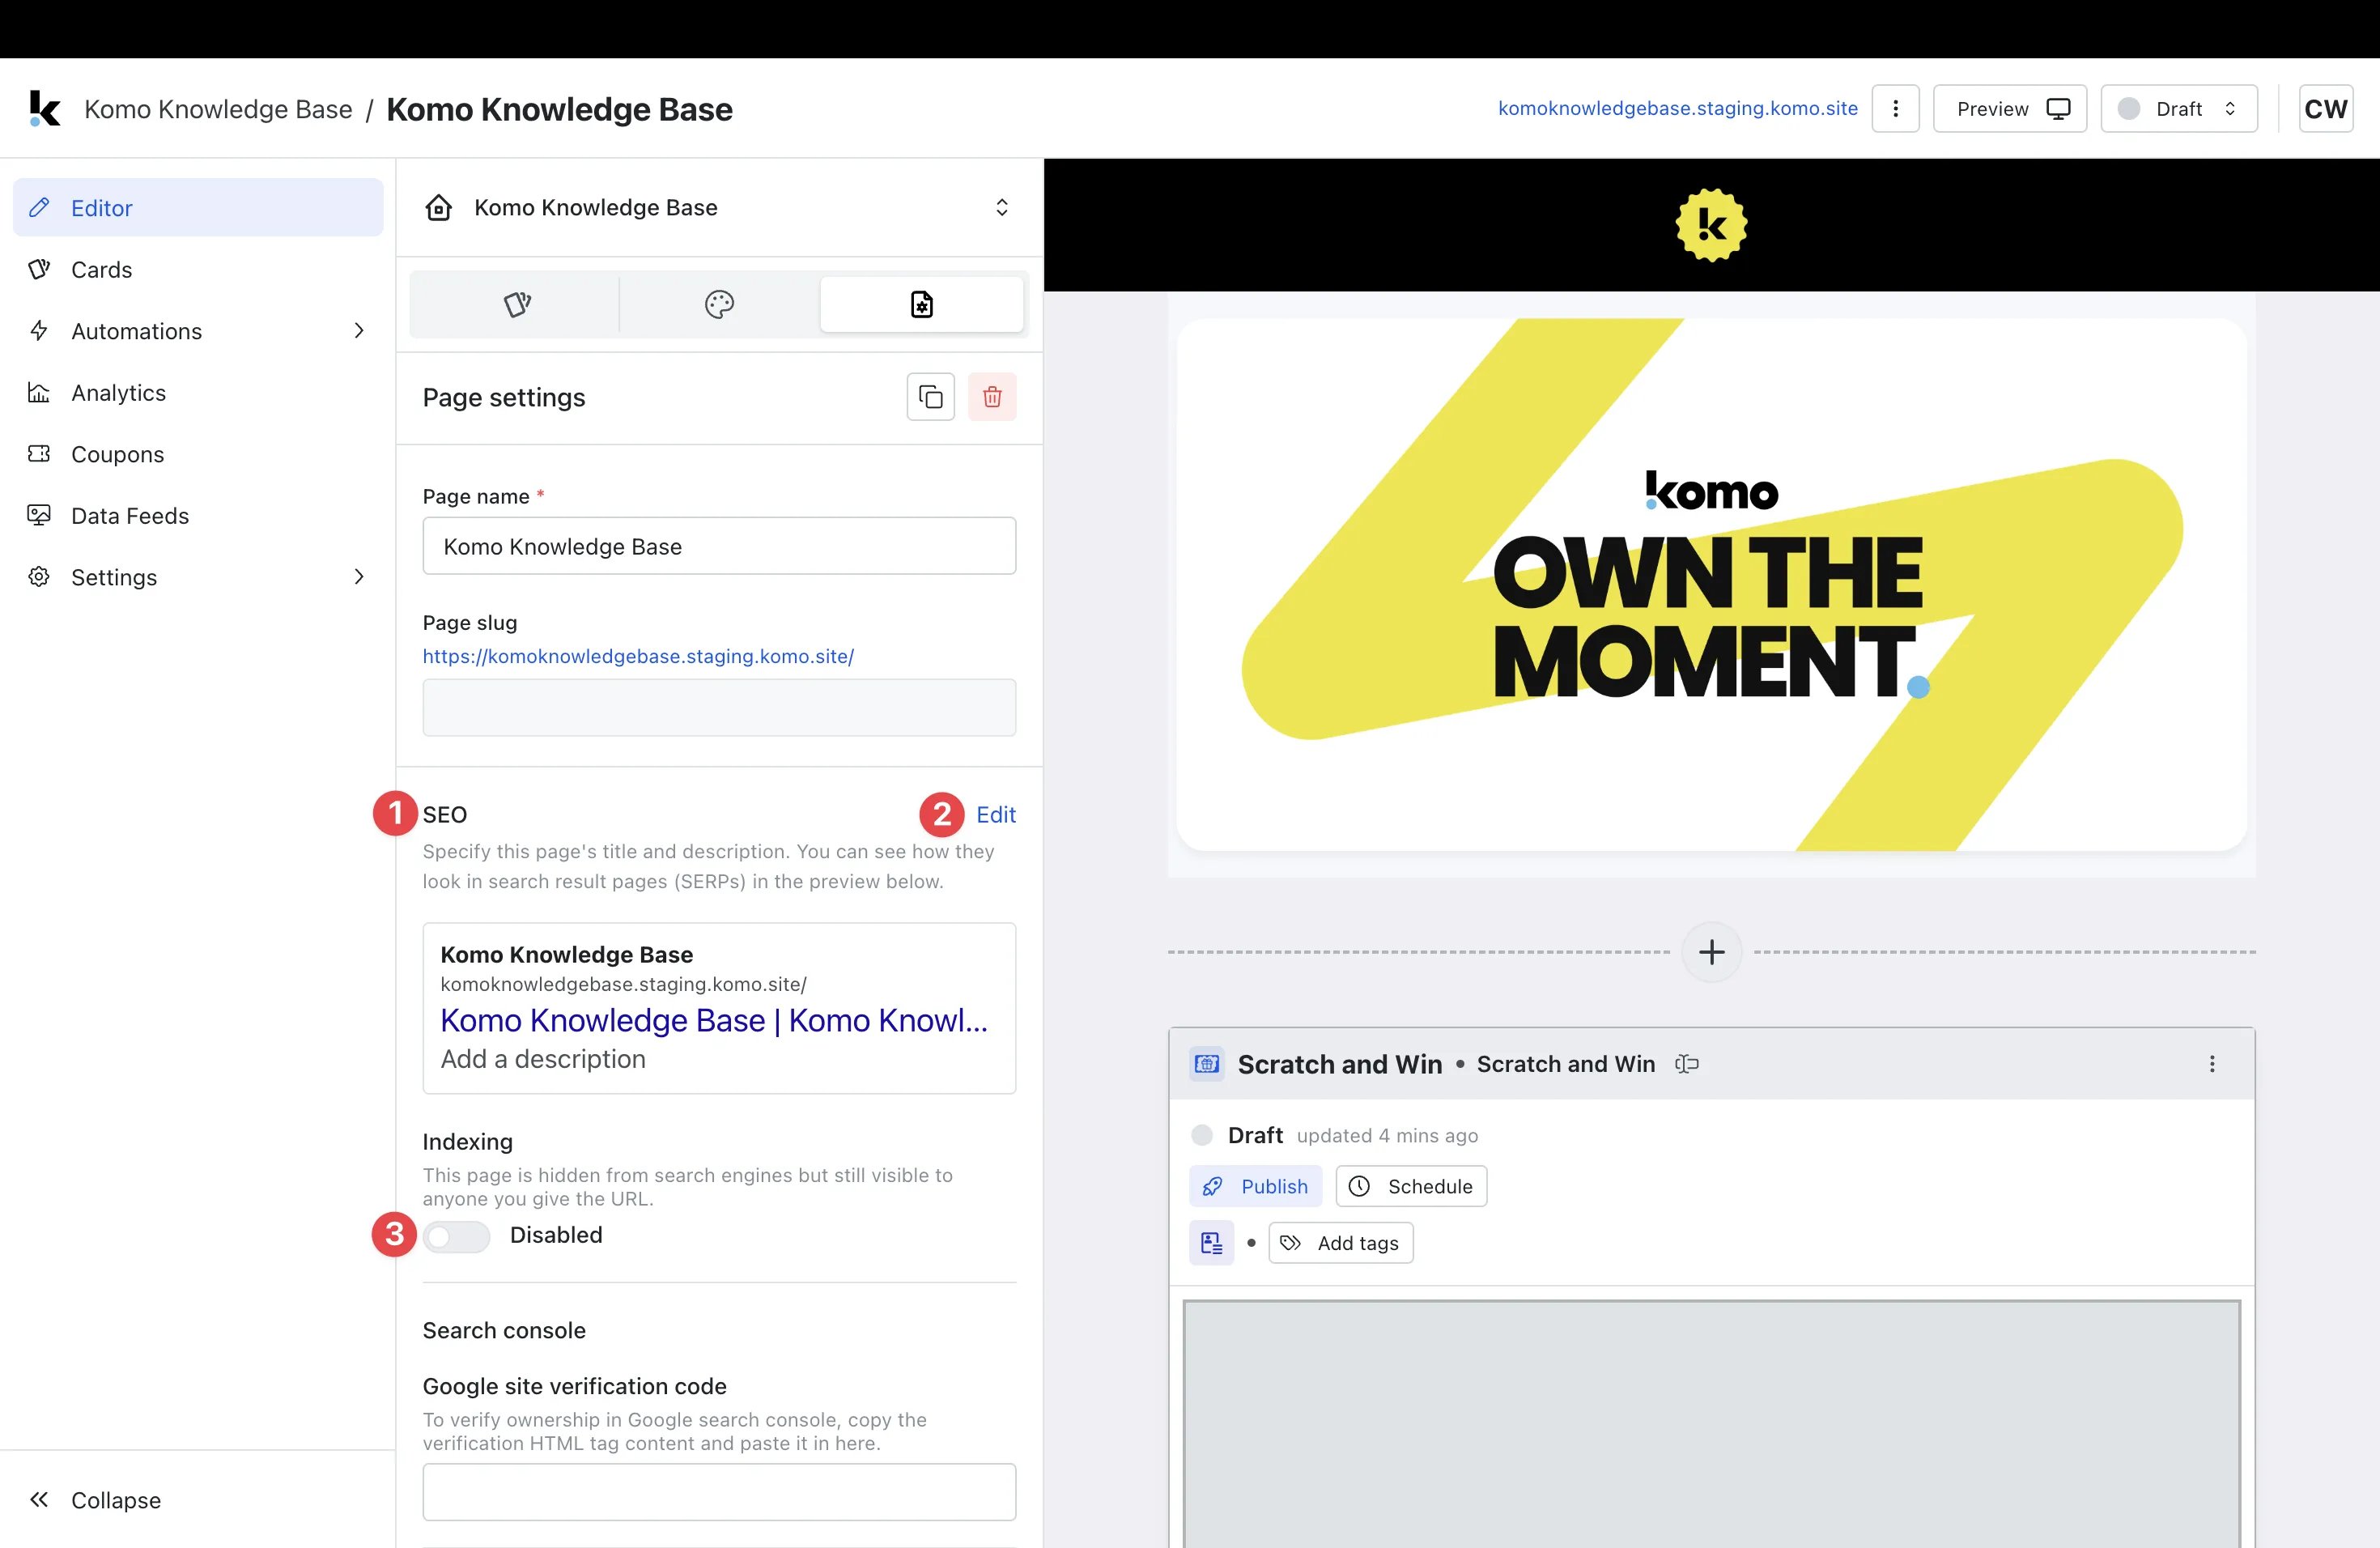
- (1) Here you can view and edit all SEO details for your page.
-
(2) If you wish to change any details, click Edit.
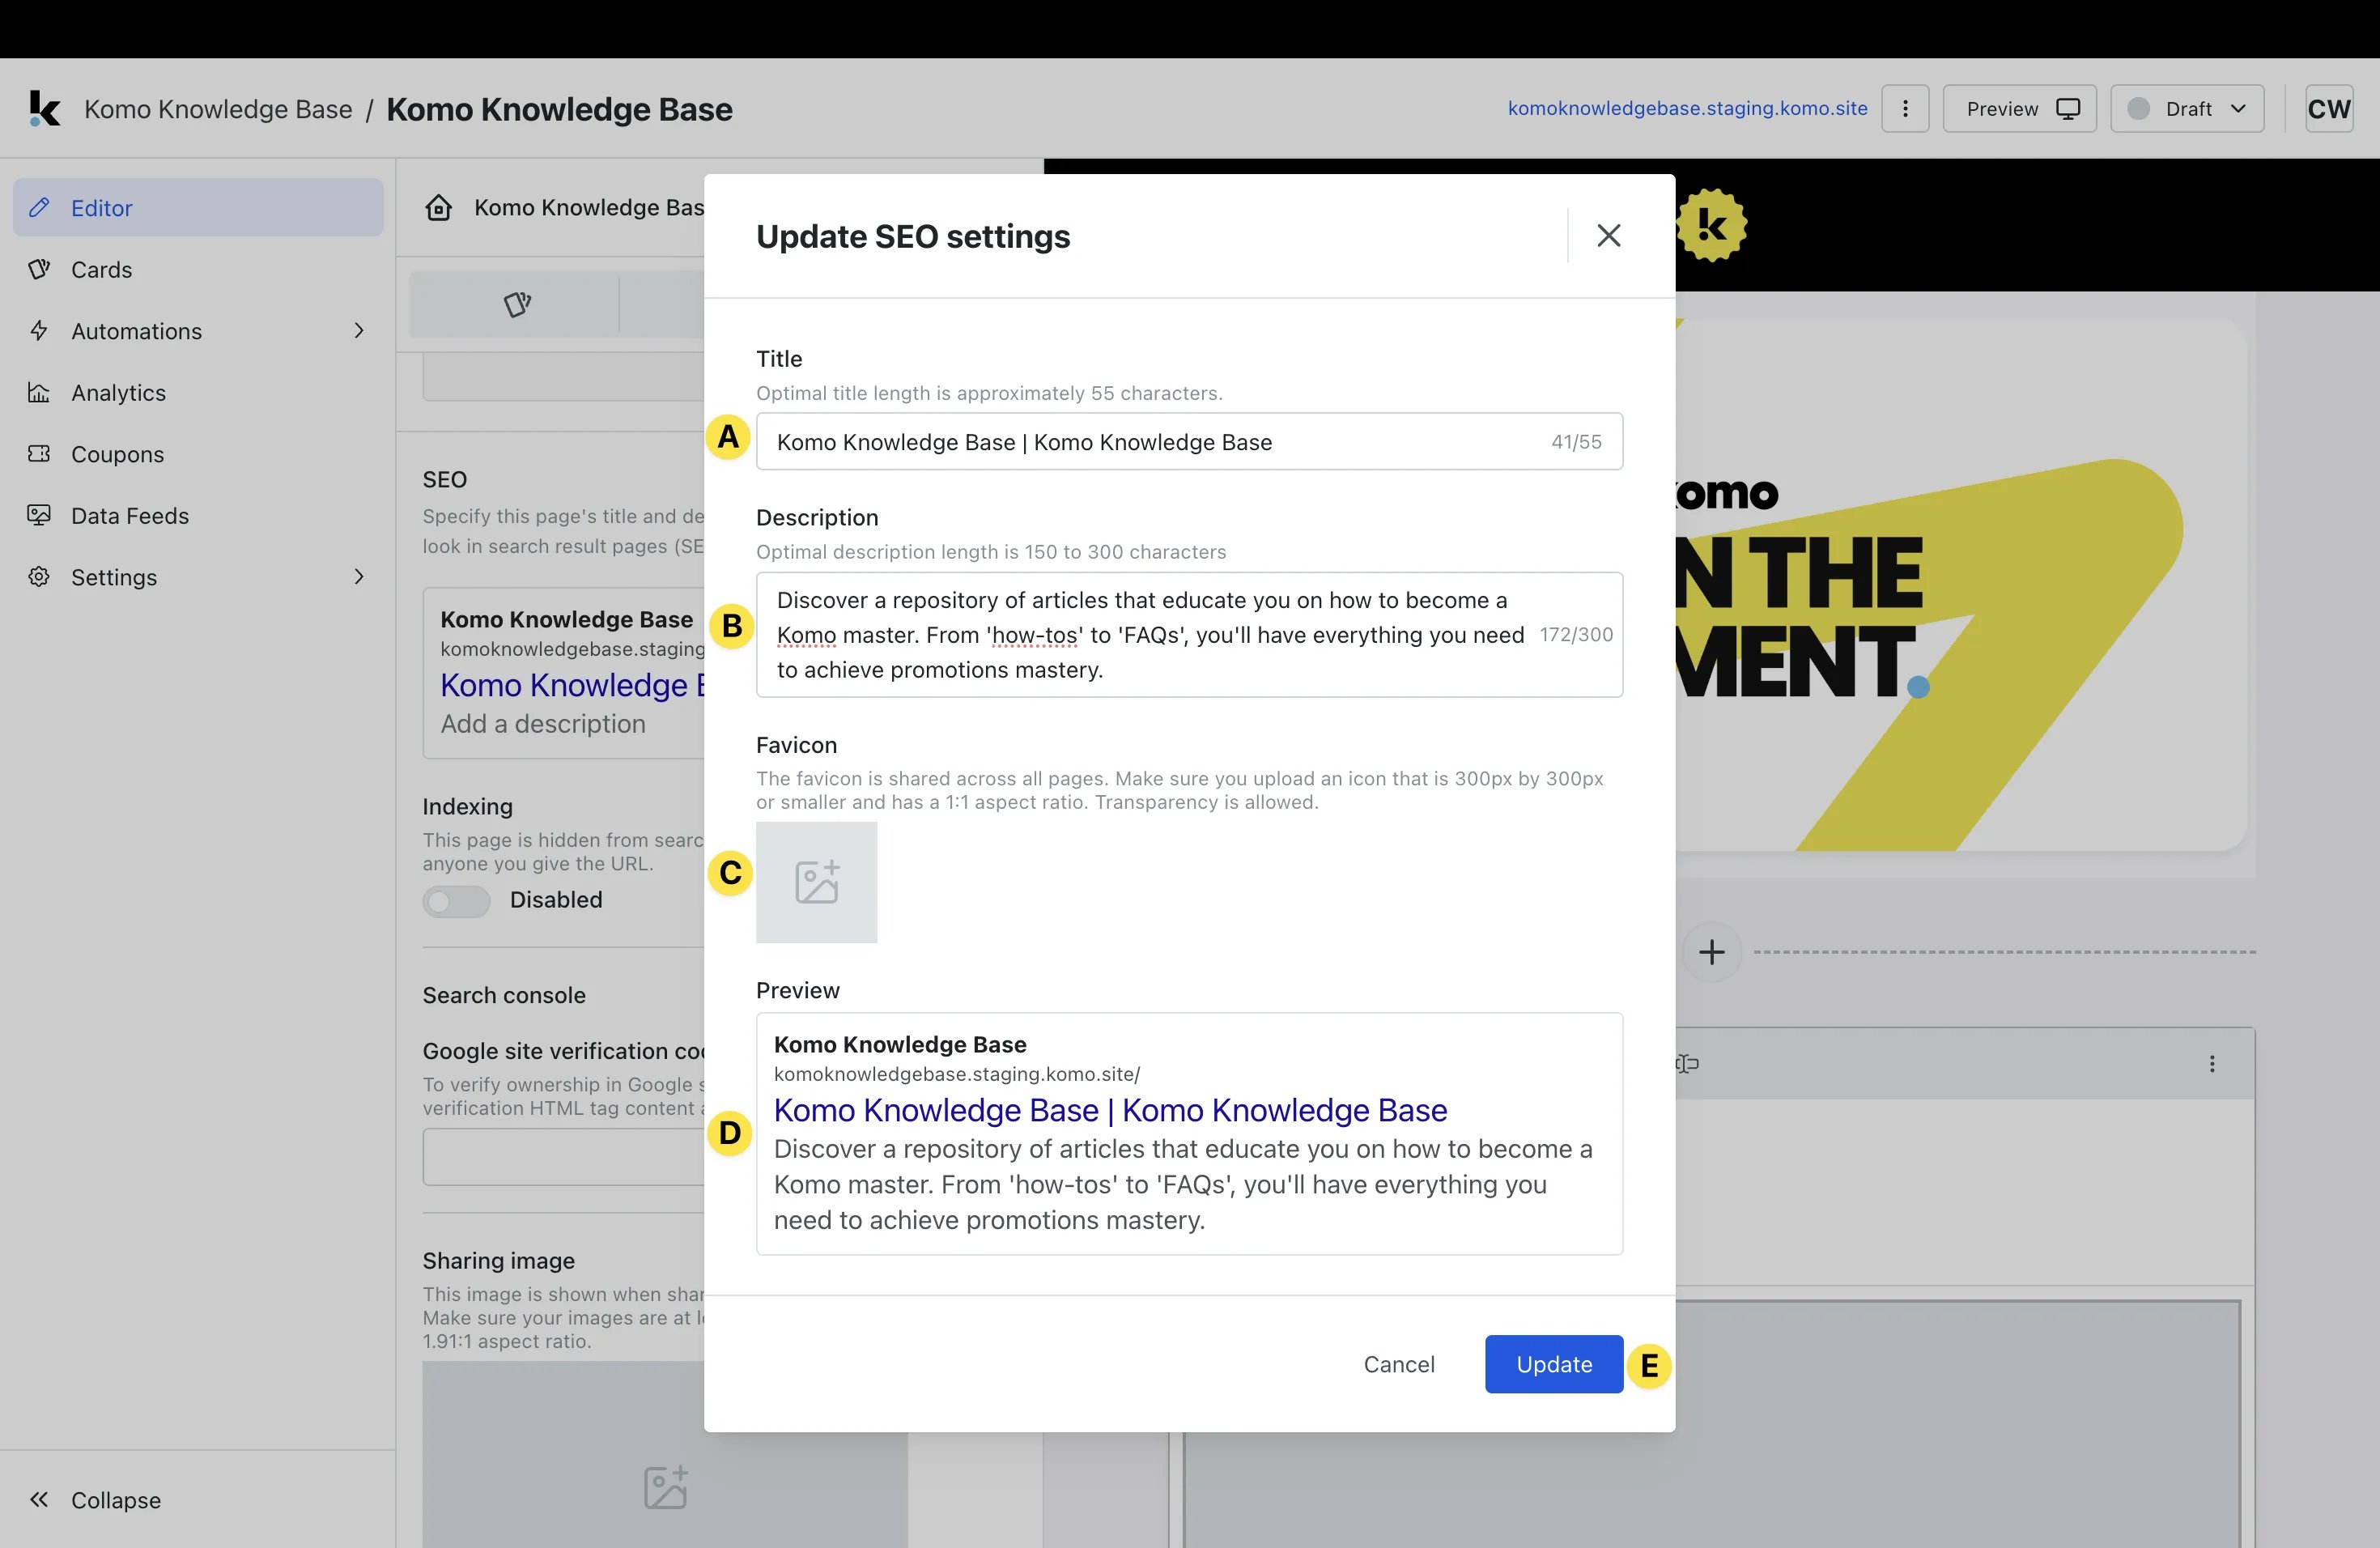
- (A) Here you can edit your Title so that it is an optimal length for SEO purposes.
- (B) Edit the page Description to provide a brief outline of the page for viewing in search engines.
- (C) Upload a Favicon that will be displayed alongside the page listing in search engines. This is usually your brand logo or icon.
- (D) Be sure to Preview your SEO settings to ensure you’re satisfied with how they will appear publically.
- (E) Click Update to confirm the settings.
- (3) Select whether you would like Indexing enabled or not. Indexing determines whether the page is visible within search engines.
Step 4: Update Search and Sharing settings

- (1) Here you verify page ownership in Google Search Console by pasting in the Verification HTML tag content.
- (2) You can upload a Sharing Image which is the image that will be displayed when sharing the page on social media platforms.