
What is it?
Share Twitter content on your Hub.Watch it come to life
Things to note
- Only Public content can be embedded.
- Embedding timelines and lists will automatically pull through the 20 latest tweets.
How do I build one?
- Step 1: Add a Twitter Embed card to your Hub
- Step 2: Paste the link to your card
- Step 3: Publish your card
Step 1: Add a Twitter Embed card to your Hub
- Navigate to your Engagement Hub.
- Once there, click Add content, from here select Embeds and then Twitter.
- You will then see your new card has been added to your Hub.
Step 2: Paste the link to the card

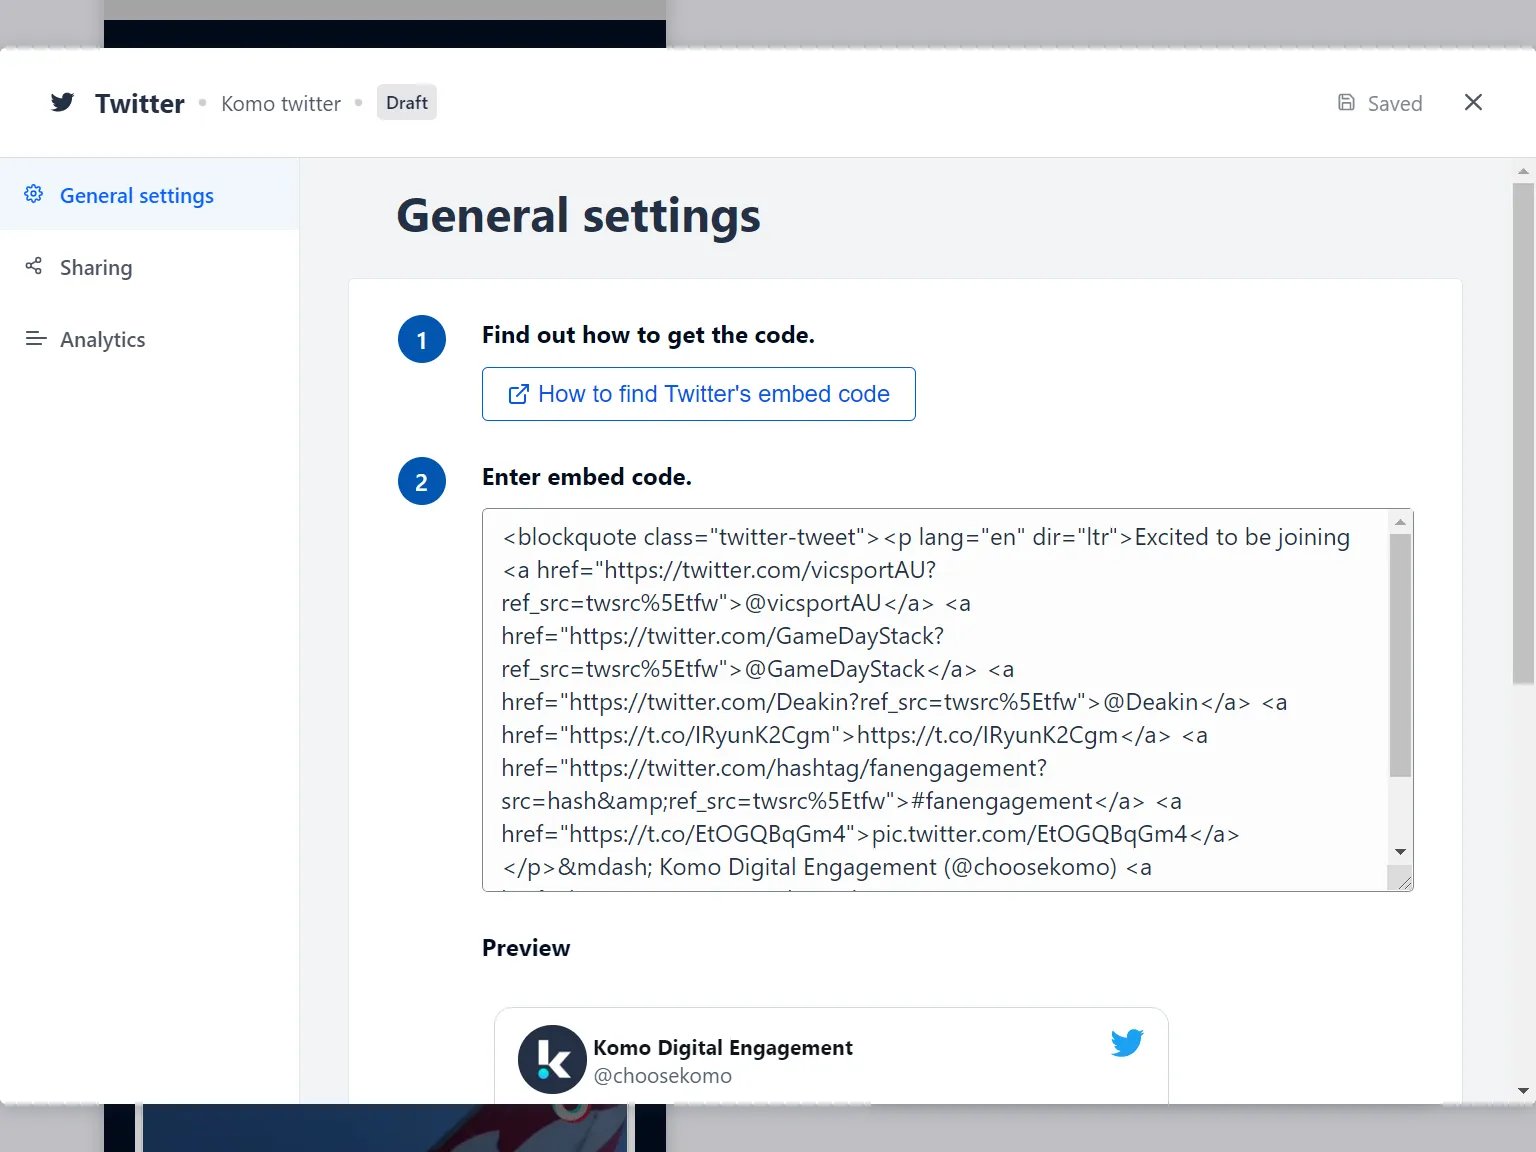
- Clicking on Twitter will open the editing module.
-
(1) Get the embed code and paste it here and a preview will appear below.
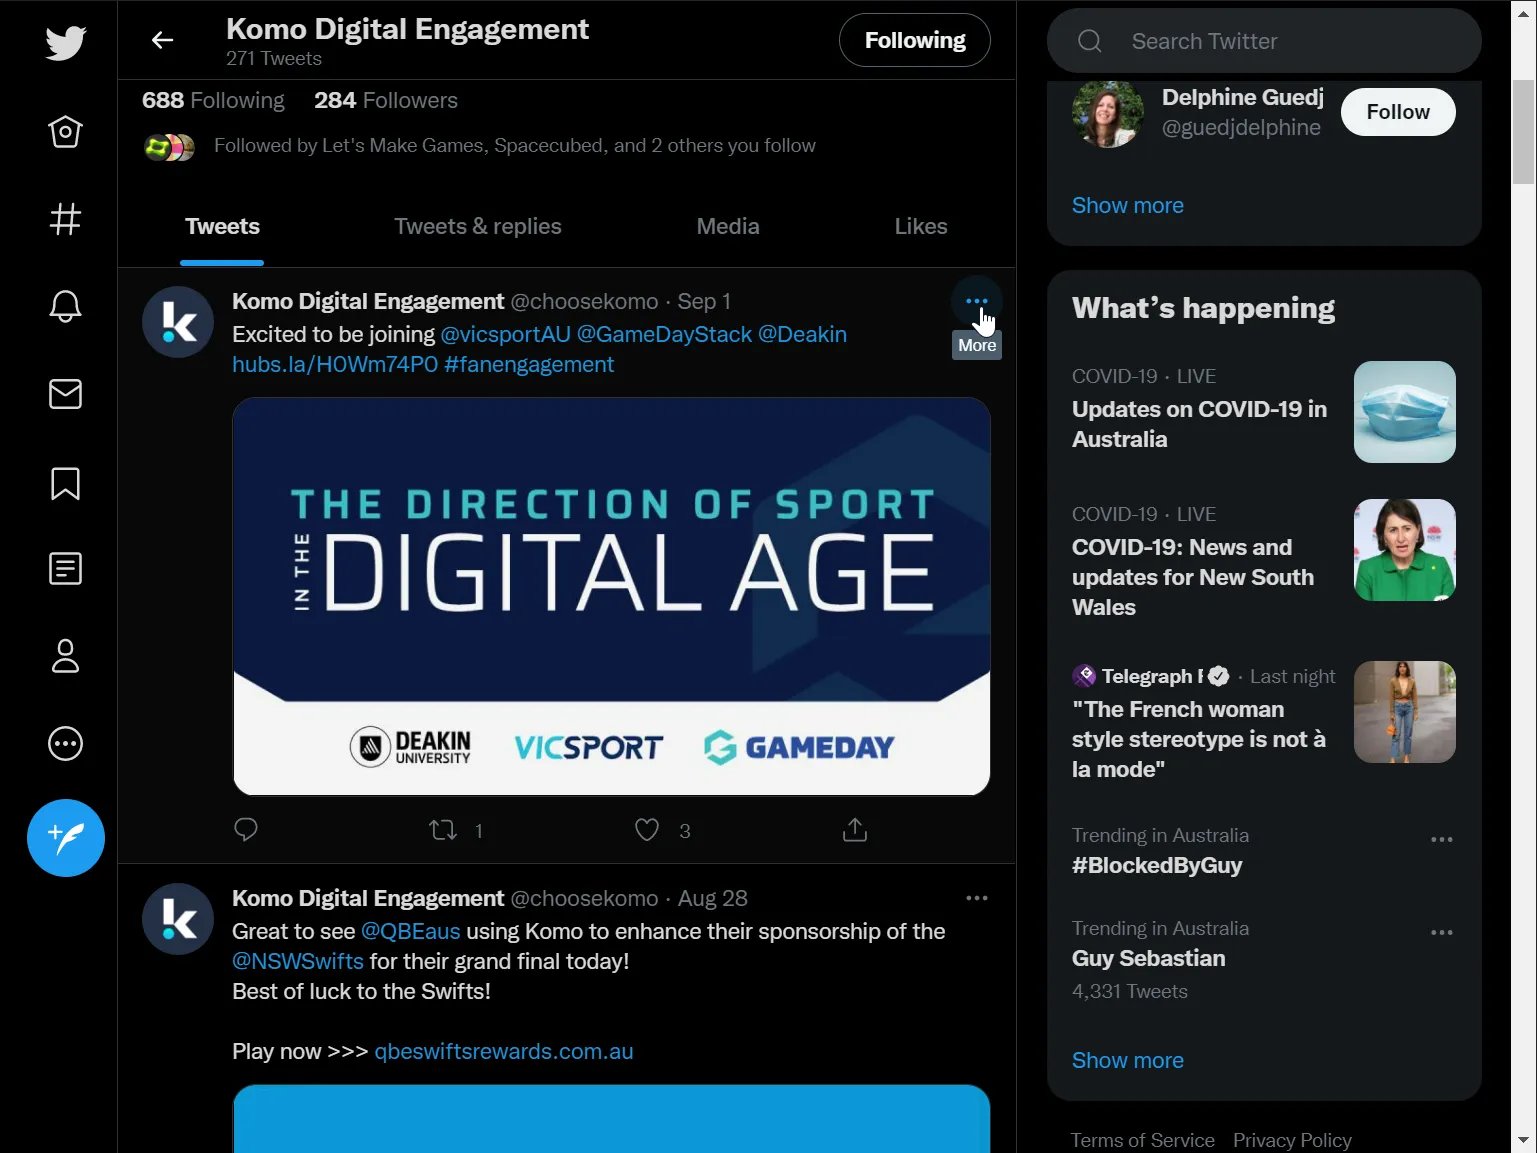
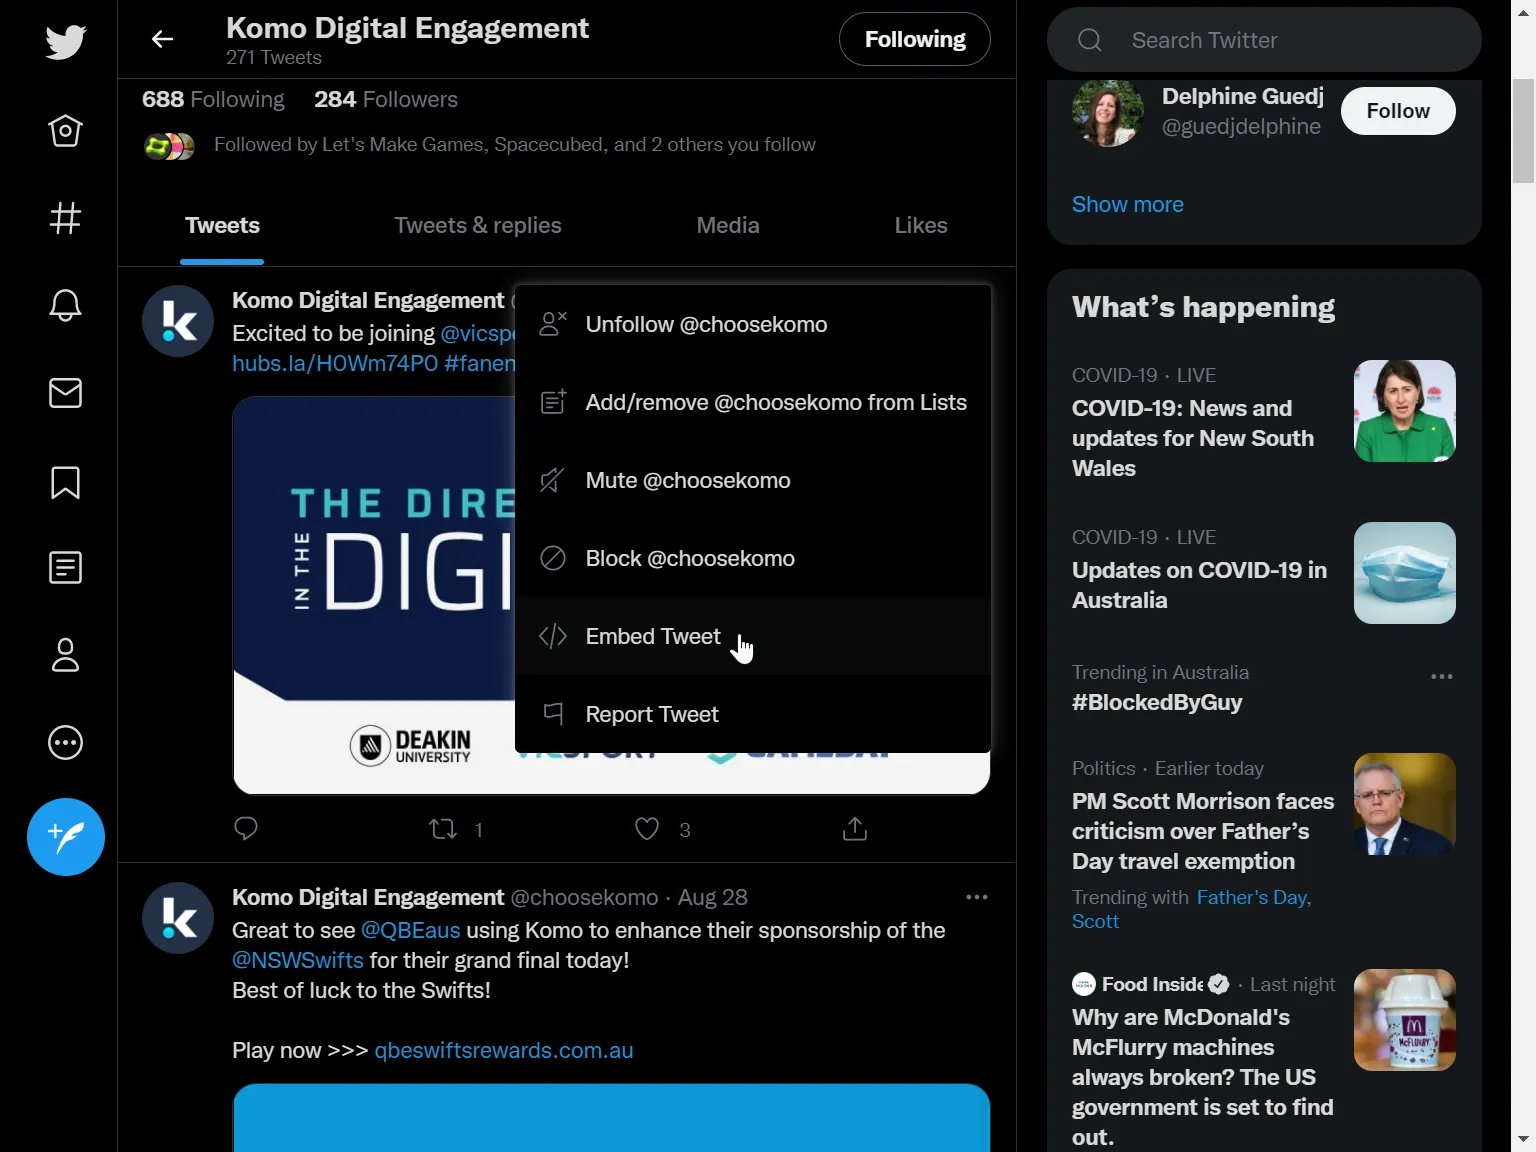
Embedding single tweets
Embedding timelines and lists
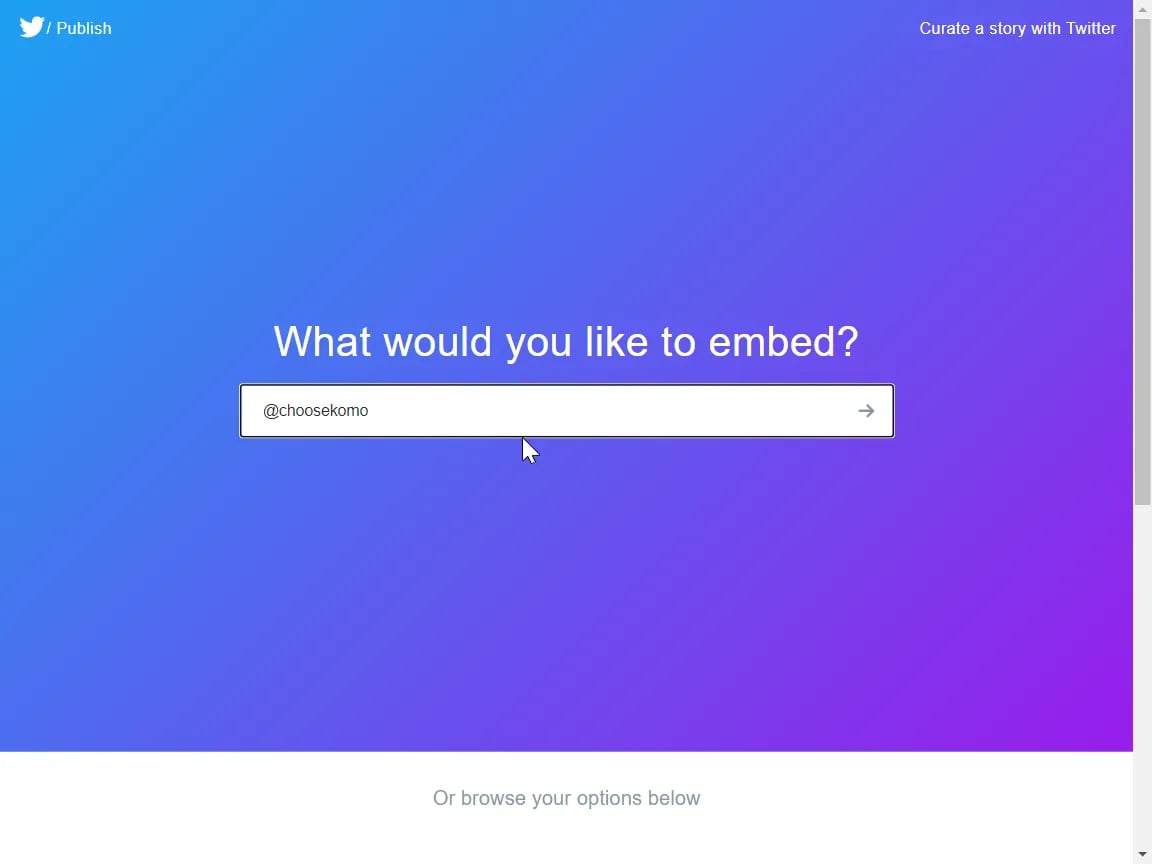
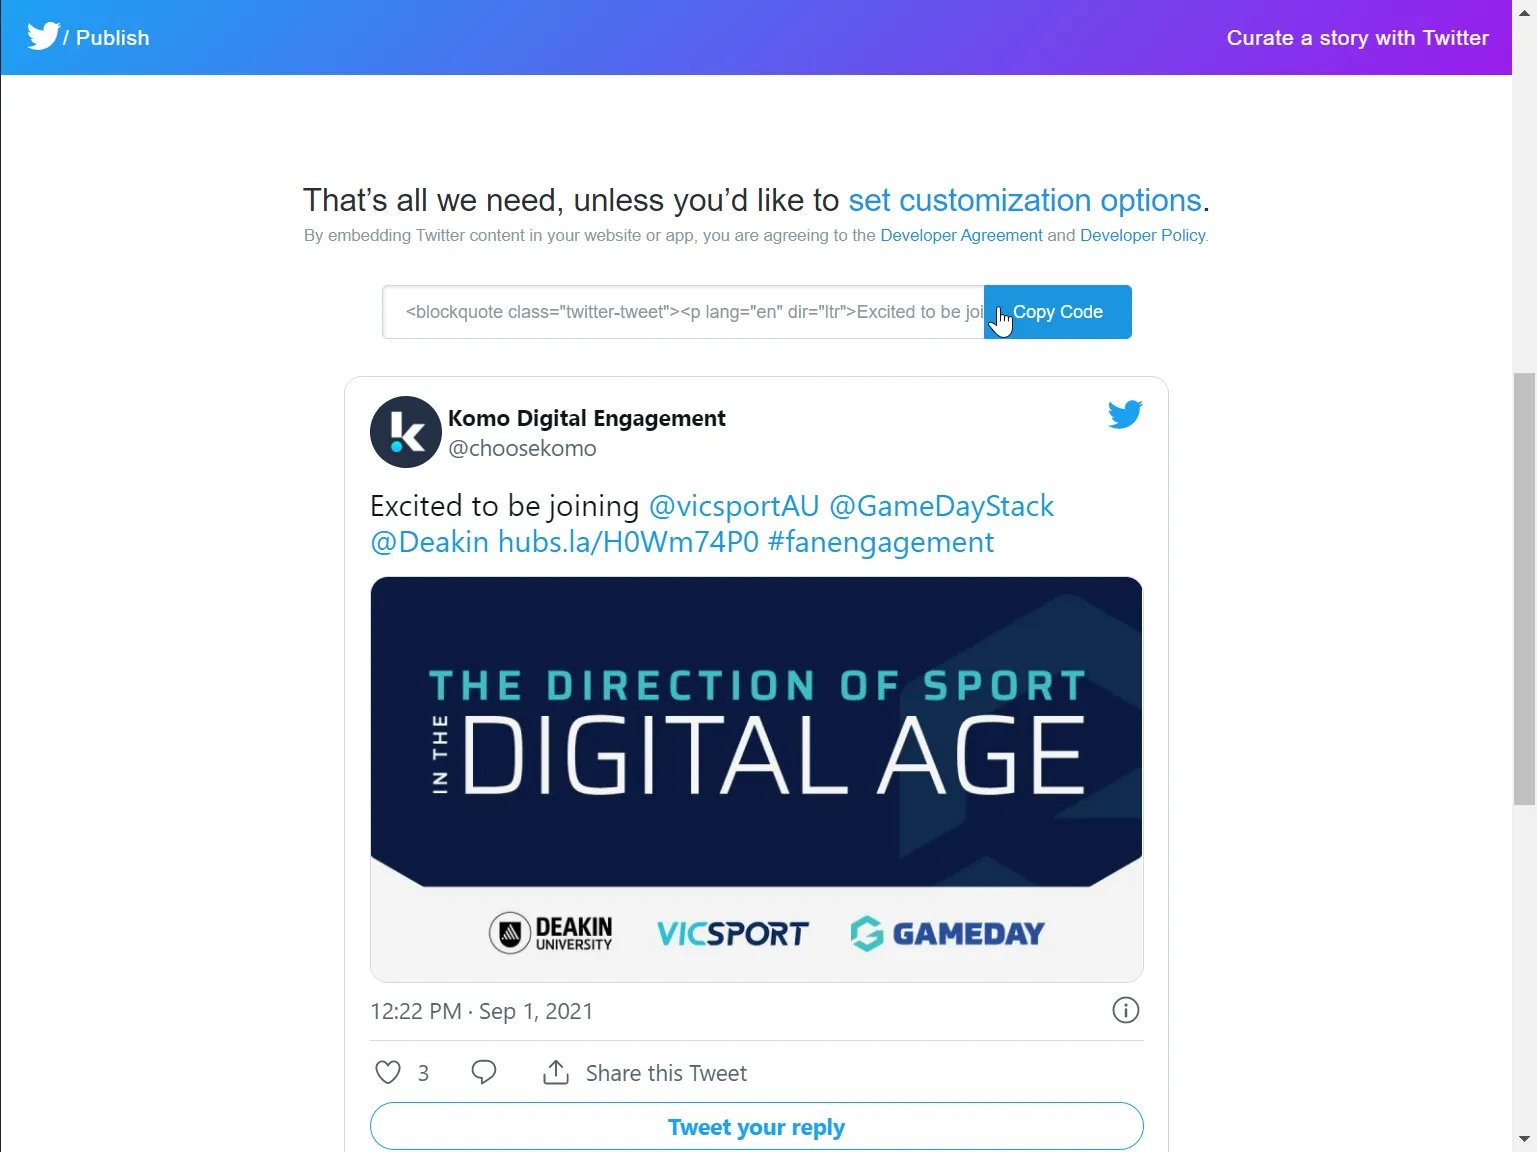
Visit publish.twitter.com to start the guided journey for getting twitter embed code
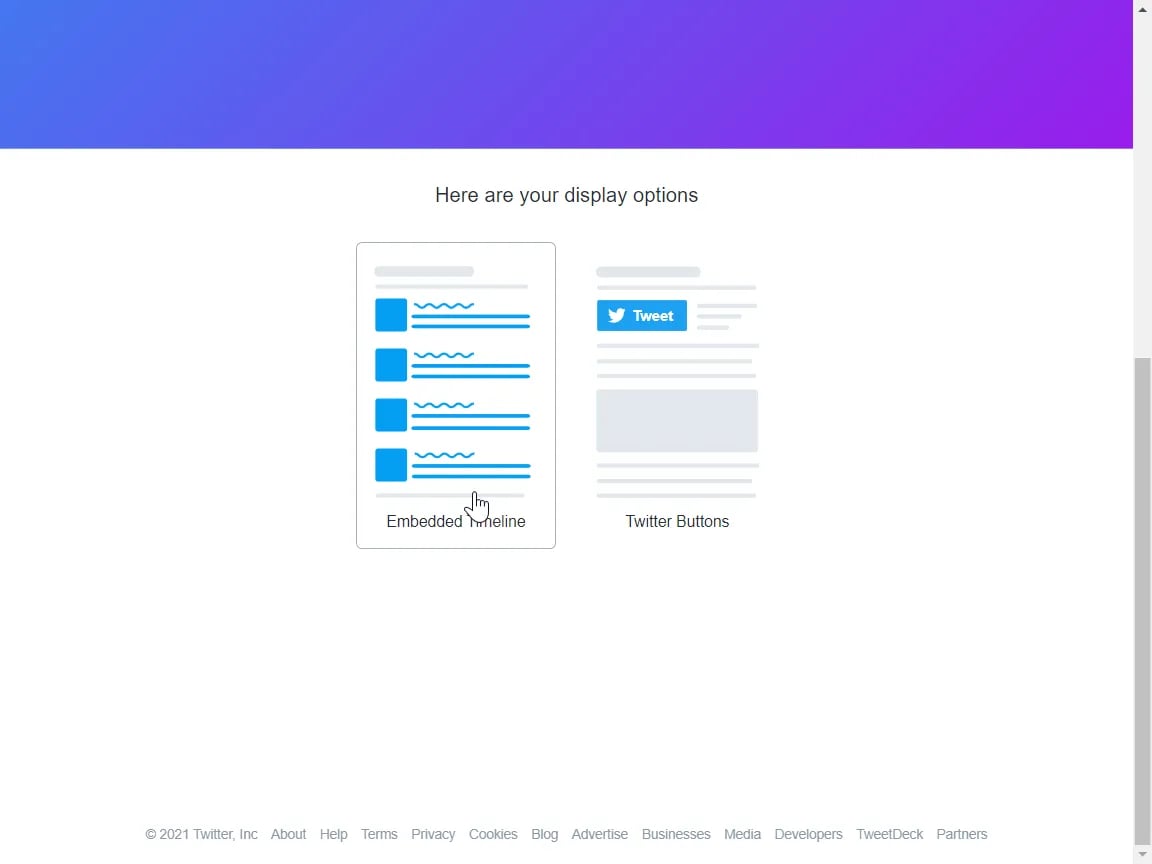
 From here you can choose to embed individual tweets, user timelines, and custom lists.
In this example, we will be embedding the @choosekomo Twitter timeline. Enter the Twitter handle in the box and hit enter.
Copy the code!
 Setting a height on the embedded timeline will introduce an additional scrollbar inside the embedded timeline content. We do not recommend setting a width - the content will automatically try to scale to the best width.
 - (2) You can add an author tag by displaying the brand or person who’s responsible for the card content.
- (3) Add a description to the card.
Step 3: Publish your card
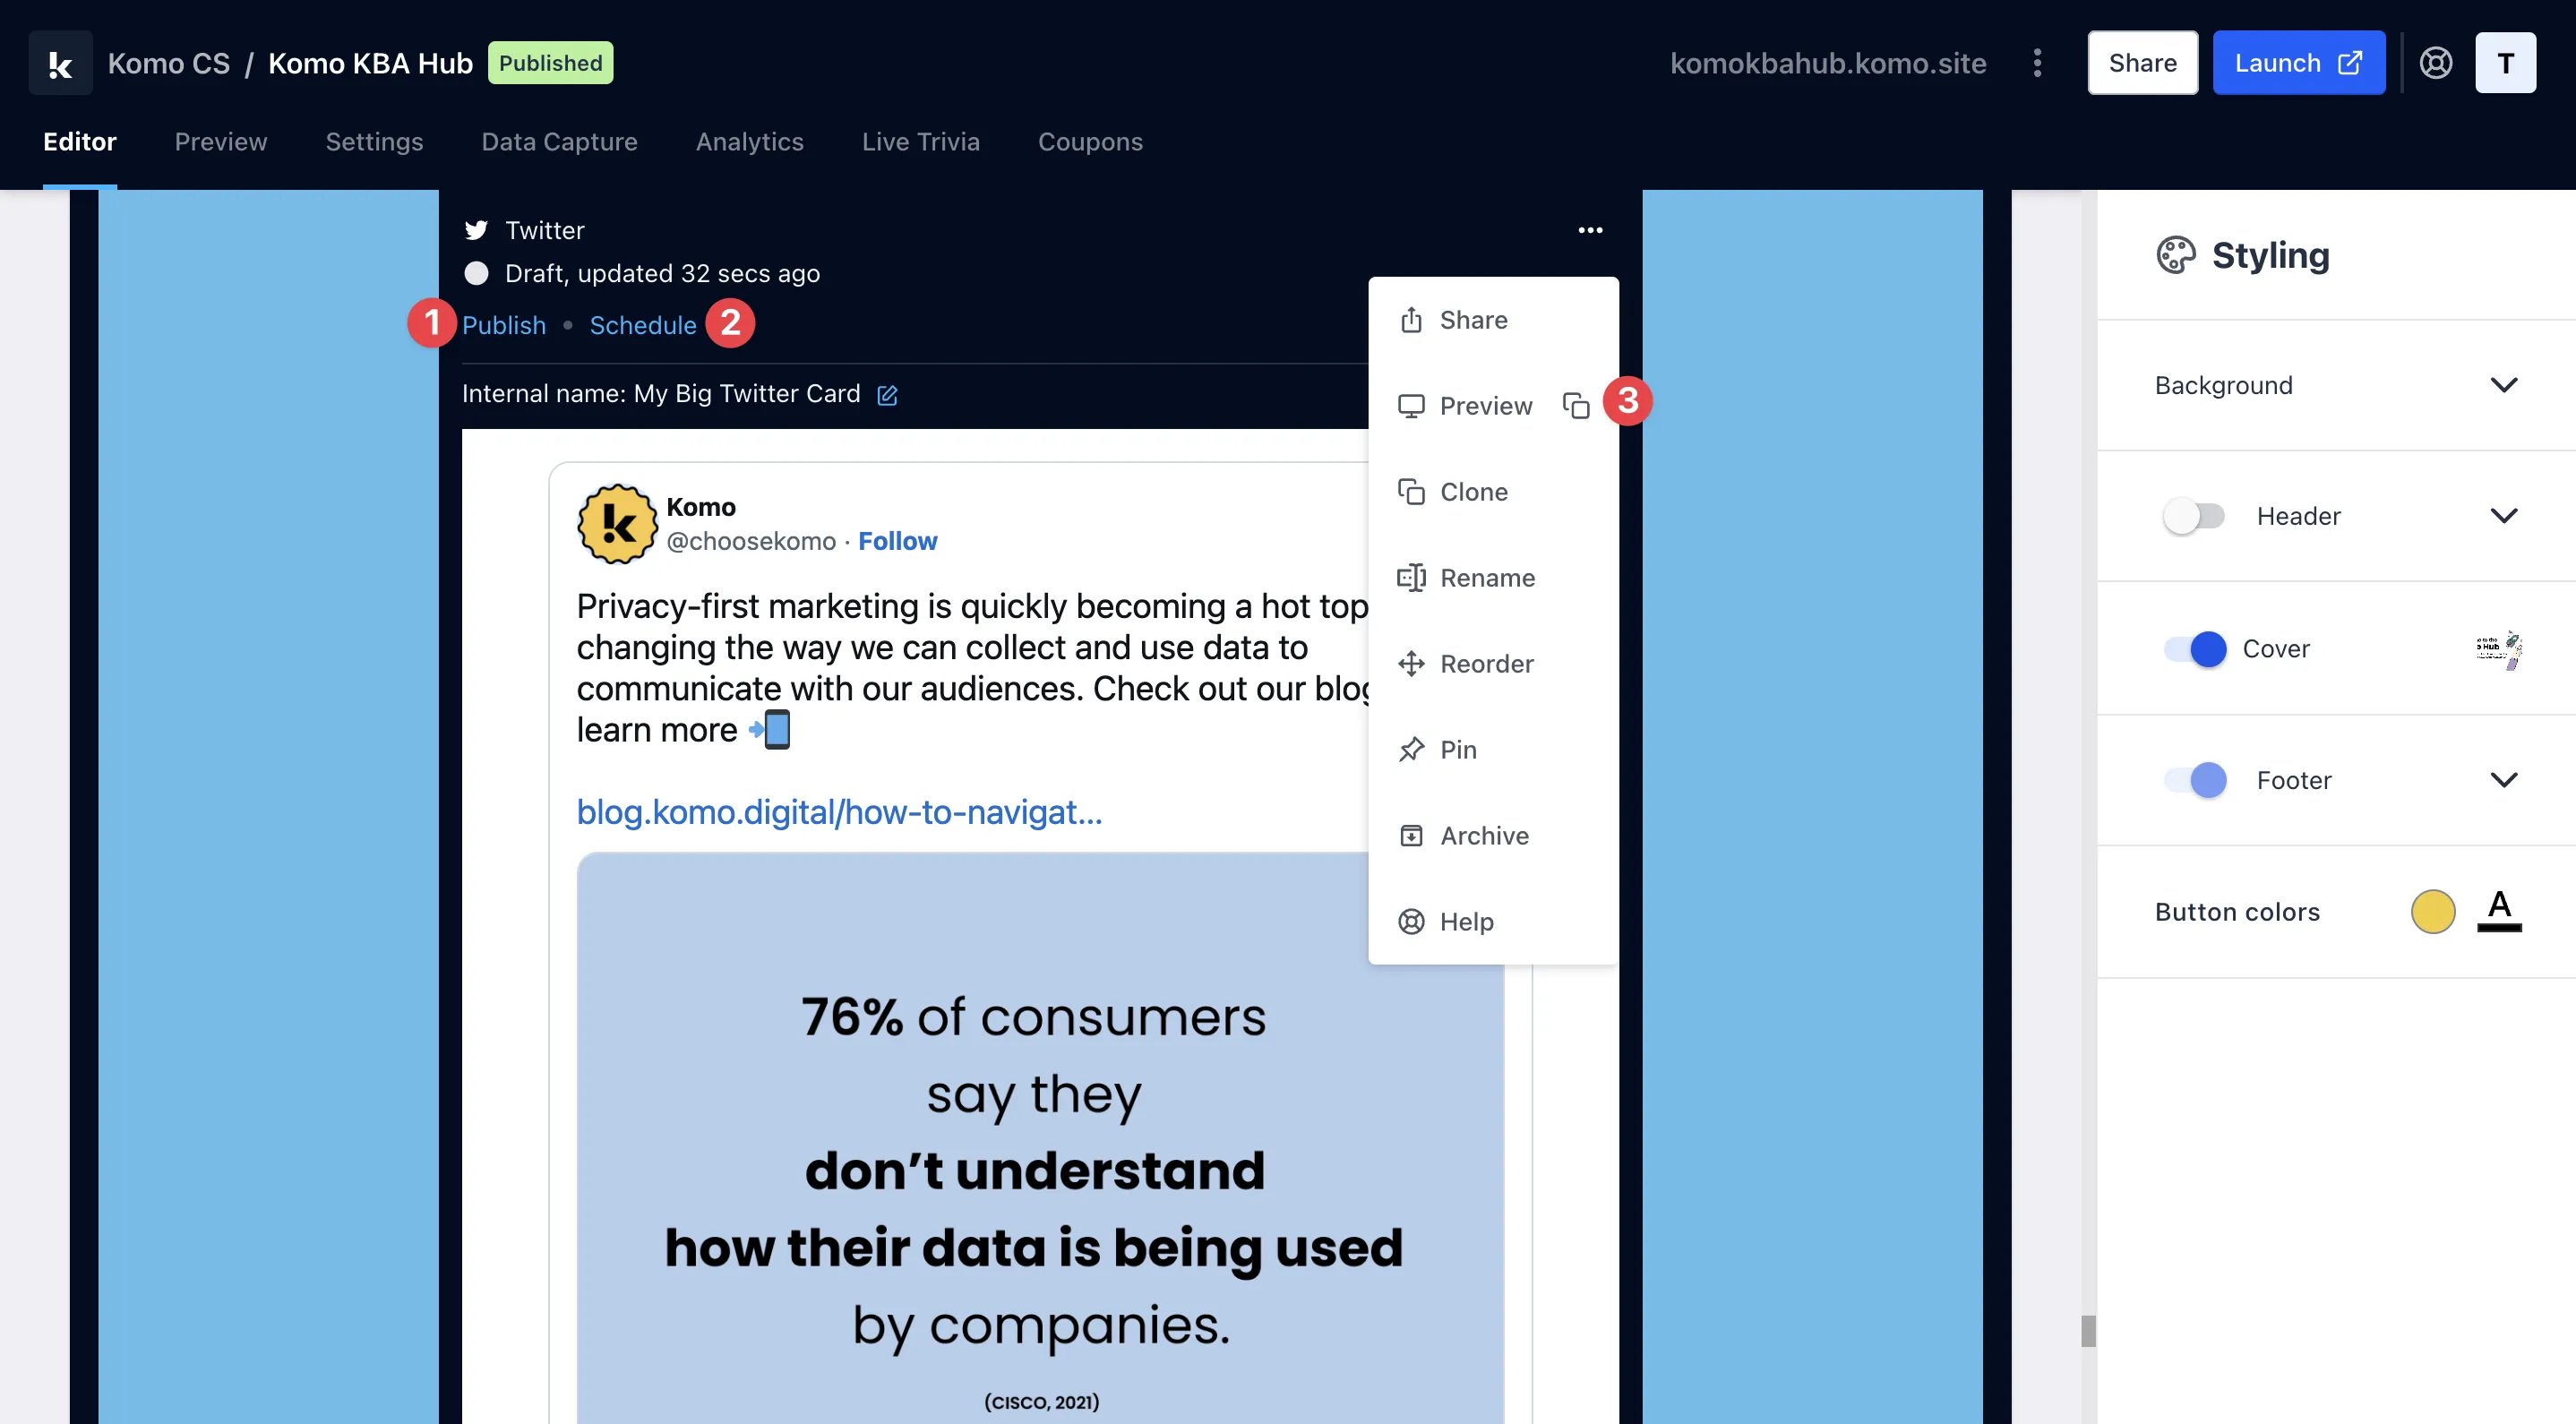
- (1) Publish your card manually and instantly for the world to see.
- (2) Schedule your card to be published and unpublished at set dates and times.
- (3) Click on … to Preview and interact with the card on the front end from a user’s perspective before publishing it.
All competition entries will be recorded and will impact the card analytics.