Access Policies is currently in Beta.
What you can gate
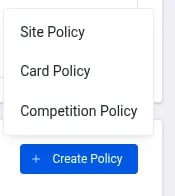
There are three kinds of policy, one for each place: Site Policy (hub), Card Policy and Competition Policy (form). Each list only shows policies of its own kind. A card policy can be reused on any card in the hub, and a competition policy on any competition form, but a hub policy can’t be picked for a card (or the other way round).
How a policy is checked
- When the gated content loads, Komo checks the user’s current session against the policy’s condition.
- If it passes, the content shows.
- If it fails, the user sees the policy screen for that condition instead.
Authentication types
The Authentication type dropdown has two options, shown exactly as Sso and Sdk.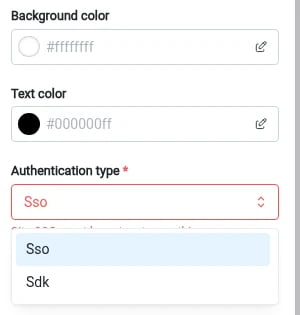
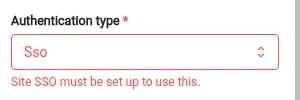
Sdk gates only work when the hub or card is embedded on your site with the Embed SDK. If someone opens the hub link directly, the button has no website to ask and keeps loading.
Condition settings
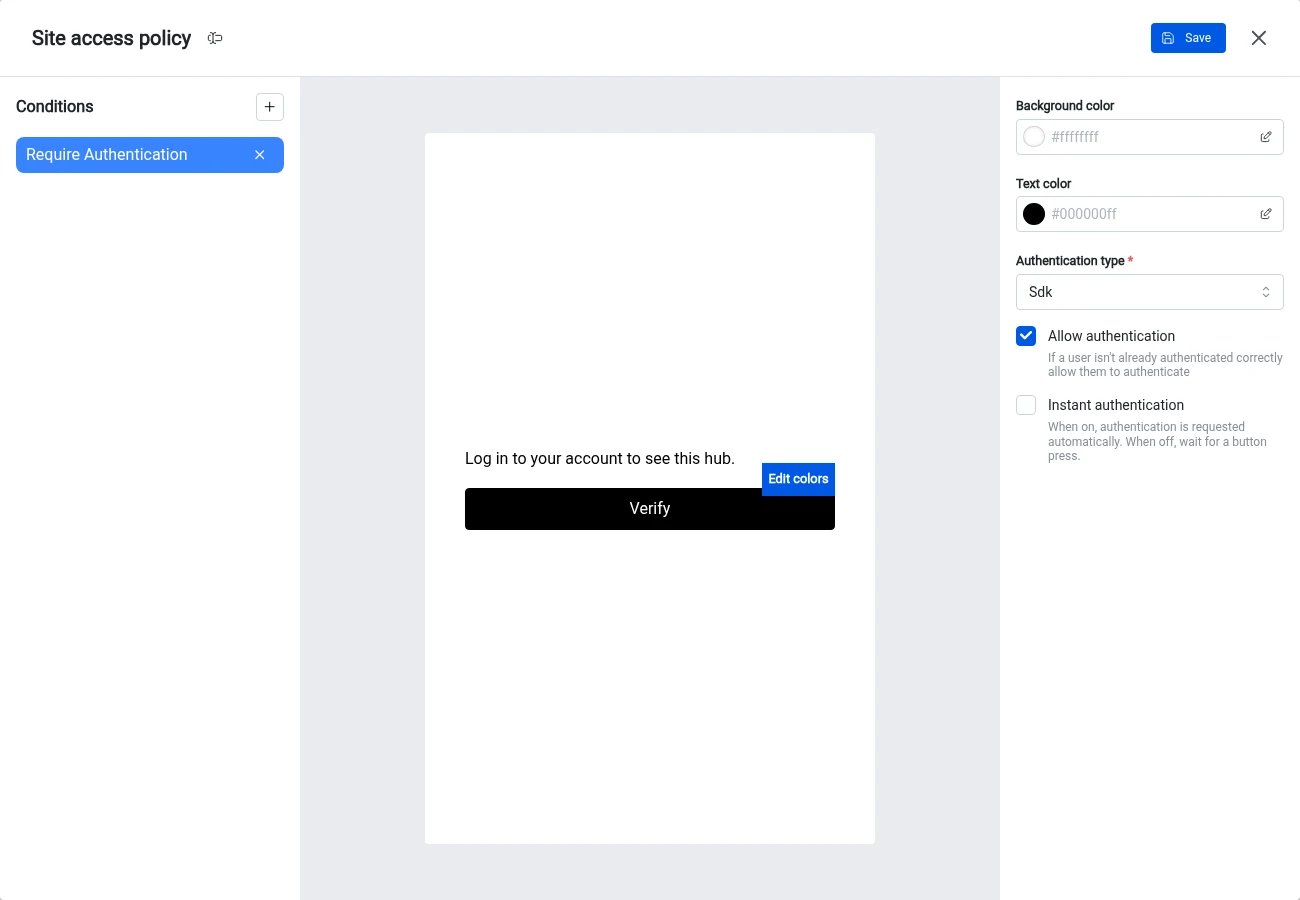
- Authentication type: Sso or Sdk (see above).
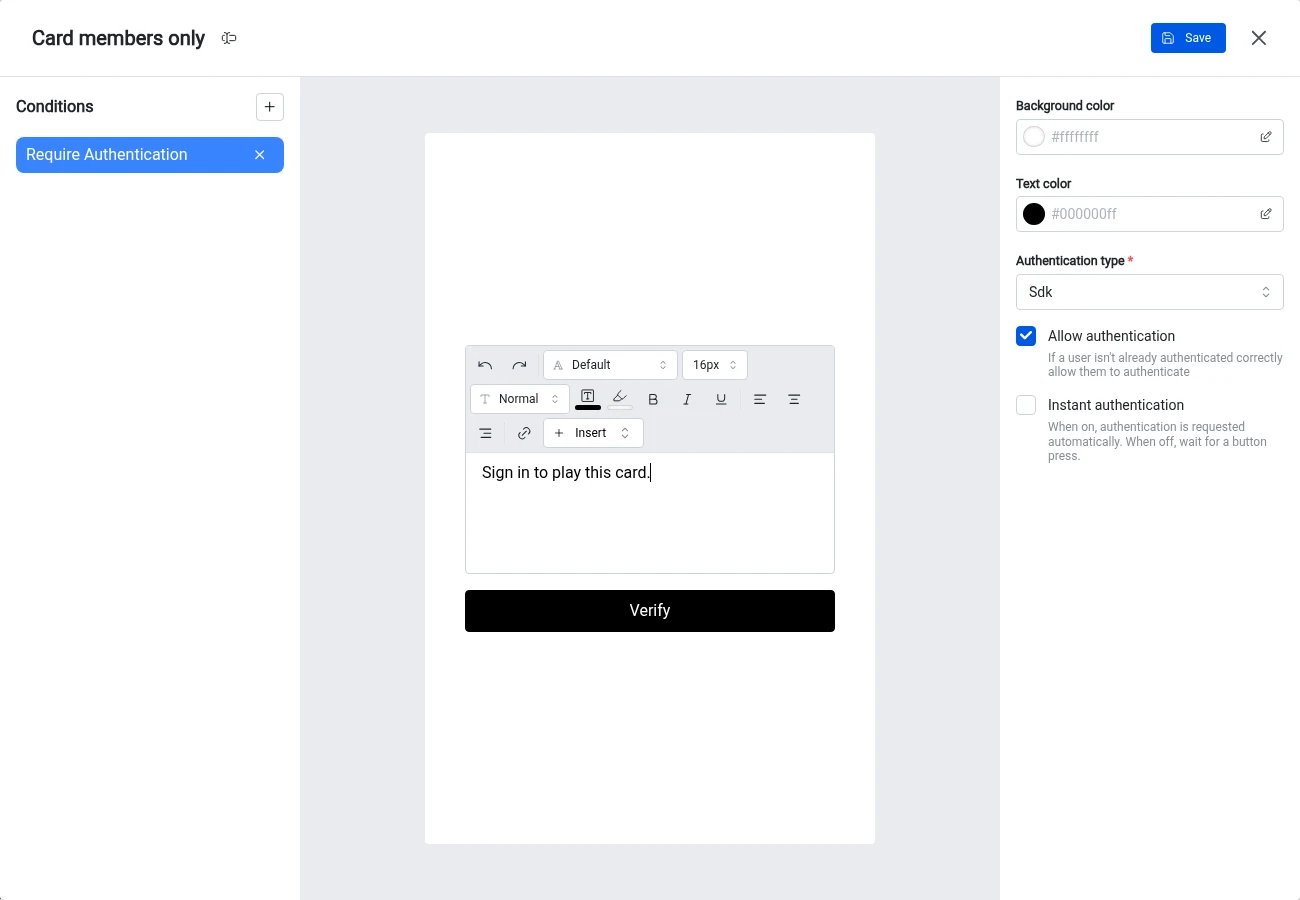
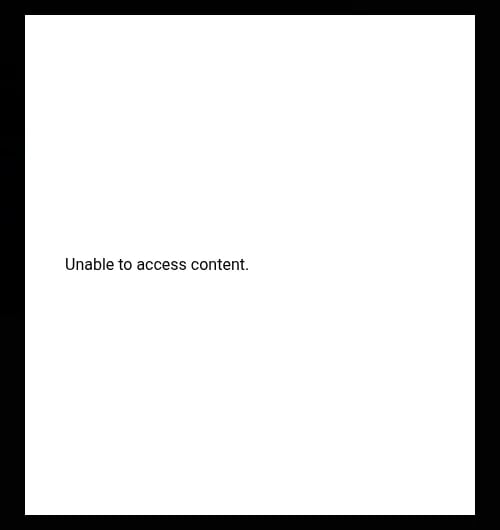
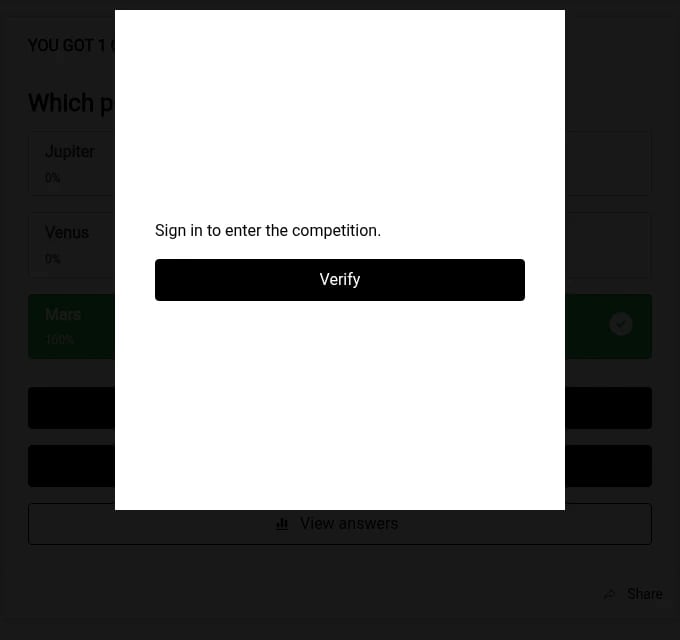
- Allow authentication (on by default): when on, users who aren’t signed in see a description and a button to sign in. When off, they only see your error message, with no way to sign in from the gate. The default error message is “Unable to access content.”
- Instant authentication (Sdk only, on by default when you pick Sdk): when on, the gate shows a loader instead of a button and waits for your site to identify the user. When off, the gate shows your description and button.
- Description and Error message: rich text, including images. Click the text in the preview to edit it.
- Button text, button colour and button background: click the button in the preview to edit the text, and use Edit colors for its colours. If no button text is set, the button says Verify. The default button is white text on black.
- Background color and Text color for the gate screen (white and black by default). On the live hub, card gates fall back to the card’s colours and form gates to the form’s colours.
What users see
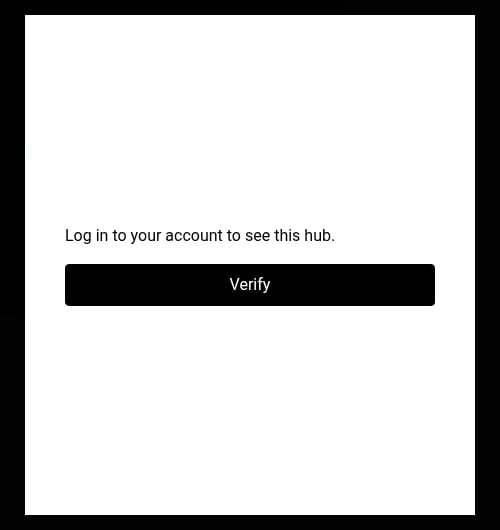
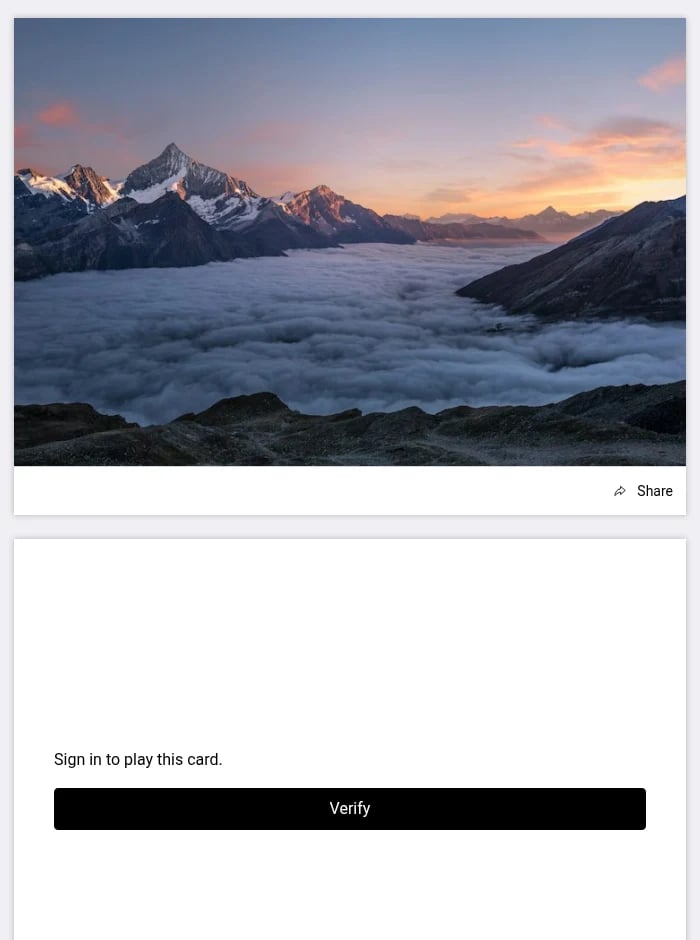
Sdk, Instant authentication off: your description and the button. Pressing it sends an auth request to your site, which the Embed SDK passes to youronAuthRequest handler so you can open your own login. Once your site calls identifyUser(), the gate unlocks without a reload.
appId setup, the loader doesn’t call onAuthRequest, so it won’t open your login for you. Use Instant authentication off if users need a button to start signing in.

komoEmbed config, onAuthRequest, identifyUser()), see the Komo developer docs.
Set up a policy
Hub
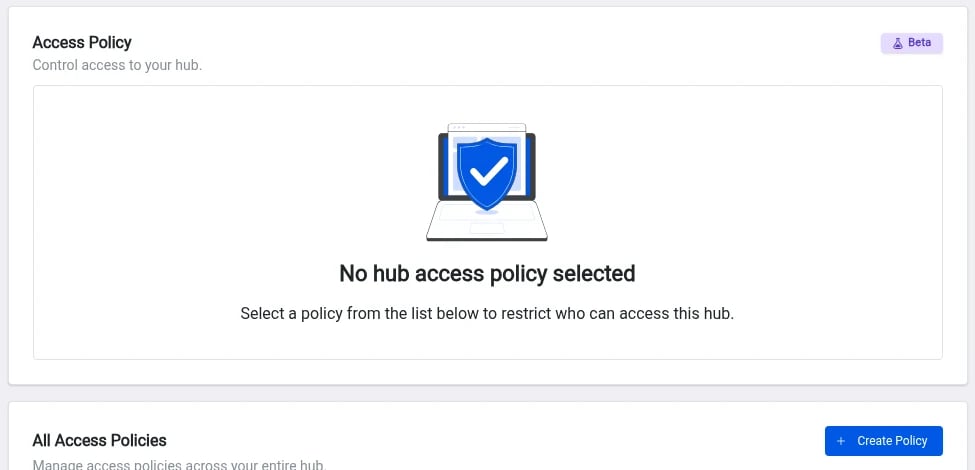
- Go to Settings → Access Policies.
- Under All Access Policies, click Create Policy and choose Site Policy.
- Click Add access condition (+). This adds Require Authentication.
- Set the Authentication type, Allow authentication and, for Sdk, Instant authentication.
- Edit the description (or error message), button and colours in the preview. Click the policy name at the top to rename it.
- Click Save.
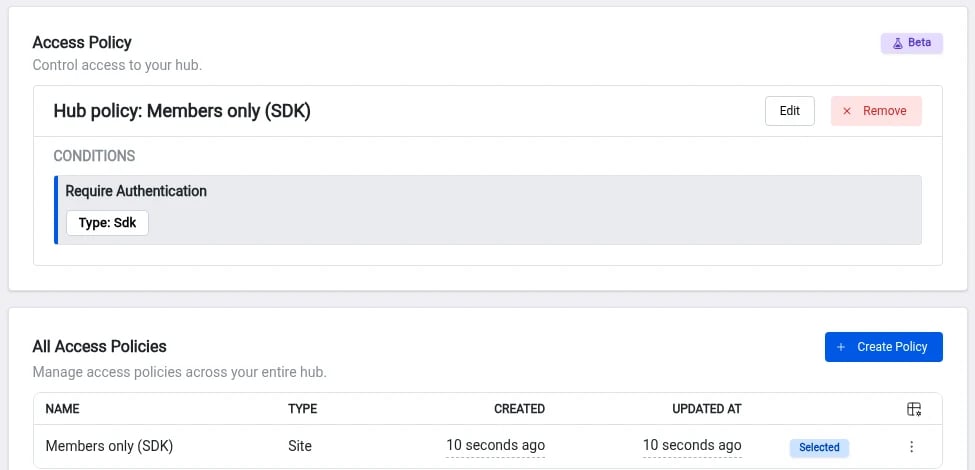
- In the policy list, open the ⋮ menu on the policy and click Select. The policy now shows under Hub policy.
Card
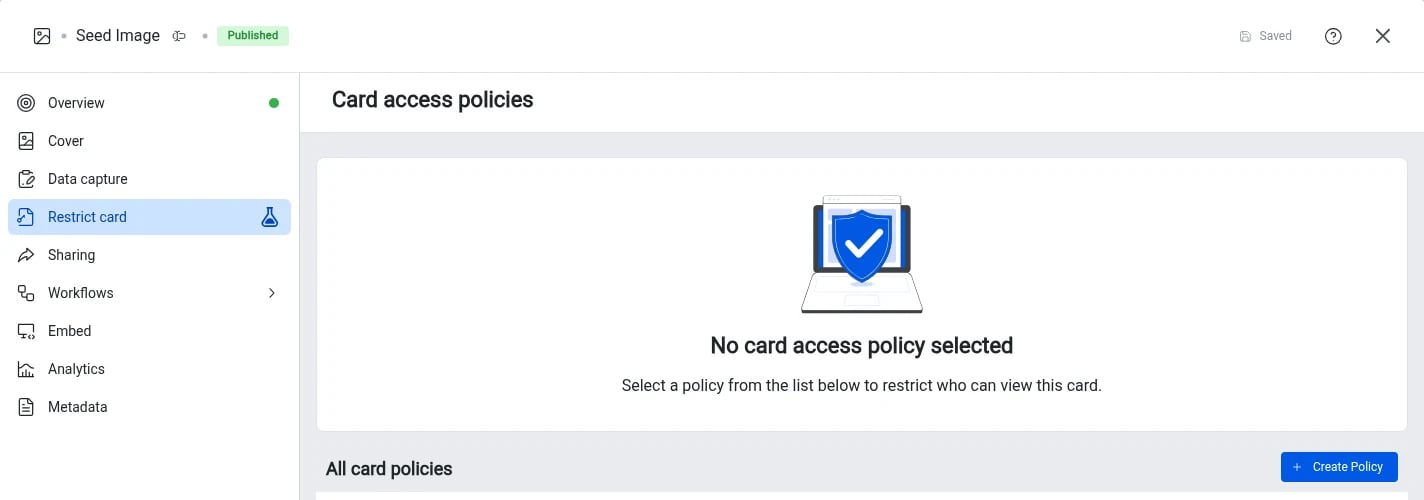
- Open the card editor and go to the Restrict card tab.
- Click Create Policy to add a card policy, or use Select on an existing one.
- Set up the condition as above, then save and select it.
Competition form
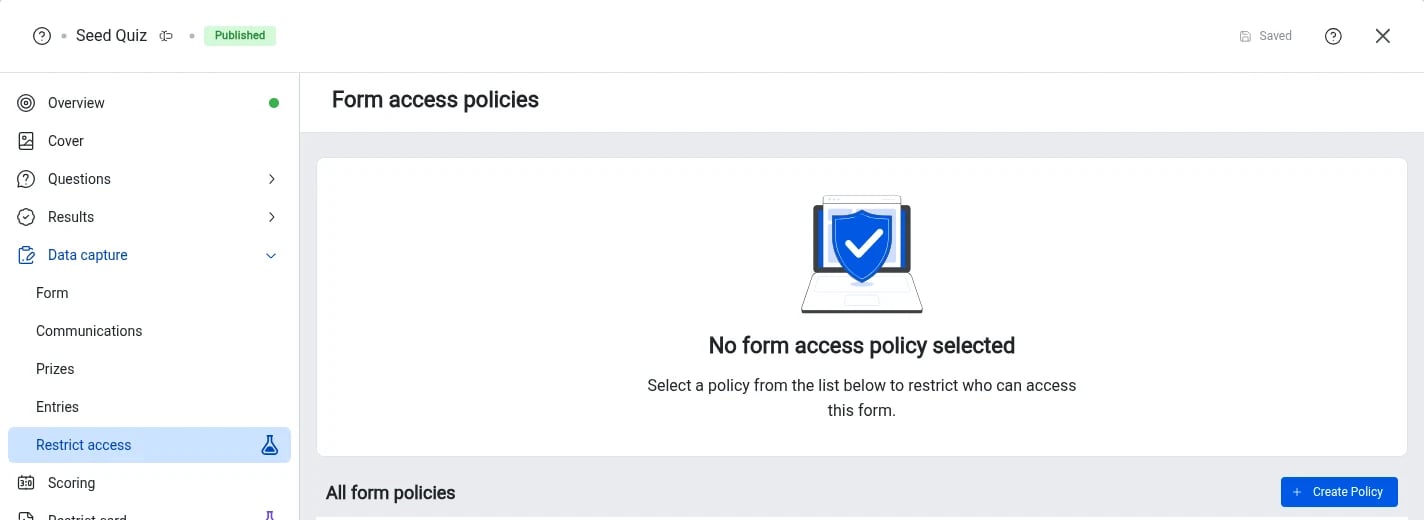
- Open the card editor and go to Data capture → Restrict access. This tab only shows once the card has data capture.
- Click Create Policy to add a competition policy, or use Select on an existing one.
- Set up the condition as above, then save and select it.
FAQ
Can I gate one card without gating the whole hub?Yes. Use the card’s Restrict card tab. Other cards on the hub stay open. Can I let people see a card but require login only to enter the competition?
Yes. Leave the card open and add a policy under Data capture → Restrict access. The policy only shows when the user goes to enter. Does the card need a data capture form for a card gate to work?
No. A Restrict card policy works on its own, with or without data capture. Do we need to send a signed JWT for an Sdk gate?
No. Identifying the user with just an email through the Embed SDK passes an Sdk gate. Use a JWT if you want Komo to verify the identity your site sends. Users sign in on our site but still see the gate.
With Sdk, the gate only passes once your site identifies the user to Komo through the Embed SDK after login. Check that your login flow calls
identifyUser() after the user signs in. See the developer docs.
After logging in, users land back at the top of our page instead of at the embed.Where the user returns after login is controlled by your site’s login flow, not Komo. Return users to the page section that contains the embed. I want my login modal to open only when the user taps a button.
Use Sdk with Instant authentication off. The gate shows your button, and pressing it triggers your
onAuthRequest handler.